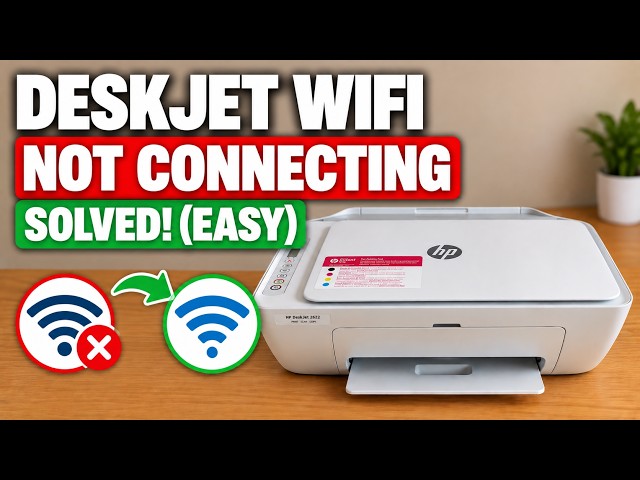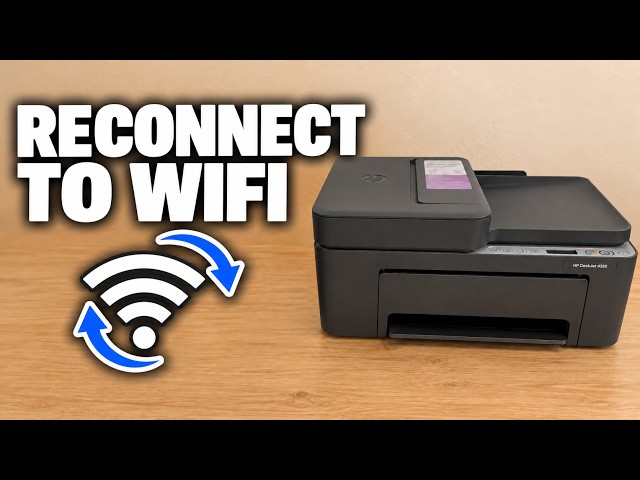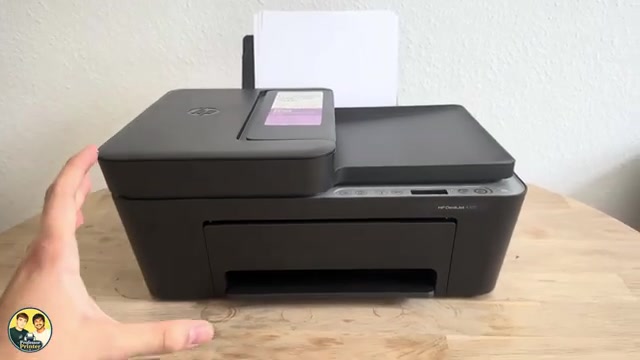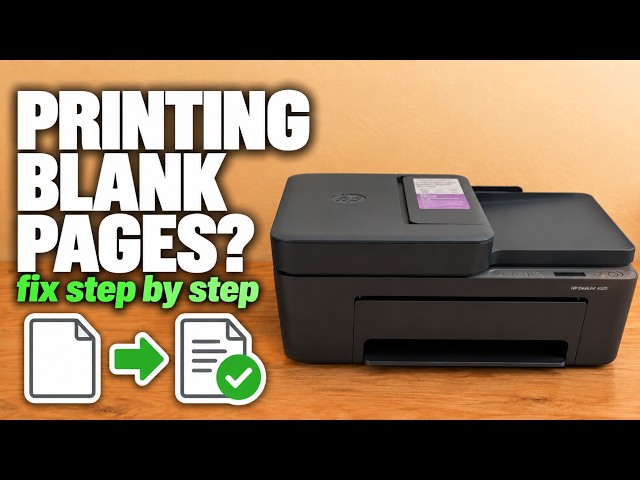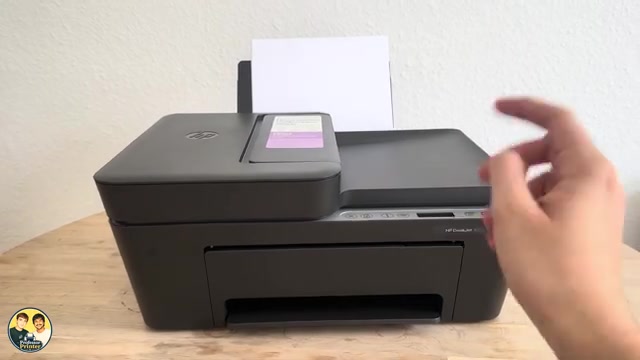
HP DeskJet 2600 blinking Wi-Fi light: what to check
A flashing blue wireless light means the DeskJet 2600 has not joined a wireless network. Check its light and connection stage before changing any saved settings.
Find a starting point for connection issues, error lights and paper problems.
A flashing blue wireless light means the DeskJet 2600 has not joined a wireless network. Check its light and connection stage before changing any saved settings.
Find where DeskJet 2600 setup is stopping: app discovery, the temporary printer connection, or the home network. Check the working connections before resetting wireless settings.
Read the TS3750i LCD and support code, then choose the right paper, cover or cartridge check for E02, E03, E04 or E05 without an unnecessary reset.
Check the printer’s Pwd label first. If a changed administrator password is lost, understand the full Factory Reset and Wi-Fi setup consequences.
Restore general settings with Machine Reset while preserving network and security settings. This is different from a full Factory Reset.
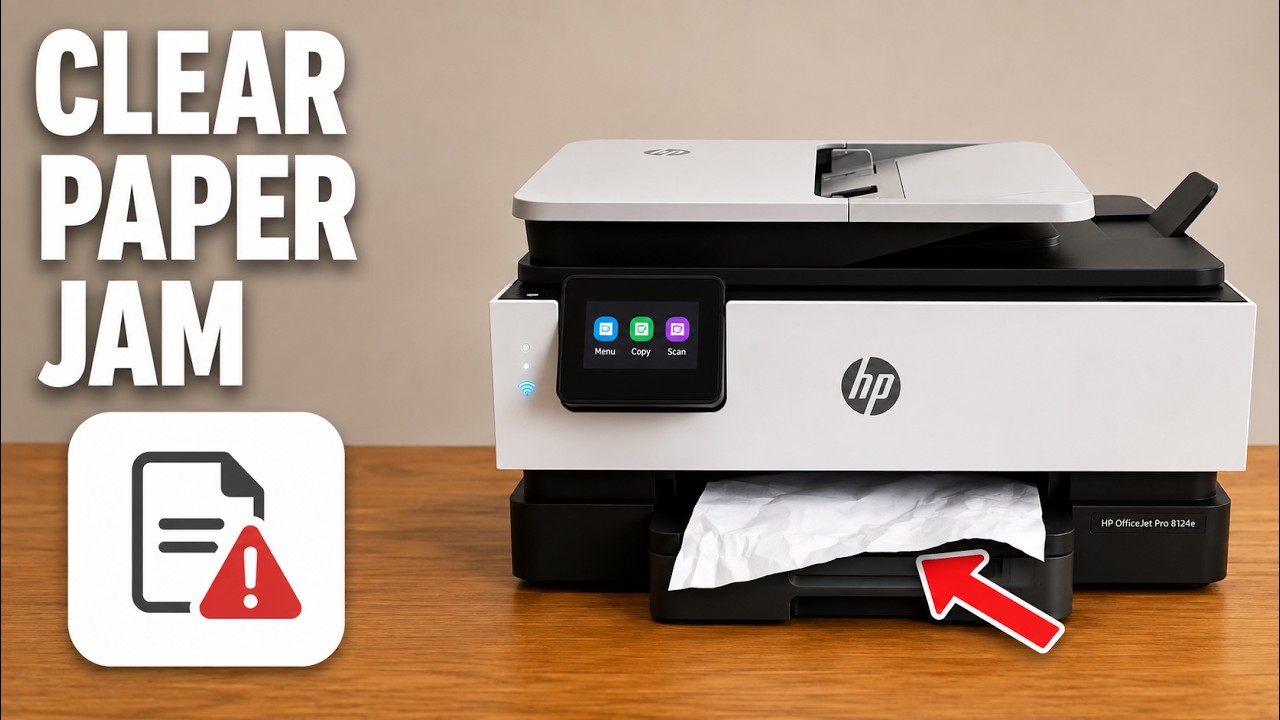
Match the jam location first, then follow the inside or paper-tray path. Let hot internal parts cool before reaching into the printer.
Restore the HL-L2445DW’s network configuration when you need to set it up again, with the connection and password consequences clear before you confirm.
Choose how long the HL-L2445DW waits before Sleep Mode. Sleep and Deep Sleep remain enabled; the timer is not a fix for every delayed print.
Use Windows driver search or the exact Brother download page. A “best driver already installed” result does not mean a new driver was installed.
Find the jam at the output, rear feed, inside or rear transport area of a G3590. Stop and unplug before internal access, remove fragments and refit the covers.
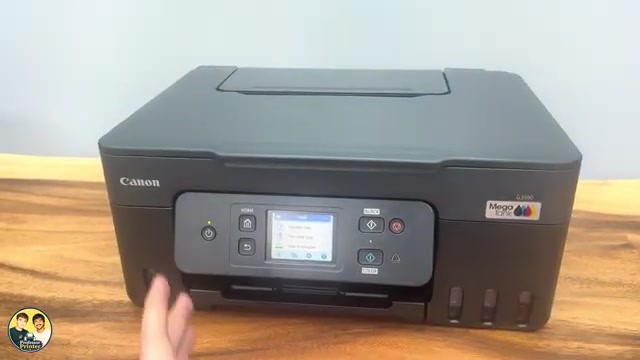
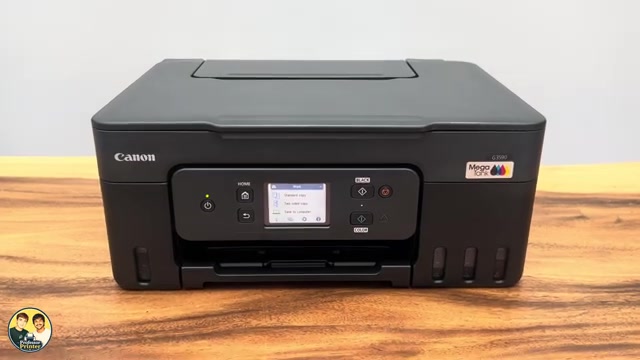
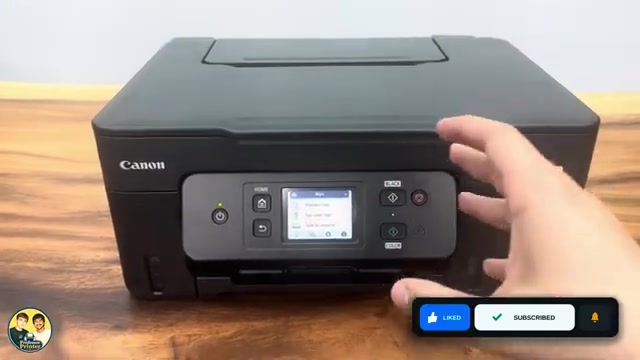
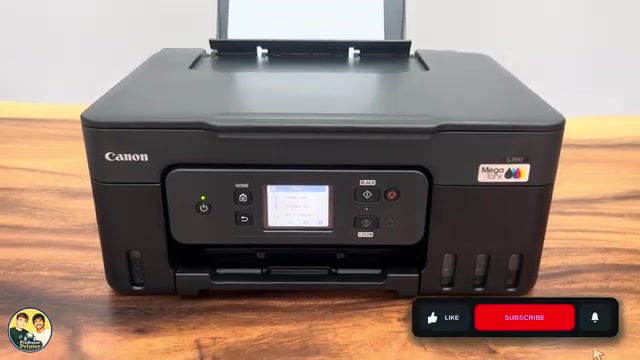
Use a nozzle check to choose normal cleaning or Deep Cleaning on the Canon G3590. Check ink and maintenance-cartridge capacity, and leave the printer plugged in during the required wait before repeating a deep clean.
Use the G3590 Head Replacement menu, check ink and maintenance capacity, fit the colour and black heads in their correct holders, then check the output.
Restore Canon PIXMA G3590 settings with Reset all. This clears network configuration and restores the default administrator password, so connection setup must be repeated.
Use LAN settings only to restore Canon PIXMA G3590 network defaults without choosing the broader Reset all option. Reconnect the printer afterward.
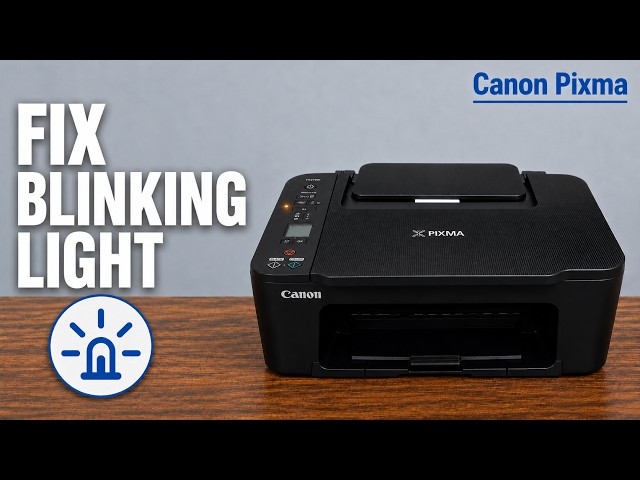
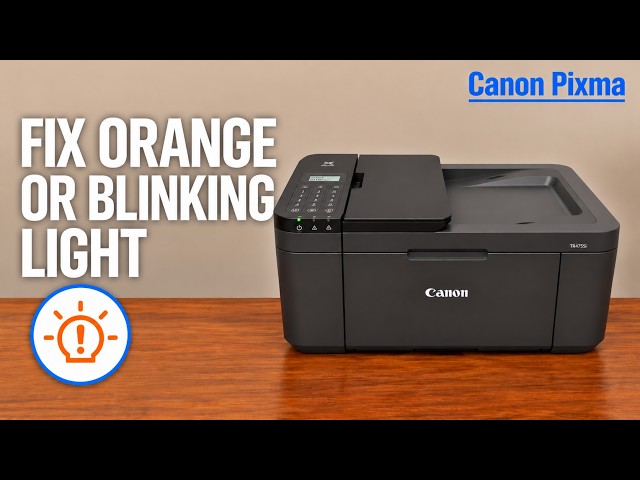
Count the orange Alarm flashes between pauses, then use the exact support code to choose a remedy. A closed output tray, paper jam and cartridge problem need different actions.
Print an alignment sheet with four Alarm flashes, scan it face down at the glass alignment mark and wait for the ON lamp to become steady.
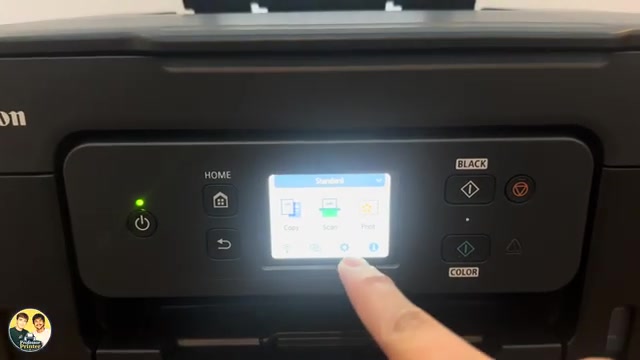
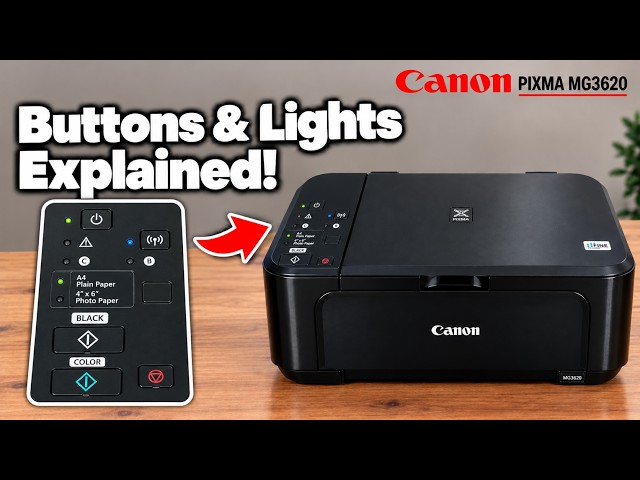
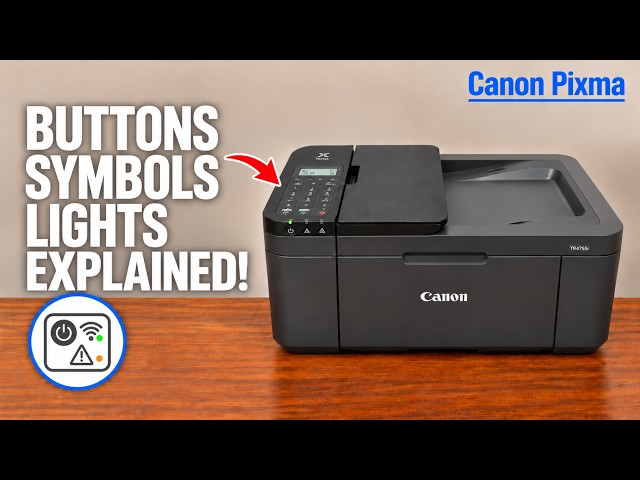
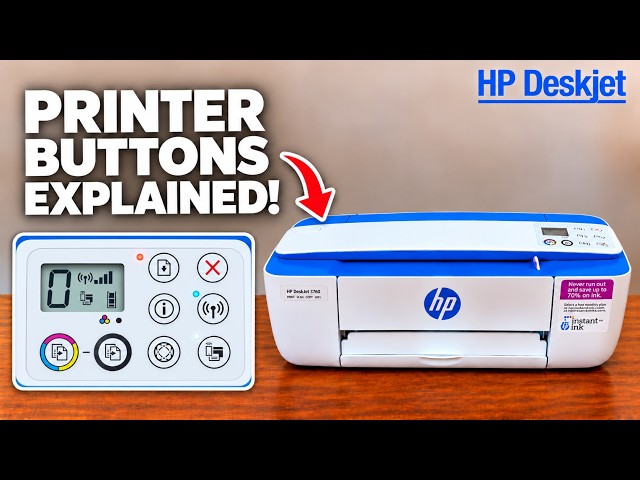
Identify the panel controls, stop a current job and distinguish normal activity from an alarm. Long holds start different tasks, so check the intended procedure first.
Use ordinary cleaning only when the nozzle pattern needs it. After two unsuccessful standard cleanings, Canon allows deep cleaning, with a 24-hour wait before repeating that deeper cycle.
The 21-Alarm-flash initialization resets machine settings and erases network configuration. Use it deliberately, then reconnect and restore the settings you need.
Read the exact error before acting. Replacing the affected cartridge is one option; the documented five-second Stop action for 1686/1688 disables ink monitoring and does not refill or repair a cartridge.
Print the network report and distinguish its default administrator password, direct-connection password and router details. A default password is not the current password after it has been changed.
Print the diagnostic pattern with one Alarm flash, then look for missing lines or white streaks before deciding whether cleaning is needed.
Choose the output slot, rear transport unit or inside-paper path that matches the jam. Remove the sheet slowly, check for fragments and restore the covers before retrying.
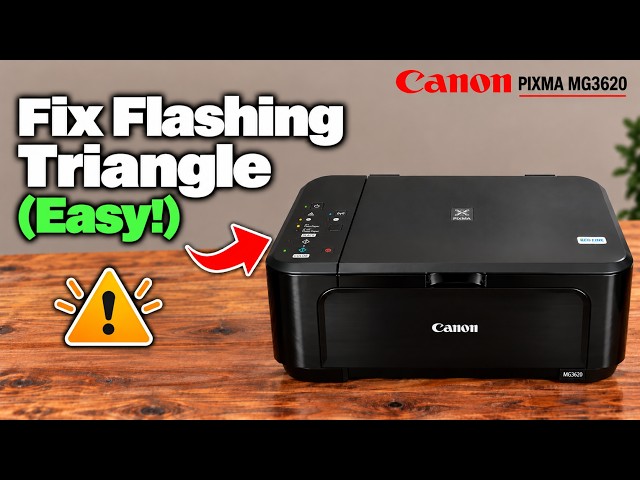
Hold Stop until the Alarm lamp has flashed 19 times to initialise Canon PIXMA MG3620 network settings, then repeat connection setup.
Read the exact LCD support code before choosing a remedy. Resolve common paper and tray messages, then use the matching Canon instructions for cartridge, jam or hardware errors.
Compare a correctly placed standalone copy with a nozzle pattern. Check ink and cartridge installation before maintenance; a good copy does not by itself prove the network is faulty.
Use Setup for printer settings, Menu for the current task and Stop to cancel an active operation. Read the LCD message before trying a reset or maintenance command.
Use Setup → Maintenance → Nozzle check, then inspect missing lines, horizontal streaks or absent colour before deciding whether to clean.
Find whether paper is caught at the output, front tray, inside or rear access. Use the matching removal path, protect the internal film and confirm the printer is back upright before printing again.
Match paper settings, check ink and print a nozzle pattern. Use ordinary cleaning only for a deficient pattern, then follow Canon’s limited deep-cleaning sequence if needed.
All data restores printer settings and the administrator password to defaults, requiring setup again. It preserves the LCD language and several other items; use LAN settings instead for a network-only reset.
Choose LAN settings inside Reset setting to clear the printer’s network configuration. Network printing, scanning and faxing stop until you set up the intended connection again.
Check paper settings and where the marks occur. Clean the glass only for affected copies/scans, use a properly folded sheet for bottom-plate cleaning, and reserve roller cleaning for a relevant feed problem.
Print LAN details and use the actual C-code to choose a check. Distinguish signal, password, address and gateway problems before resetting the printer’s network settings.
Use Setup code 2 for ordinary cleaning, then print and compare a nozzle check. Clean only for a deficient pattern and follow Canon’s limited escalation if two ordinary cycles fail.
Use Setup code 1 to print a Canon PIXMA TS3750i nozzle check, then look for missing lines, horizontal white streaks or a missing colour.
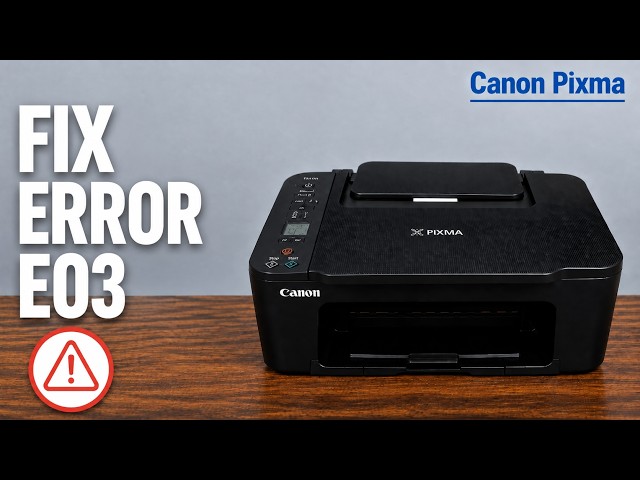
Check whether E03 means an open cover or an actual jam. Remove visible paper gently with both hands; turn off and unplug before accessing paper inside, protecting the clear film.
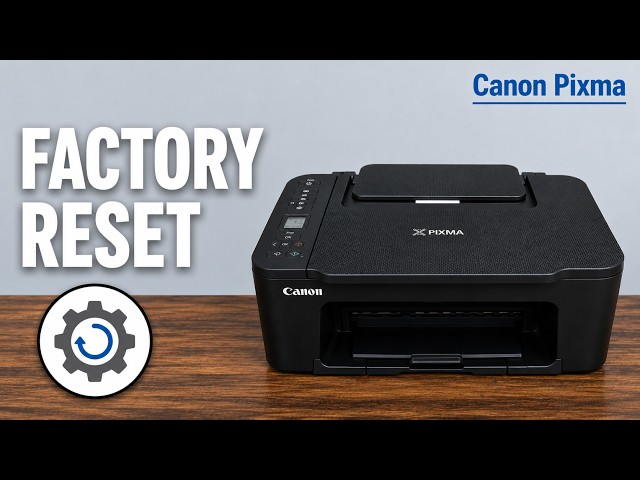
Setup 17 initializes printer settings, including network configuration and the administrator password. Check the consequences first, then redo setup as needed.
Check the selected printer and paper settings, then print a nozzle pattern from the printer itself. Use that result to decide whether the problem needs job settings or ink-system maintenance.
Use the rear feed, removable rear cover and scanner-unit access to remove jammed paper and fragments. Follow Epson’s access method instead of inserting tools into the printer.
Select Clear All Data and Settings only when you intend to reset the printer’s stored configuration. Have your connection details ready, then configure the printer again after the reset.
Use a nozzle pattern to distinguish missing ink from an alignment issue, clean only when needed and observe the ink-level and waiting limits before Power Cleaning.
Use Restore Default Settings → Network Settings to clear the printer’s network configuration, then set up the intended connection again. Keep the broader full-reset option separate.
Use the network connection report to identify the failed connection, then check the current network name, password, signal and device access. Avoid changing unrelated settings on a guess.
Choose vertical or horizontal alignment for the matching symptom, compare your own printed patterns and save the best choices before checking a fresh print.
Check the loaded paper and job settings, then print a nozzle pattern. Choose cleaning from that pattern instead of repeatedly running an intensive cycle for every blank sheet.
Choose ordinary or power cleaning from the nozzle pattern, let the cycle finish and check again. Use Epson’s waiting limits instead of repeating maintenance indefinitely.
Use Clear All Data and Settings when you intend to remove stored personal information and restore defaults. This also removes network settings, so prepare to reconnect the printer afterwards.
Check the LCD error, correct network and selected print queue before reinstalling anything. A connected status does not prove that the current job reached the right printer.
Check the paper type and Windows print quality, then use a nozzle pattern to separate missing ink from alignment or colour-rendering problems. A screen-to-paper colour difference does not always mean the printer is faulty.
Print and inspect the nozzle pattern before choosing maintenance. Complete lines need no cleaning; missing segments call for the appropriate next check.
Check the rear cover and normal scanner-unit opening, remove paper gently and keep the printer upright. Do not detach the scanner support or tilt an ink-filled printer to inspect underneath.
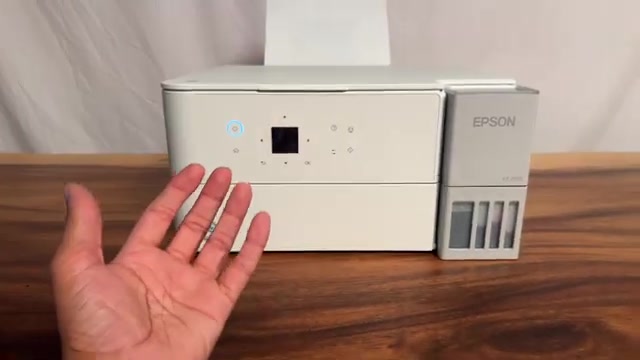
Check the rear feeder, match the registered paper size and type, and reposition the original for crooked copies. These checks help separate a paper-setting problem from borderless cropping or a print-quality fault.
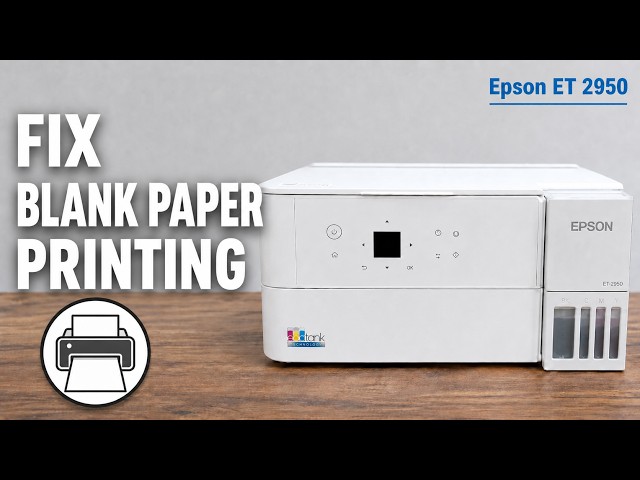
Match the paper settings, check for curl and clean the paper path when ink rubs onto a sheet. For automatic two-sided jobs, review drying time and print density separately.
Check the connection first, then restore only Network Settings when a fresh network setup is needed. Reconnect afterwards and secure the administrator password again.
Separate a printer-screen scanner error from a failed computer or phone scan. Restart normally, check one local copy and then investigate the connection or scanning application when appropriate.
Identify the XP-2205 controls, distinguish low ink from a cartridge error, and check Wi-Fi, paper and service-light patterns.
Check the exact cartridge message, regional compatibility, tape and seating before replacing more parts or changing settings.
Check the nozzles first, run a cleaning only when needed, and follow Epson’s limits before repeating or using Power Cleaning.
Separate a printer problem from a network or Windows queue problem using a local copy, network report and selected printer.
Use the XP-2205 information-and-power buttons to restore network defaults, then reconnect before printing wirelessly.
Print the XP-2205 nozzle pattern using Power and Stop, then decide whether cleaning is needed from the missing lines.
Check the rear feeder, output opening and inside the XP-2205 carefully, then clear the paper warning without tools or tipping the printer.
Use the touchscreen’s Restore all factory defaults command deliberately, then complete setup again. This resets settings rather than repairing a physical printer fault.
Clear the printer’s network configuration without selecting the separate full factory-settings reset, then reconnect it to the intended network.
Check which tray the job requests, reload the right amount of supported paper and fit the guides before retrying a small job.
Use the printer’s jam location and HP’s access points for the priority slot, lower tray or rear path. Stop if paper cannot be removed gently.
Check paper settings and toner estimates, use the printer’s diagnostic page and choose cleaning or colour calibration for the actual defect.
Disconnect power, inspect the cartridge carriage’s path for obstructions and check that it moves freely without forcing it.
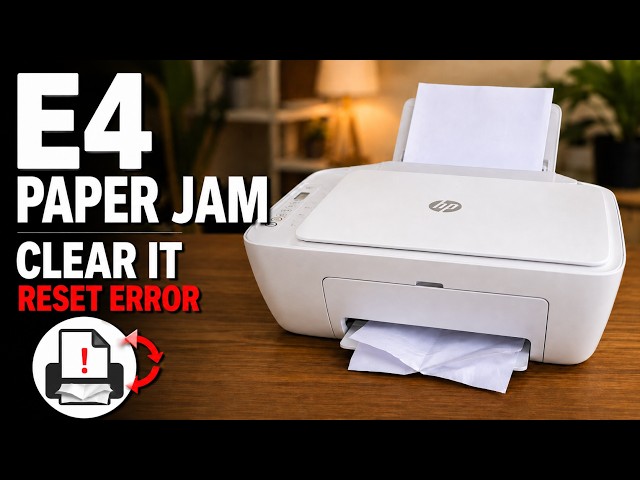
Try Cancel first, then inspect the accessible paper paths safely, remove torn pieces and close every cover before checking the E4 error again.
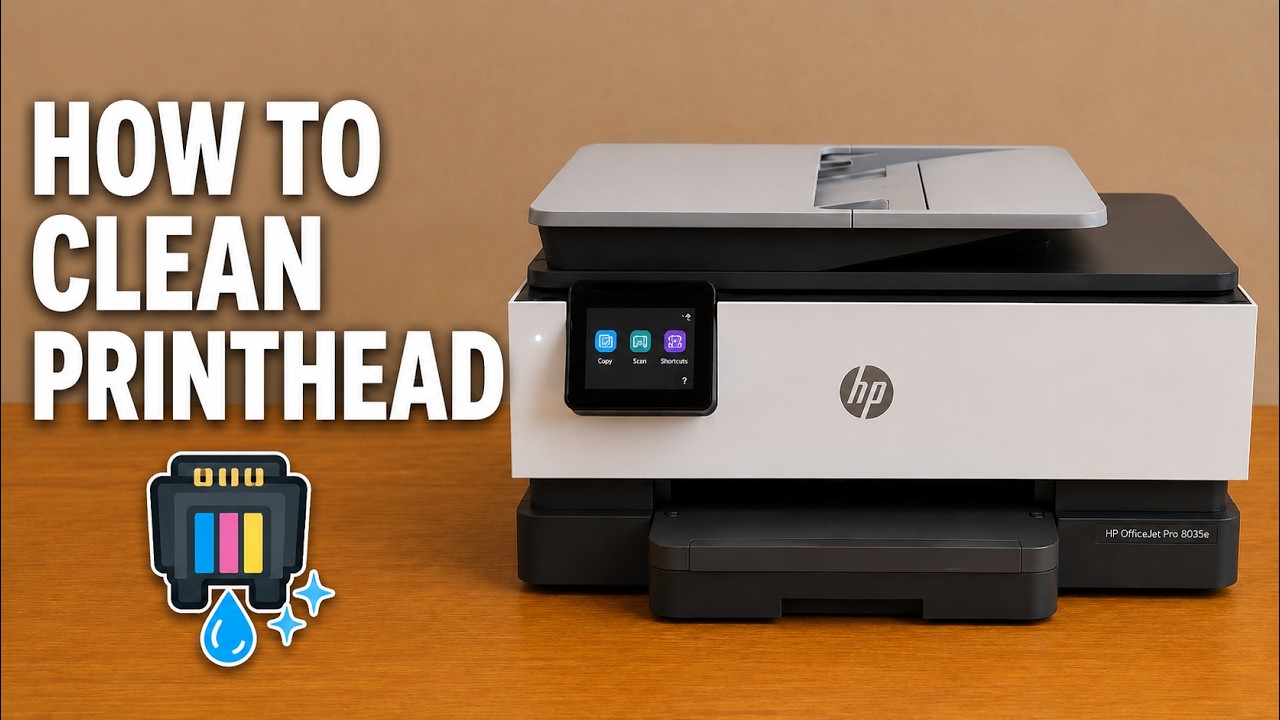
Follow the source video’s three-stage cartridge clean: cotton bud, damp-paper dabbing and a shallow soak, followed by drying, reinstallation and a test print.
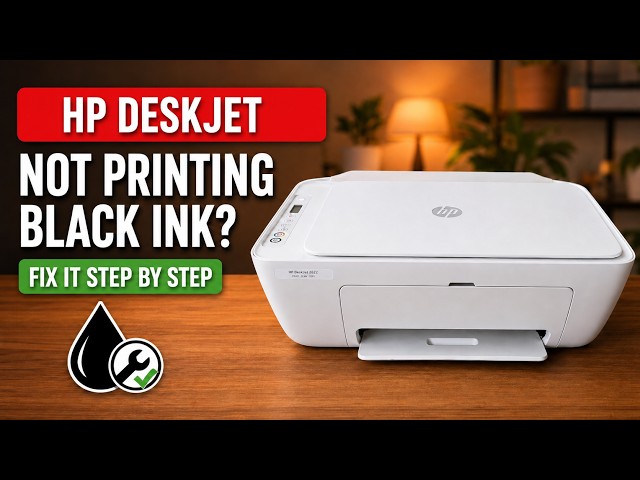
Check missing black or colour on a DeskJet 2600, run the HP app’s cleaning tool, inspect the test page and decide when to stop.
Reload a DeskJet 2600 correctly, check the rear feed path and clean its paper rollers safely if loading checks do not resolve the problem.
Hold the correct DeskJet 2600 button to print its status report, and distinguish it from the separate hardware test and network pages.
Print an alignment page, position it on the scanner and complete the app’s scan prompt to check blurred or misaligned output.
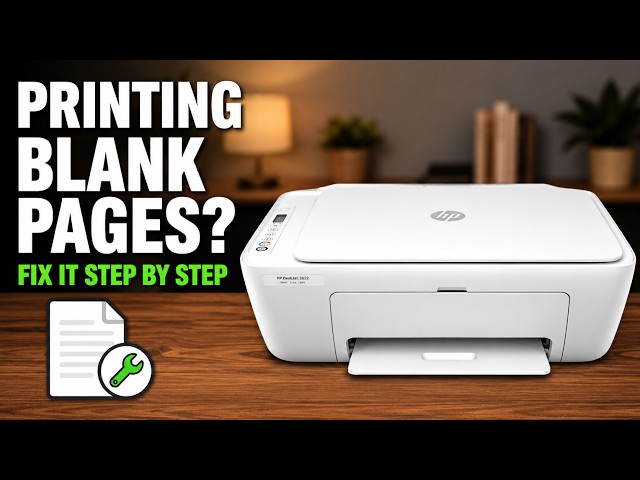
Check paper and ink status, run the HP app’s cleaning routine and inspect its test page before deciding whether a further cleaning is needed.
Use the blinking ink icon to identify an E0 cartridge problem, check seating and protective tape, and confirm the cartridge matches your printer and region.
For an E5 scanner error, cancel and retry the scan, then restart the printer if needed. If E5 persists, use HP support rather than opening the scanner.
For E6 on a DeskJet 2900, turn the printer off, disconnect power for one minute, reconnect and check whether the error returns.
Use Professor Printer’s DeskJet 2900-series manual method: remove the affected cartridge, dab its printhead, optionally soak the base, then dry and reinstall.
Check the input, output, cartridge area and bottom access door for trapped paper. Disconnect power before reaching inside and remove paper gently with both hands.
Check the paper stack and guide first. If feed rollers need cleaning, unplug the printer, use a lightly damp swab and let the rollers dry completely before retrying.
Resolve a DeskJet 2900 paper-size mismatch by matching the selected print size to the paper actually loaded, then sending the job again.
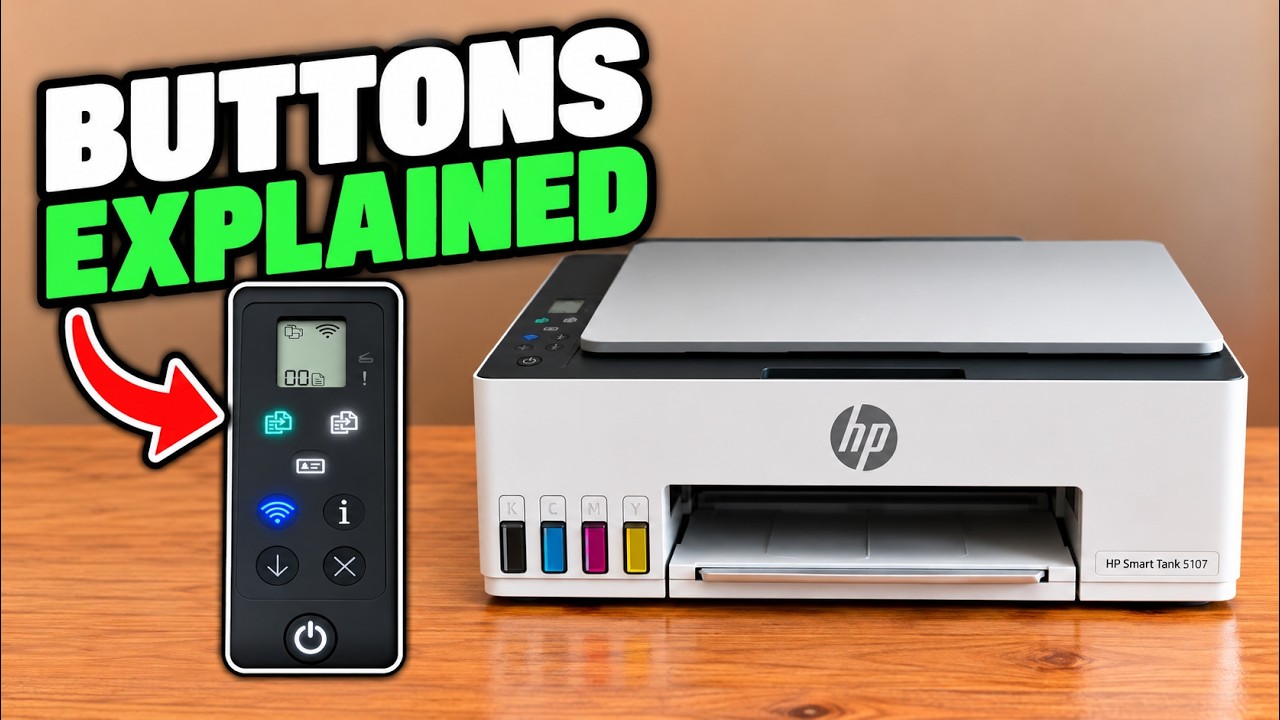
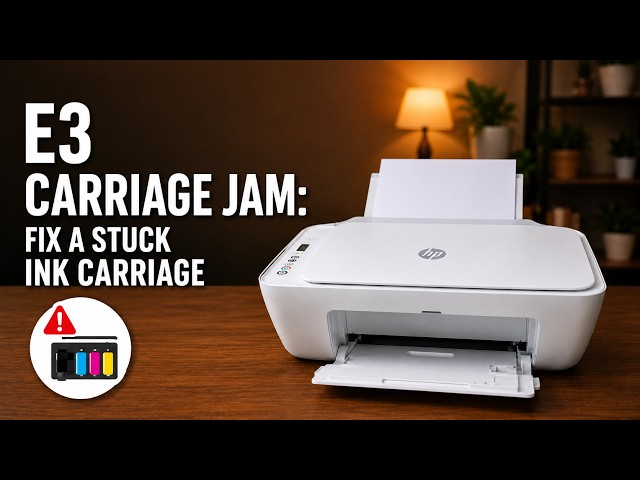
E3 indicates a stalled or obstructed cartridge carriage. Check the access area with power disconnected, remove accessible obstructions and test again before seeking service.
For E9, HP documents restarting and waiting about 15 minutes when no computer cable is available, or applying the correct firmware through a USB-connected computer.
Print the DeskJet 2920’s network configuration page with a deliberate button press and read its address and connection status.
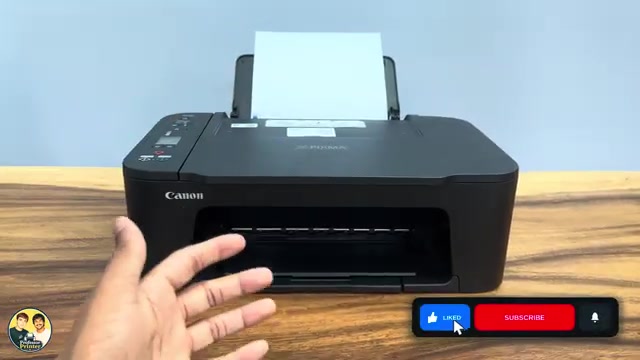
Identify the main controls, read the wireless and ink indicators, and distinguish paper-size errors from a stalled carriage before choosing a remedy.
Identify E3 correctly, disconnect power for internal inspection and remove accessible paper that blocks the cartridge carriage without tools or force.
Read the exact code and lights before replacing ink or resetting Wi-Fi. E2 is a paper-length mismatch; an ink warning, stalled carriage and absent connection need different checks.
Start with a flat, correctly loaded stack and matching settings. If pickup still fails, use HP’s powered-off roller-cleaning procedure, allow the rollers to dry, then retry one page.
Check ink, paper and job settings, then use the printer’s automatic cleaning tools and inspect the diagnostic page. Use alignment for crooked lines and stop when the output is acceptable.
Clear the saved wireless configuration with the documented Wireless and Cancel controls, then run setup again. This is not a full factory reset or a repair for ink and paper faults.
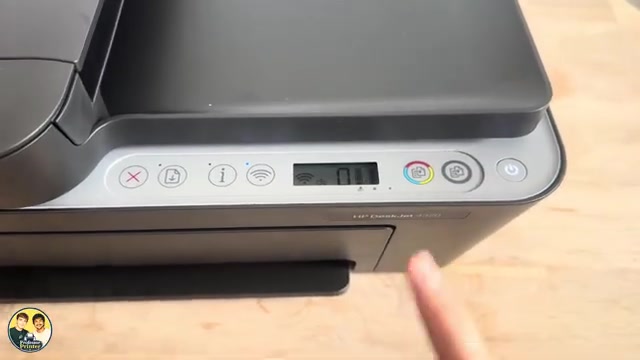
Identify Cancel, Resume, Information, Wi-Fi and Copy, understand the display, and avoid starting a network reset when you only need to stop a job.
Cancel the job, inspect the relevant paper path and remove sheets without sharp tools. Follow the model’s bottom-door positioning instead of turning it upside down.
Read the wireless light pattern, restore network setup only when needed and use the iPhone HP app to join your own network.
Identify the affected cartridge, check compatibility, tape and seating, then use HP’s E0 restart or replacement steps only if the error remains.
Follow Professor Printer’s DeskJet 4300-series method: dab the cartridge printheads, optionally soak their bases, dry and reinstall, then check the printed result.
Check the paper and rear tray first. If pickup still fails, clean the paper rollers with power disconnected, let them dry and test again.
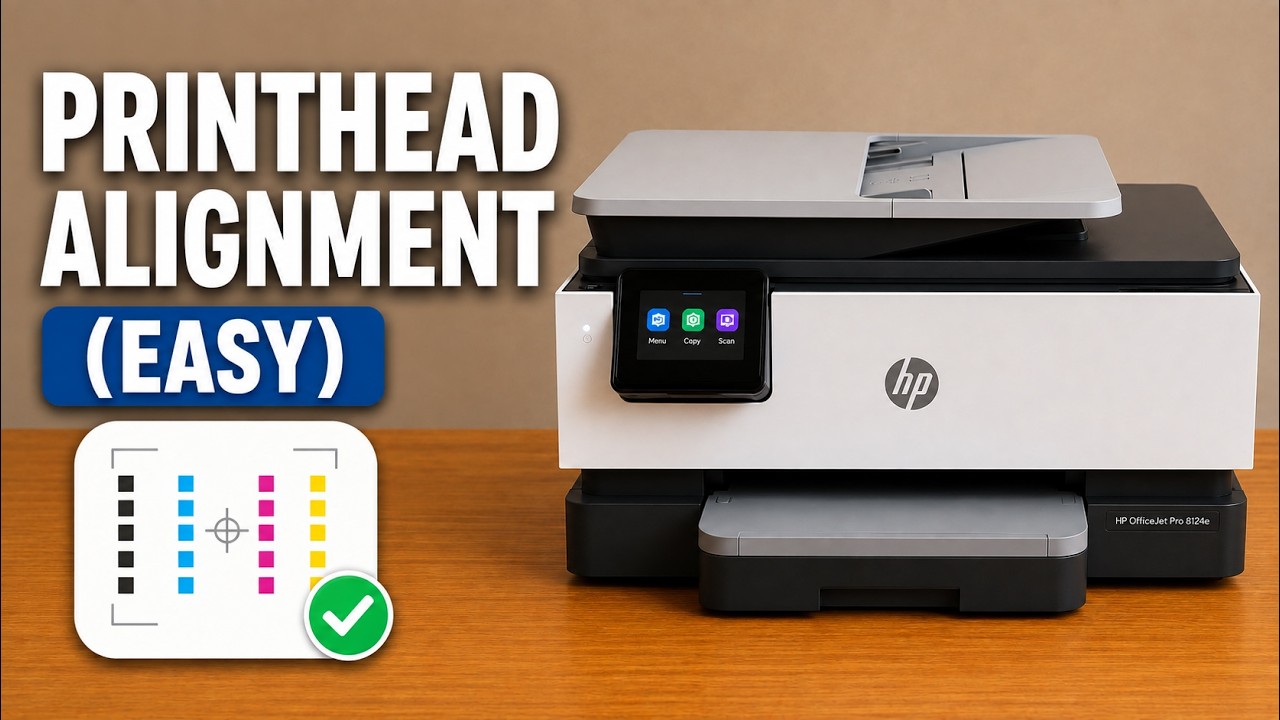
Use the quality report to choose alignment or cleaning, scan the alignment sheet to finish calibration and match photo settings to your loaded paper.
Print the alignment sheet from the touchscreen, place it face down on the scanner glass and choose Scan to complete calibration.
Check the exact cartridge message, confirm the correct regional supply and reseat the cartridge without touching its nozzles or contacts.
Disconnect power before reaching inside, check the carriage and paper path, then remove torn pieces and refit the covers before trying again.
Use the ENVY 6100e touchscreen to choose your home network, check the connection and restore only network settings if needed.
Locate the ENVY 6100e’s default printer PIN and distinguish it from the router password and Wi-Fi Direct credentials.
Use the touchscreen to select automatic firmware updates or update notifications, and check Internet access before expecting an installation.
Check paper and ink, inspect a diagnostic report, then choose cartridge cleaning, alignment or smear cleaning for the actual print defect.
Understand what the ENVY 6100e’s restore options change, try the relevant checks first and use its normal touchscreen reset menu.
Print the alignment sheet, place it on the scanner glass and scan it to finish alignment. Use plain white paper and wait for the completion message.
Identify the exact cartridge message, check the correct regional supply and reseat the indicated cartridge without touching its contacts.
Run the touchscreen’s Clean Smear paper-feed routine, wait for completion and compare a new print before deciding whether the marks are gone.
Use the diagnostic page to decide whether cleaning or alignment is needed, progressing through cleaning levels only while the printed result remains poor.
Check the print zone, paper path, input tray and document feeder. Keep the printer level and use the correct access points instead of pulling from the output opening.
Check loading in the bottom tray separately from originals in the top document feeder, then use the supported feeder-roller cleaning procedure if needed.
Follow Professor Printer’s restart for an HP OfficeJet Pro stuck on the HP logo and loading dots, including his wait and the result he reports.
Identify the everyday controls, stop the current job and distinguish normal activity from a fast-blinking power-light error.
Check the rear feed and front access area for torn paper, avoid moving parts and confirm the obstruction is gone before restarting a job.
Identify the displayed error before changing anything: paper-size mismatch, carriage or paper jams, scanner failure, empty ink, and printer or update errors need different responses.
Follow Professor Printer’s manual black-printhead cleaning method for the HP Smart Tank 5107, including access, dabbing, optional soaking and refitting.
Professor Printer’s HP Smart Tank 5107 colour-printhead cleaning method: remove the head, dab its ink outlet, check the colour marks and refit it.
Use the diagnostic page to choose alignment or automatic cleaning, then check paper and quality settings without dismantling the printheads.
Professor Printer explains draining an HP Smart Tank 5107 back into an ink bottle by inversion, including preparation and spill precautions. Drainage is not filmed.
Follow Professor Printer’s HP Smart Tank 5107 printhead access and replacement method, including release, orientation, refitting and clearing the access error.
Read the wireless light and screen together, switch Wi-Fi on if needed and choose setup only when the printer is not already connected.