Before you start
- A small damp kitchen towel or cloth and a dry piece for drying.
- Space to handle the removed printhead upright and contain ink drips.
The method used in the video
Professor Printer removes the black printhead and cleans the ink outlet on its underside with a damp kitchen towel. He goes directly to manual cleaning rather than using the app’s cleaning cycle. The aim is to restore a clear black ink mark on the towel before putting the head back.
The cleaning technique is demonstrated on a printhead that already works.
Step 1:Restart and position the printhead carriage
Press Power to turn the printer off. Wait until the light stops blinking and the printer is fully off. Turn it back on and listen for movement inside.
When you hear the carriage moving, open the front. In the video, the presenter places his fingers against the moving carriage and holds it until it stops trying to move. He positions it in the central opening, where there is room to slide a printhead out.
Step 2:Release and remove the black printhead
Push down the printhead-cover release and open the cover. Press down on the bottom-right corner of the black printhead so it comes forward, then slide it out.
Step 3:Dab the underside with a damp towel
Dampen a small piece of kitchen towel or kitchen cloth. Dab the ink outlet on the bottom of the head against it. The presenter also wipes the underside when needed. Continue checking the marks on the towel: his target is a solid black line, showing that ink is coming out.
Use a dry piece of towel to dry the head before refitting it.
Optional: the soaking method described for dried ink
If the bottom still seems badly dried, the presenter describes using a small plastic container with just enough water to cover the bottom outlet section. He suggests soaking that bottom part for 30 minutes to 2 hours, then drying it before refitting. This alternative is explained rather than carried out in the recording.
Step 4:Slide the printhead back and close the cover
Hold the printhead with its upper ink inlet facing upwards. Line it up with the slot and slide it in loosely. The presenter supports it with his fingers and pushes with his thumb until it clicks into place. Lower the printhead cover, then close the front of the printer.
Step 5:Clear the access error
Press the X/Cancel button to clear the error caused during access. If that does not clear it, the presenter recommends turning the printer off, waiting a few minutes and turning it back on.
What to check afterwards
After refitting, try the document that was missing black and check the output. A solid black mark on the towel is a useful ink-flow check; the printed page shows whether your original problem is resolved.
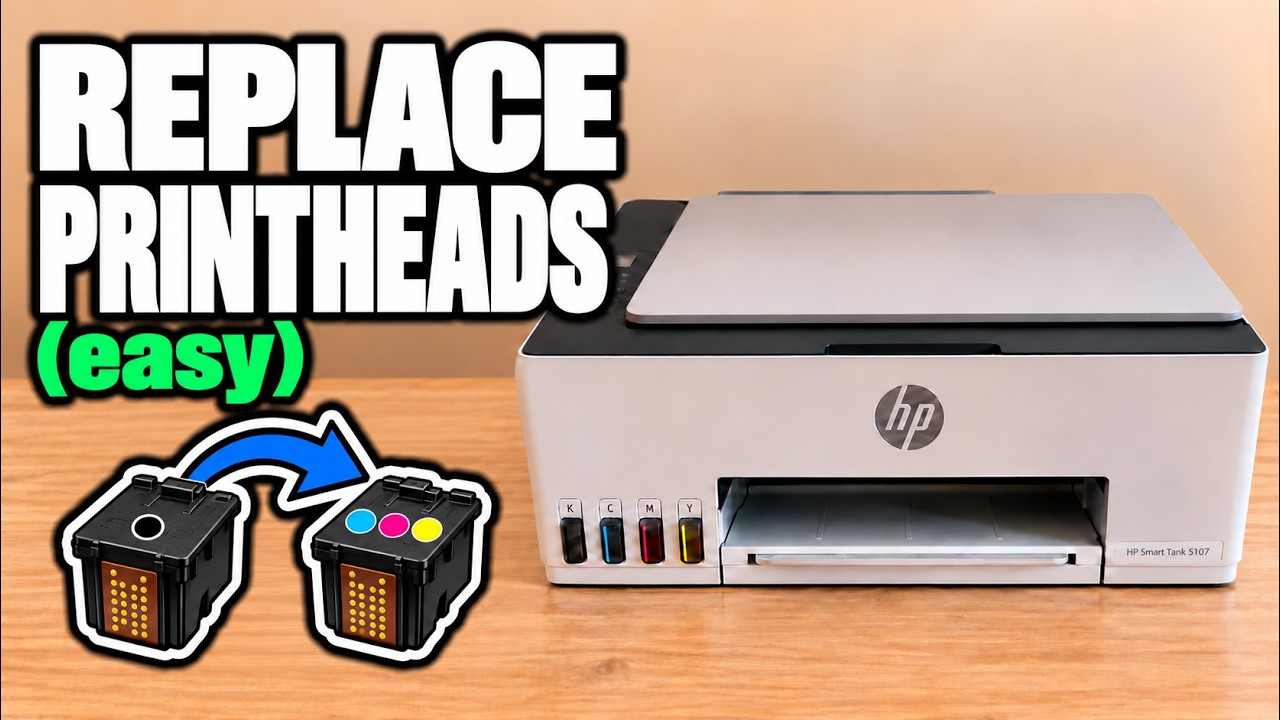
If black is still absent, the presenter suggests that the printhead may need replacing.
Questions & troubleshooting
What if the X button does not clear the error?
The presenter’s next step is to turn the printer off, wait a few minutes and turn it back on.