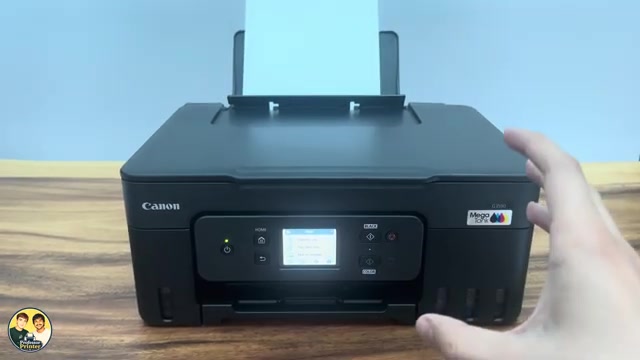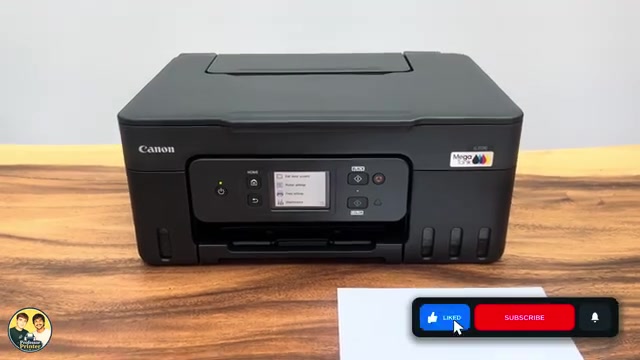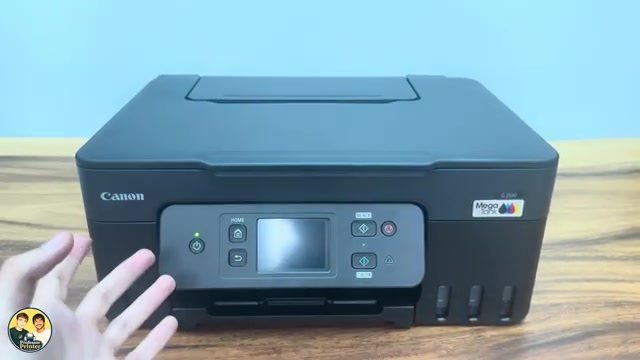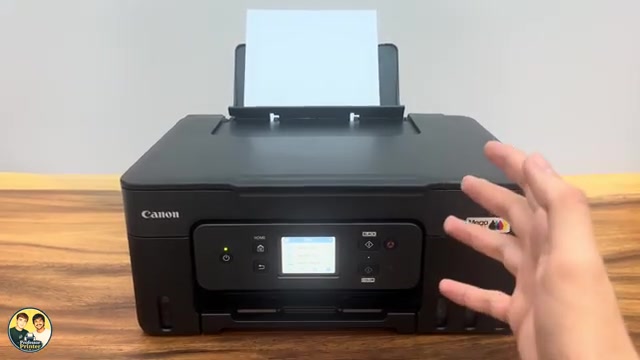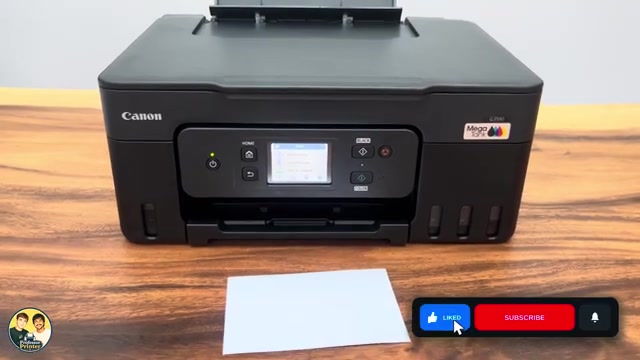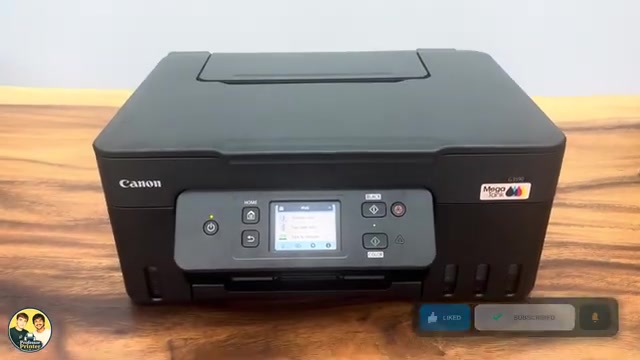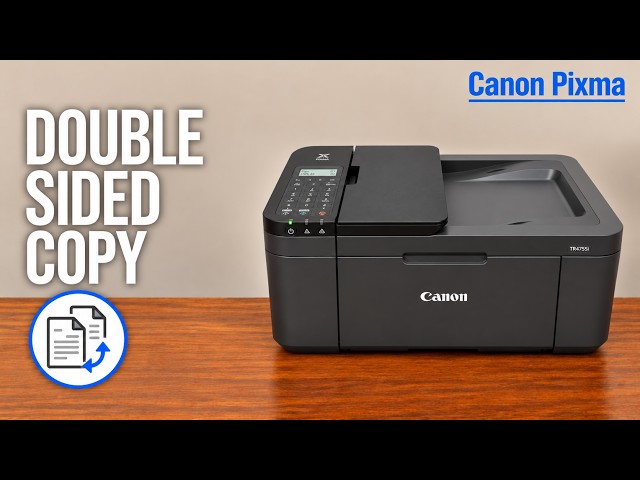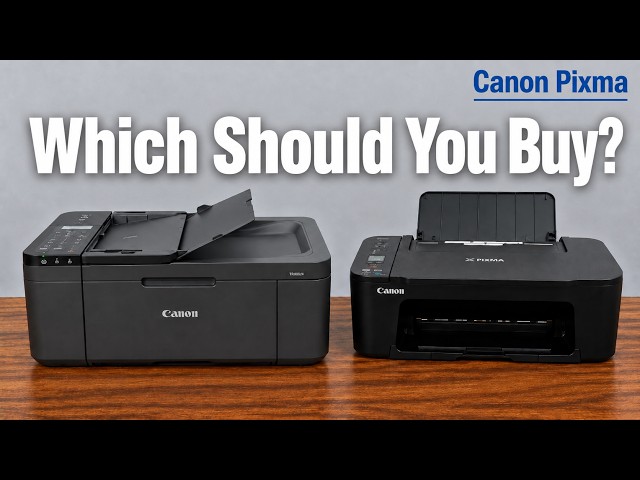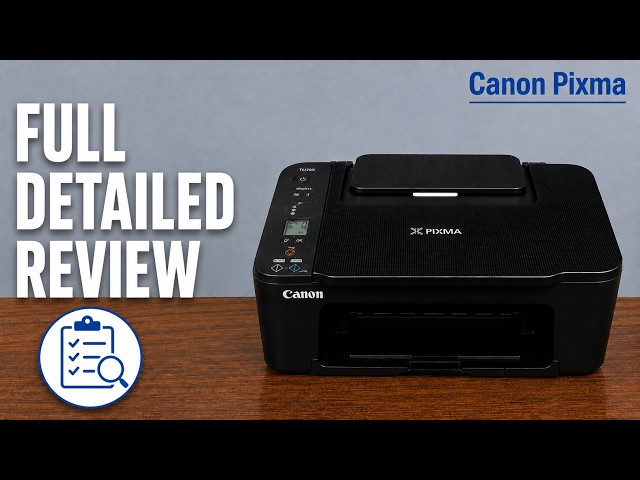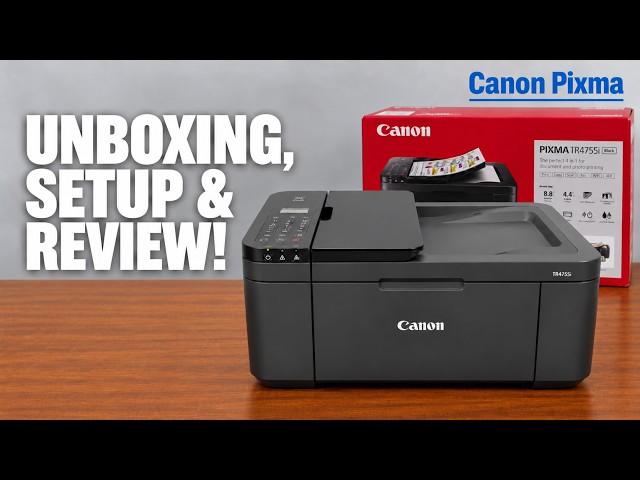
Canon PIXMA TR4755i
Canon PIXMA TR4755i setup: ink, Wi-Fi and Windows
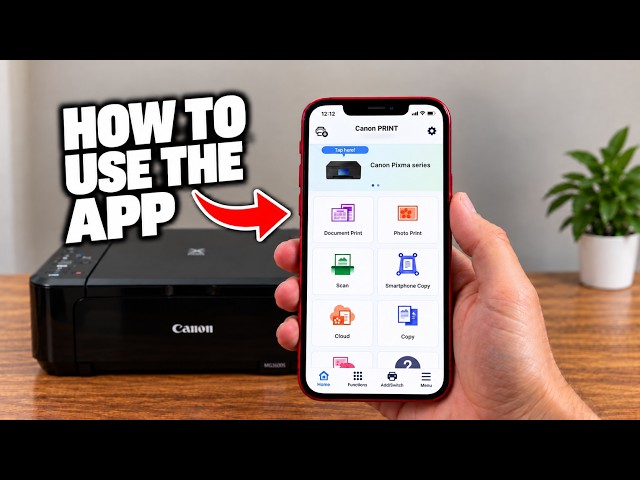
Install the TR4755i cartridges and paper, connect with Canon PRINT on an iPhone, then add Windows using the official installer if app setup fails.
Getting startedRead & watch
Explore everyday printing, paper handling and copying tasks.
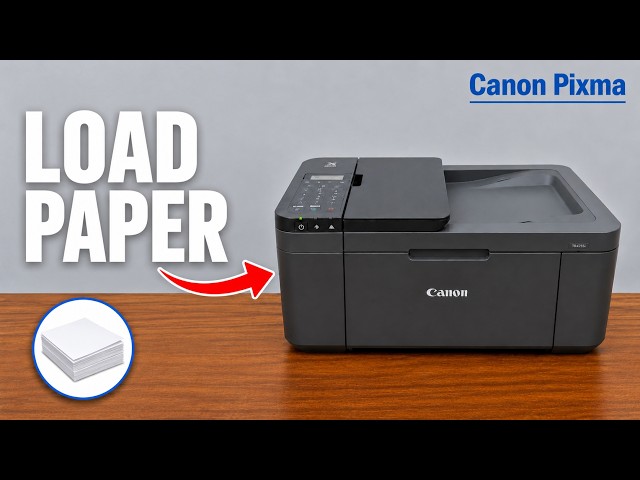
Install the TR4755i cartridges and paper, connect with Canon PRINT on an iPhone, then add Windows using the official installer if app setup fails.
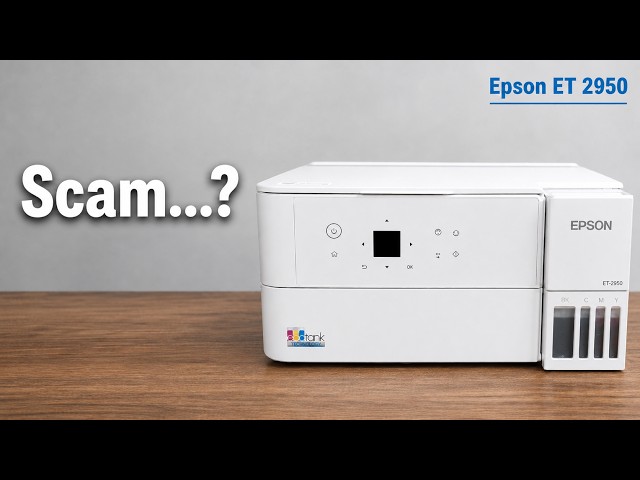
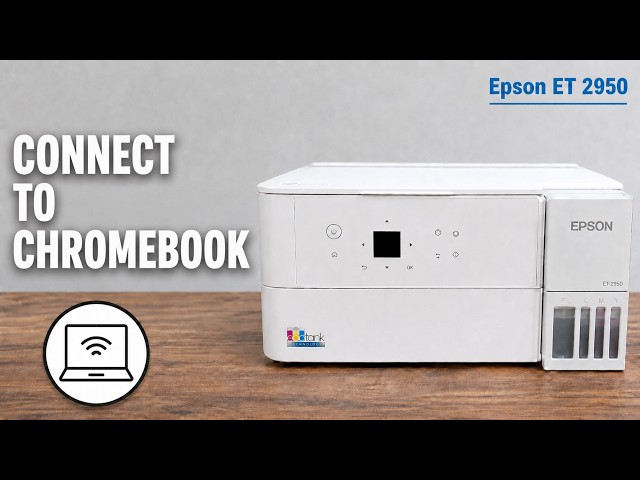
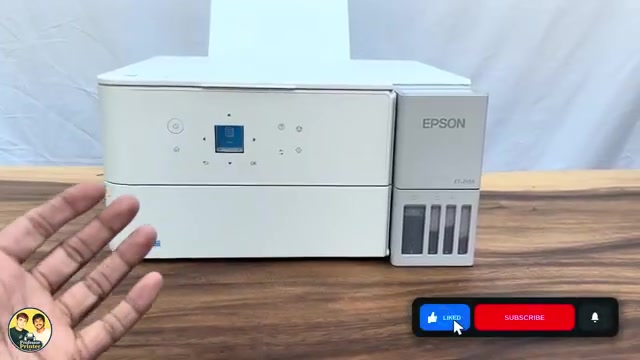
Professor Printer’s ET-2950 review weighs its everyday colour print against the small screen, interior access and purchase cost. See what the demonstration establishes.
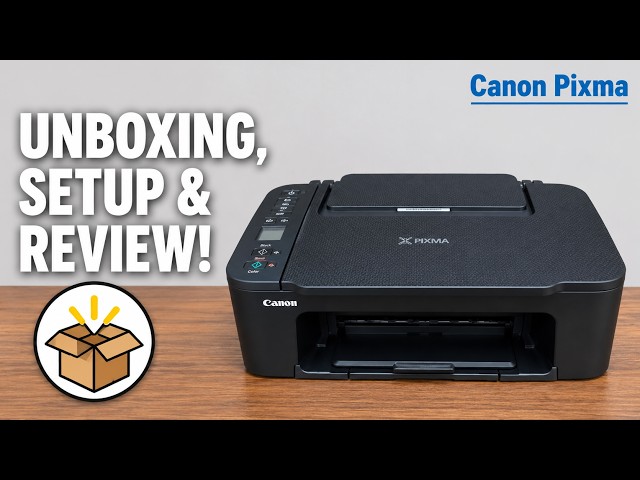
Install the TS3750i cartridges and rear-tray paper, connect with Canon PRINT, correct the first-print paper settings, and add the printer on Windows.
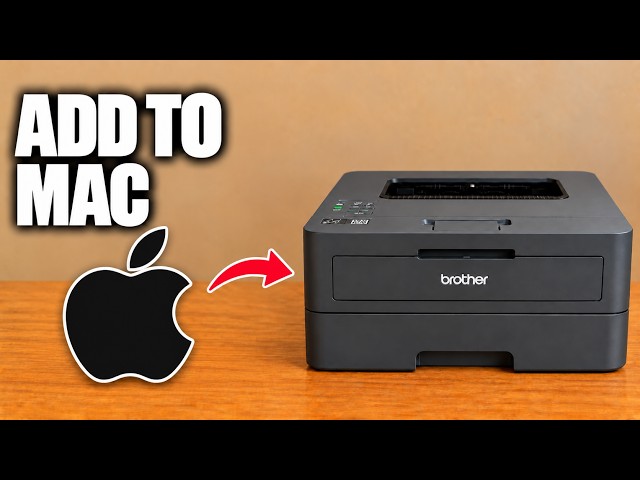
Add the networked HL-L2445DW in macOS Printers & Scanners, then select it for a small print check.
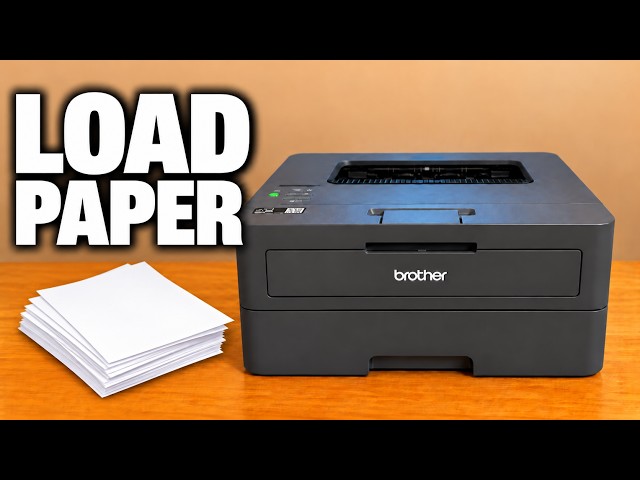
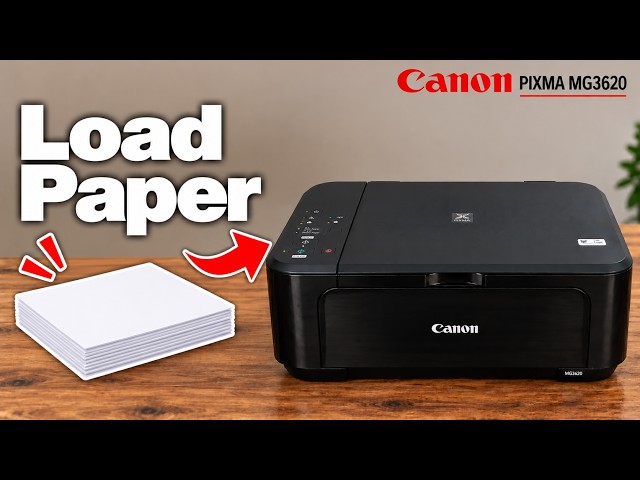
Adjust the front tray’s width and length guides, load paper below the maximum mark, and match the printer’s paper settings to the stack.
Find the printer on the same network, add it in Windows Printers & scanners and select it when printing a document.
Use the Stop button to cancel the current print, copy or scan operation on a Canon PIXMA G3590, and understand what happens to a partly printed page.
Load the Canon PIXMA G3590 rear tray print-side up, adjust the guides and register the actual paper size and type before printing.
Place the original face down, choose Standard copy and the number of copies, then use the Canon PIXMA G3590 Black or Color button.
Update the Canon PIXMA G3590 rear-tray paper settings when changing between plain paper, photo paper or different sheet sizes.
Make a standalone copy, save a scan to iPhone or Windows, or send a document/photo through Canon PRINT. Use the branch for your device and distinguish manually turning originals from automatic two-sided output.
Match photo paper and app settings on a Canon PIXMA G3590, check borderless cropping and assess the finished photo instead of relying on a universal “best” preset.
Use Quiet setting to reduce Canon PIXMA G3590 operating noise. Printing can be slower, and some sounds remain.
Print an alignment sheet with four Alarm flashes, scan it face down at the glass alignment mark and wait for the ON lamp to become steady.
Choose photo printing, scanner capture, phone-camera copying or printer information in Canon PRINT. The app’s available controls depend on the selected model and connection.
Load paper print-side down in the front tray, set the guides without bending the stack and open the output tray before printing.
Print from a phone or Windows, make panel copies and combine scanned pages into a saved PDF with Canon PRINT or Canon IJ Scan Utility.
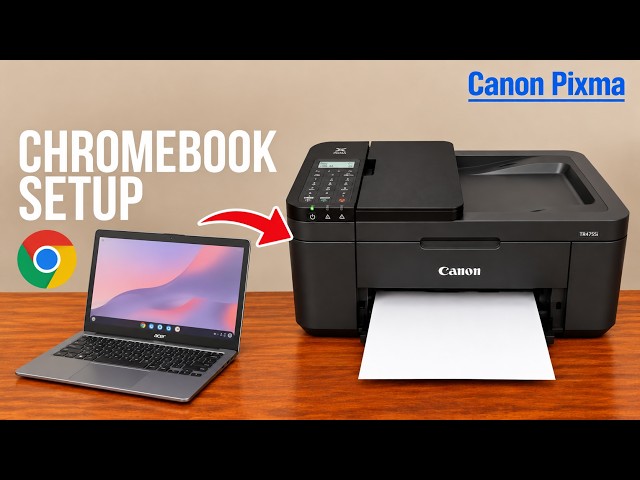
Put the Chromebook and printer on the same network, save the printer in ChromeOS and select it in the print dialog. Open the output tray before sending the job.
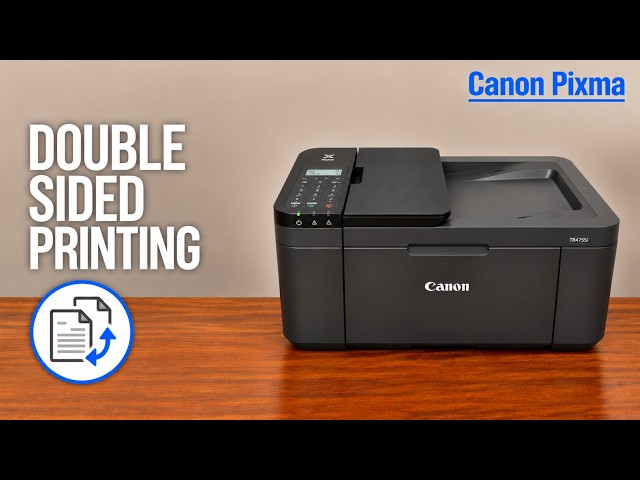
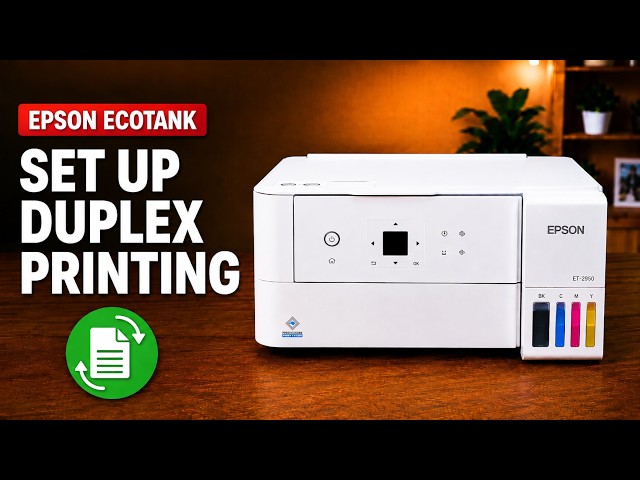
Use A4 or Letter paper, choose automatic duplex and the intended binding edge, then let the printer reverse the sheet itself. Check copies and page range before printing.
Load plain paper centrally in the front tray with the printable side down, open the output support and register the actual size and Plain paper on the LCD.
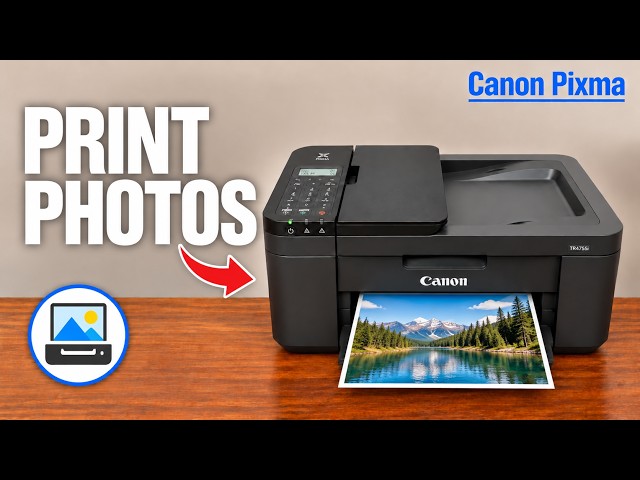
Match the loaded photo paper on both the printer and the print dialog, then choose an appropriate quality setting. Follow separate Windows or iPhone steps and check the crop before printing.
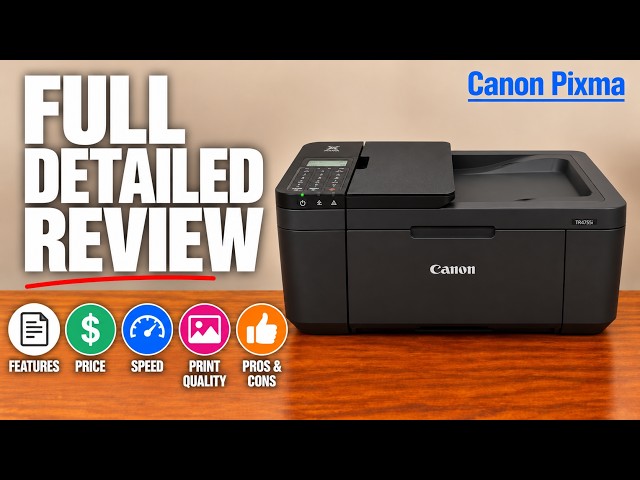
An evidence-based reading of the source review: automatic two-sided printing and a document feeder are the main practical strengths, while manual two-pass scanning and cartridge running costs need consideration.
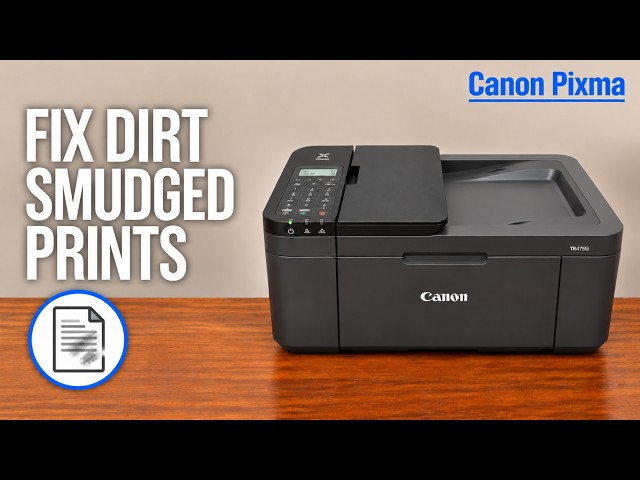
Check paper settings and where the marks occur. Clean the glass only for affected copies/scans, use a properly folded sheet for bottom-plate cleaning, and reserve roller cleaning for a relevant feed problem.
Use Special copy → 2-sided copy and scan each side of the original on the glass when prompted. The printer then prints both sides of one output sheet automatically.
Compare the documented differences that change daily use: automatic or manual duplex, a feeder or glass-only scanning, fax capability and photo-size choices. Source demonstrations illustrate the workflow without proving equal quality or fixed speed gains.
Use Professor Printer’s manual two-pass method: copy the first side, reload the printed sheet, turn the original over and copy the second side.
Use the iPhone’s Share or Actions menu, choose Print and select your Canon printer on the same network. Match the paper settings before sending the job.
Save the printer on the same Wi-Fi network, select it as the print destination and use ChromeOS Scan for a document. Check the saved file separately from the scanner preview.
Place the original face down at the scanner’s alignment mark, select the loaded plain-paper size and press Black or Color. Add copies while the number flashes; keep the lid closed during scanning.
Load a flat stack vertically in the rear tray, print-side facing you. Set the guide gently, open the output path and confirm the matching size with Paper Select and OK.
Enable manual duplex, print the first side and reload the sheets exactly as Canon’s on-screen prompt shows. Press the printer’s OK button to print the reverse.
Match the loaded photo paper, the printer’s size selection and the app’s media settings. Try an available higher-quality mode and inspect a sample rather than assuming one setting is best for every image.
The presenter likes the printer’s basic home-document role but raises concerns about colour quality and running costs. Read those observations alongside the exact model’s confirmed limits.
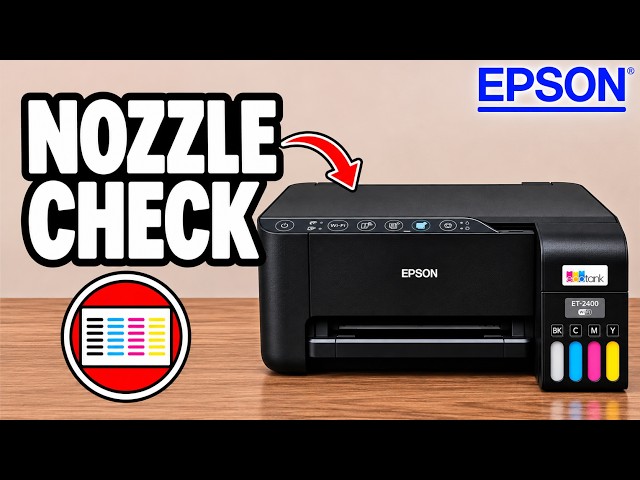
Use Power and Stop to print a nozzle-check pattern directly from the printer, then look for breaks in the printed lines.
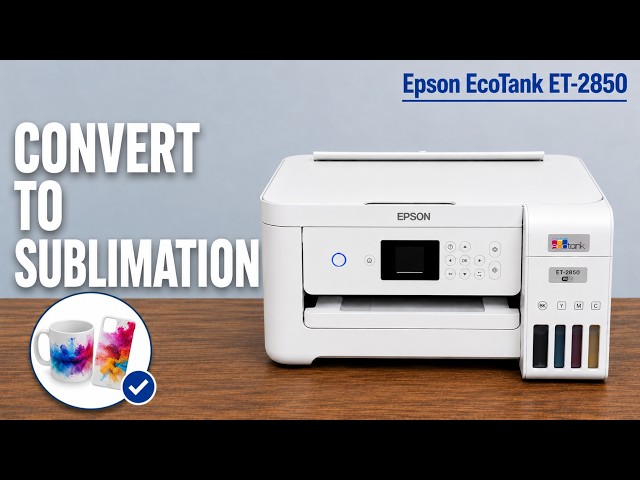
Prepare a new, unfilled EcoTank for sublimation using the ink-first setup sequence explained in the video, followed by charging, nozzle checks and sublimation paper.
Check the selected printer and paper settings, then print a nozzle pattern from the printer itself. Use that result to decide whether the problem needs job settings or ink-system maintenance.
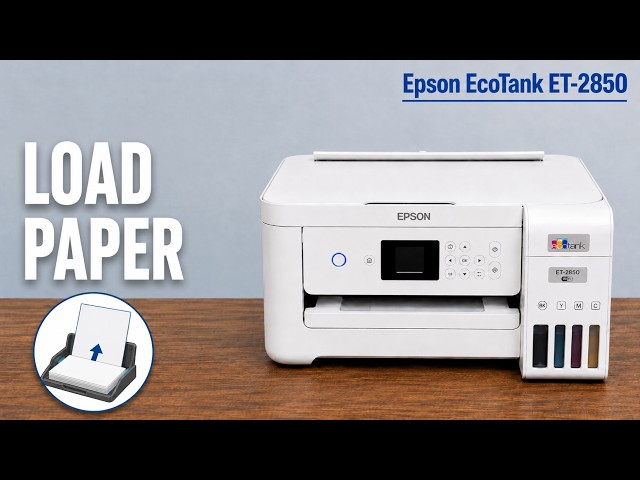
Extend the rear paper support, centre the paper between the edge guides, and match the printer’s size and type settings to what you loaded.
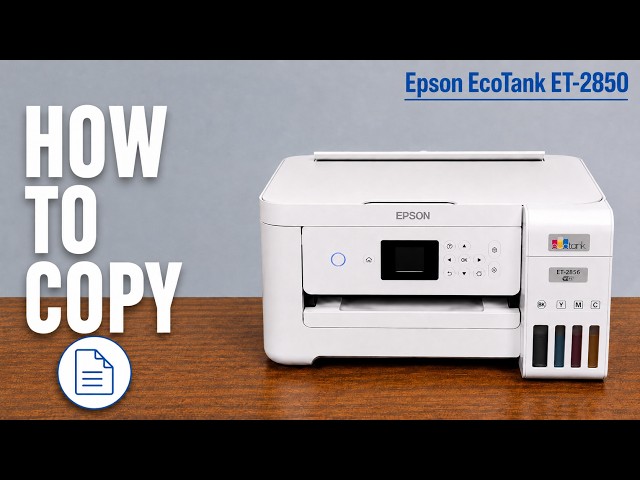
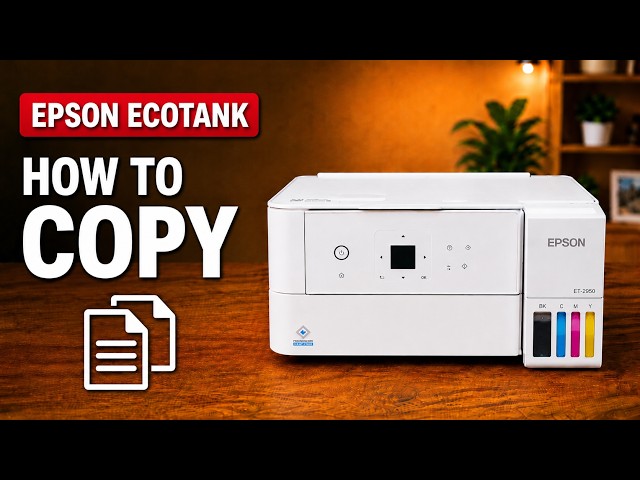
Copy from the printer’s screen, or use Copy in Epson Smart Panel after connecting the app. Place the original face down and check the colour and paper settings before starting.
Match the loaded photo paper’s size and type in both the printer and Windows print settings. Choose an appropriate quality setting, check the preview and judge a small print before a larger job.
Load a supported envelope short edge first in the rear feeder, then match its size and Envelope paper type in the printer and Windows driver. Start with one envelope to check placement.
Use Epson Smart Panel to scan the glass original, check the preview and save it to a chosen location. You can then select the saved document in the app to print another paper copy.
Select the ET-2950 or ET-2959 from an Apple app’s Print menu, check the options and print over the same Wi-Fi network without installing a printer driver.
Choose vertical or horizontal alignment for the matching symptom, compare your own printed patterns and save the best choices before checking a fresh print.
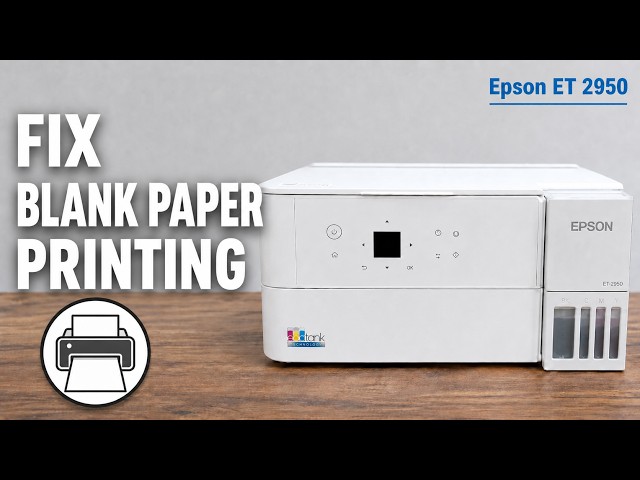
Check the loaded paper and job settings, then print a nozzle pattern. Choose cleaning from that pattern instead of repeatedly running an intensive cycle for every blank sheet.
Save the printer in ChromeOS on the same Wi-Fi network, select it as the print destination and check a test page. Use ChromeOS’s built-in printing rather than a Windows Epson driver.
Use 1→2-Sided copying to put two scanned sides on one sheet. Turn the original on the scanner glass when prompted; the printer handles the two-sided output.
Turn on two-sided output in the computer’s print dialogue and choose the binding edge. Check both sides of a small test before printing the whole document.
Check the paper type and Windows print quality, then use a nozzle pattern to separate missing ink from alignment or colour-rendering problems. A screen-to-paper colour difference does not always mean the printer is faulty.
Use the rear feeder with the paper centred and the guides touching its edges. Confirm the actual sheet size in the printer and the print job.
Place the original face down on the scanner glass, choose Copy on the printer, and set colour and copy count. Check the paper settings before pressing Start.
Check the rear feeder, match the registered paper size and type, and reposition the original for crooked copies. These checks help separate a paper-setting problem from borderless cropping or a print-quality fault.
Match the paper settings, check for curl and clean the paper path when ink rubs onto a sheet. For automatic two-sided jobs, review drying time and print density separately.
Use sublimation ink at the first fill of a new EcoTank: follow Professor Printer’s explanation of the initial charging stage, matching tanks and careful bottle handling.
Match the ET-2950 or ET-2959 paper settings to the loaded sheets, choose Windows photo quality and enable borderless output only for a supported paper combination.
Add a supported Epson printer, choose the right task and check the result. Learn the difference between saving a scan, making a paper copy and capturing a document with your phone camera.
Print one side, reload the sheet and print the other side on the XP-2205, with a small orientation check before longer documents.
Raise the rear support, put the paper against the feeder’s right side, and slide the blue edge guide against it. Use the actual paper size in your print settings.
Place the original face down on the glass, then press either the black-and-white or colour copy button. This procedure makes a printed copy without a computer.
Check the rear feeder, output opening and inside the XP-2205 carefully, then clear the paper warning without tools or tipping the printer.
Professor Printer’s XP-2205 review weighs occasional home printing against button-driven setup, manual duplex and a slow high-quality colour demonstration.
Open Jobs on the printer’s touchscreen, select the active job and confirm Cancel, then check that the intended job has stopped.
Use the single-sheet priority slot or load the lower paper tray, then match the paper size and type in your print settings.
Check which tray the job requests, reload the right amount of supported paper and fit the guides before retrying a small job.
Use touchscreen copying without a computer, print from the HP app and save a flatbed scan. Select the correct original sides and paper source before starting.
Connect the printer’s fax port to a suitable telephone service, enter your real header details, send to a confirmed recipient and check the fax result.
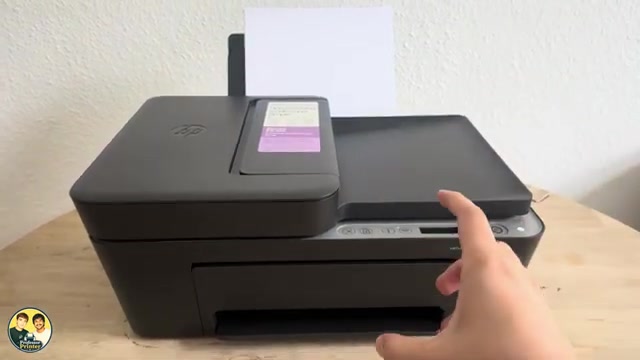
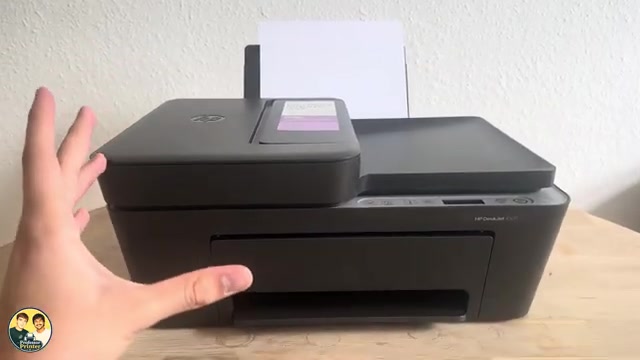
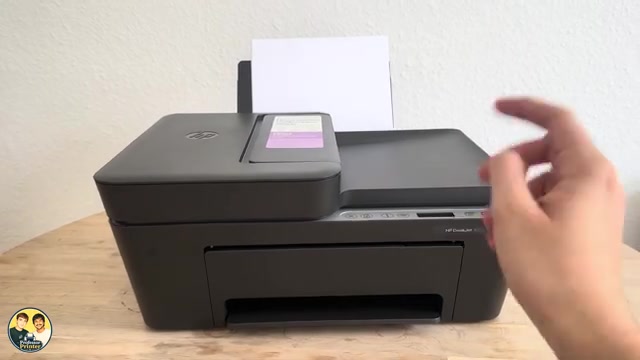
Use the DeskJet 2600’s Cancel button to stop the current operation and understand why a computer queue may still contain other jobs.
Use the copy buttons, print from the HP app, and scan one or several flatbed pages into a PDF saved on your iPhone.
Open the rear input tray, position plain paper correctly and adjust the guide and output support on a DeskJet 2600.
Print page one, reload that sheet and print page two using the HP phone app, with paper orientation and mismatch checks.
Reload a DeskJet 2600 correctly, check the rear feed path and clean its paper rollers safely if loading checks do not resolve the problem.
Press the red Cancel X to stop the current DeskJet 2900 operation. If more pages start, check the sending device’s remaining print queue.
Make a copy at the printer, print from an iPhone and save a scanner-glass document as a PDF in Files.
Print page 1, reload the same sheet in the correct orientation, then print page 2 for a simple two-sided document.
Match paper size and type, adjust the image preview and choose quality and colour settings in the HP app before printing.
Raise the rear support, load a straight paper stack and adjust the guide on the demonstrated DeskJet 2920. Check the paper message before resuming a job.
Load plain paper, feed one original face up against the scanner’s right edge and press the black or colour Copy button. Repeated presses within two seconds request additional copies, up to nine.
Raise the rear input support, load paper with its print side facing up, fit the width guide and open the output support before printing.
Use the Windows manual two-sided workflow and reload the sheet yourself. For a portrait document that opens like a book, the rear-tray reload is printed-side down with the top edge entering first.
Start with a flat, correctly loaded stack and matching settings. If pickup still fails, use HP’s powered-off roller-cleaning procedure, allow the rollers to dry, then retry one page.
Load supported photo paper print-side up, match the size and media settings in the HP app, then print and inspect the result. The DeskJet 3755 does not support borderless printing.
Connect the iPhone directly to the printer’s own wireless network, print a local document, then return to your normal Wi-Fi. A router is not needed for this local connection.
Cancel the job, inspect the relevant paper path and remove sheets without sharp tools. Follow the model’s bottom-door positioning instead of turning it upside down.
Copy from the glass or document feeder, print from the HP app, and save a checked iPhone scan as a PDF. Wi-Fi is needed for this app workflow, not standalone copying.
Use the rear input tray for blank paper, adjust the width guide and extend the output tray. Keep the top document feeder for originals to copy or scan.
Print page 1, reload the same sheet correctly, then print page 2. This small-job phone method does not enable an automatic duplex unit.
Check the paper and rear tray first. If pickup still fails, clean the paper rollers with power disconnected, let them dry and test again.
Match the actual photo paper, size and layout in the HP app, then choose an available quality setting and inspect a sample. These models do not offer borderless printing.
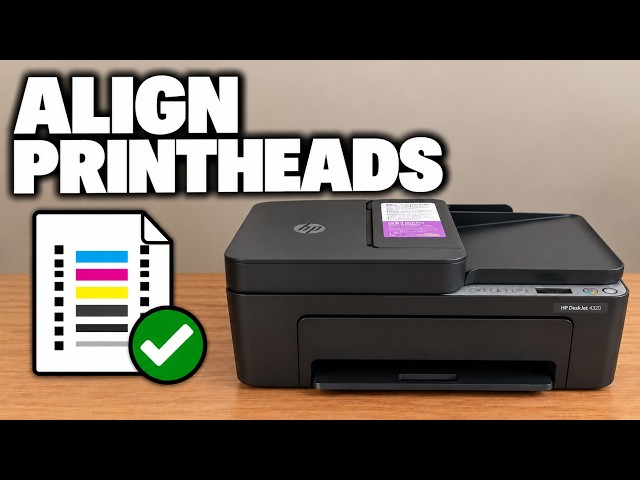
Use the quality report to choose alignment or cleaning, scan the alignment sheet to finish calibration and match photo settings to your loaded paper.
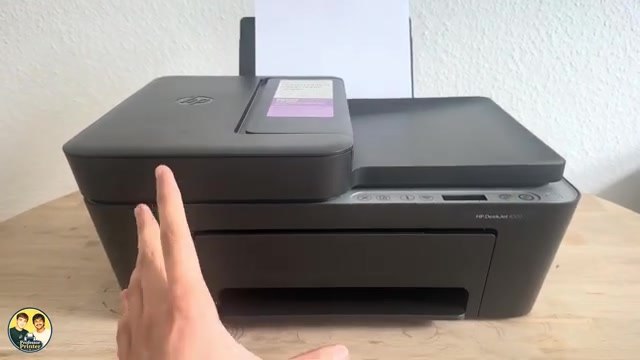
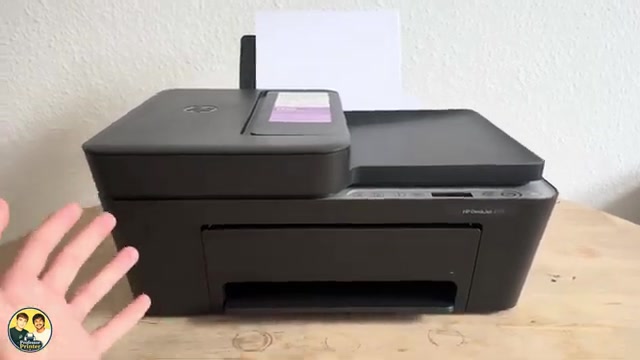
An attributed look at the DeskJet 4300 models, with a 2955 comparison: a document feeder, manual duplex, shared everyday limits and the costs to check before buying.
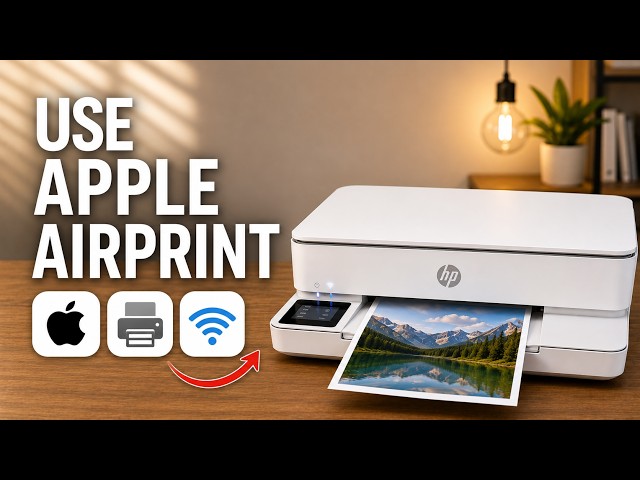
Open an iPhone document, select the ENVY 6100e through AirPrint and check the page settings and printed result.
Make a copy at the printer, print a file from your iPhone, or scan a page with the HP app and save it as a PDF in Files.
A source-based look at the touchscreen, paper tray and flatbed workflow, with the presenter’s opinions separated from unverified cost and speed claims.
Load plain paper without bending the sheets, set the tray’s actual size and type, and check the next print on the demonstrated ENVY 6132e.
Set the photo-paper side, size and type, then choose the HP app’s photo print settings. The source demonstrates settings, without a glossy-paper test print.
Make a copy from the scanner glass or feed several original pages through the top document feeder using the printer’s touchscreen.
Scan each side of the original on the glass when prompted, then let the printer produce a two-sided copy automatically.
Load the bottom tray, adjust its guides and match the printer’s paper size and type settings. Photo paper goes with its printable side down.
Choose two-sided printing in the HP app, select the binding edge and let the printer turn the sheet automatically.
Match the loaded photo paper in the tray and HP app, review the crop and quality settings, then print a small sample before making more copies.
Find your printer, print a file, distinguish printer scanning from camera scanning, save a PDF and locate settings in the HP app.
Identify the everyday controls, stop the current job and distinguish normal activity from a fast-blinking power-light error.
Place an original on the glass, choose black or colour copying and switch between document and photo-paper copy modes.
Load the rear tray with the printable side facing up, align the width guide and extend the output support.
Print the first PDF page, reload that sheet with its blank side ready, then select only the second page in the HP phone app.
Match the loaded paper, review crop and colour, and choose a quality setting before sending a photo from your phone.
Use the diagnostic page to choose alignment or automatic cleaning, then check paper and quality settings without dismantling the printheads.