Before you start
- A brand-new, unfilled printer for this method; the presenter specifically excludes starting with ink already in its tanks.
- Sublimation ink and sublimation paper for the setup you intend to use.
- A computer with your design and a connection to the printer. A heat press and suitable item are separate requirements for transferring the print.
Step 1:Start with a new printer before adding any ink
Professor Printer’s key instruction is to make the choice before the initial fill: use sublimation ink in the new printer instead of its regular printing ink. Unbox the printer and prepare it for first setup without filling the tanks with ordinary ink.
Step 2:Fill the matching tanks with sublimation ink
Open the scanner unit and the ink-tank cover. Use sublimation ink for each corresponding tank: black to black, yellow to yellow, magenta to magenta and cyan to cyan.
The source describes opening a tank cap and placing the matching ink bottle on the inlet so the ink flows into the tank. Work through the colours without putting a different colour in the wrong tank. No numerical fill volume or specific bottle model is supplied in this recording.
Step 3:Turn on the printer and complete initial charging
Turn on the printer and work through the first-start prompts, including the language selection. Let the initial ink-charging process complete. Professor Printer describes this stage as taking about 10 minutes while ink is drawn through the system.
Follow the printer’s progress rather than assuming it has finished when that estimate expires.
Step 4:Check the nozzles if the output is incomplete
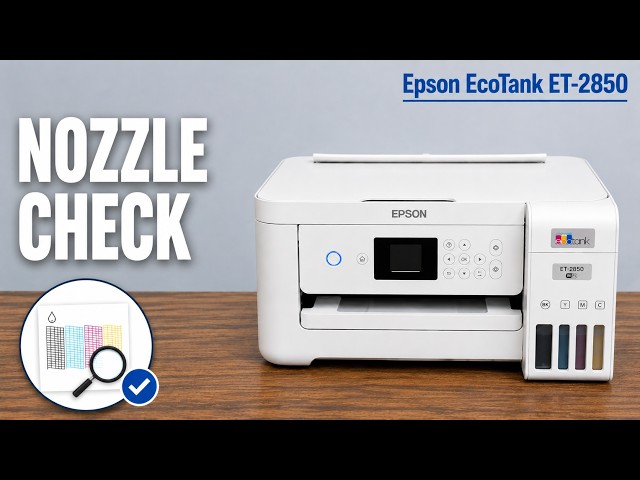
After charging, the presenter recommends a nozzle check if printing is not coming through properly. He suggests a print-head clean if that check shows a problem, with separate nozzle-check and cleaning demonstrations for the detailed controls.
He also suggests allowing 12–24 hours after setup for the ink system to settle if printing is not yet working smoothly.
Step 5:Load sublimation paper and send your design
Load sublimation paper in the rear feeder. Put your design on the computer and connect the printer, using the Wi-Fi connection mentioned in the video, then send the design to print on that paper.
The video’s printer-preparation explanation ends here. Transferring the design onto an item requires the separate heat-press stage the presenter mentions; this source does not provide its temperature, time, pressure or colour-management settings.
Questions & troubleshooting
Does this method begin with an EcoTank that already has ordinary ink?
No. The presenter repeatedly specifies a brand-new printer with no ink in its tanks. He does not provide a draining or flushing procedure in this video.
What if the first print has gaps?
The source suggests a nozzle check and, if needed, a head clean, and mentions allowing 12–24 hours for the ink system to settle.