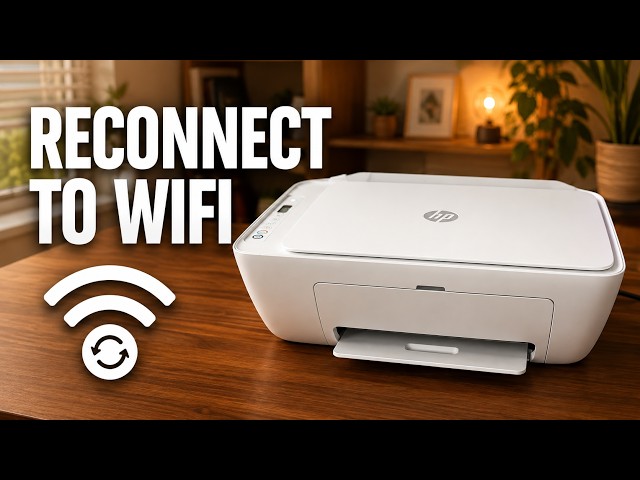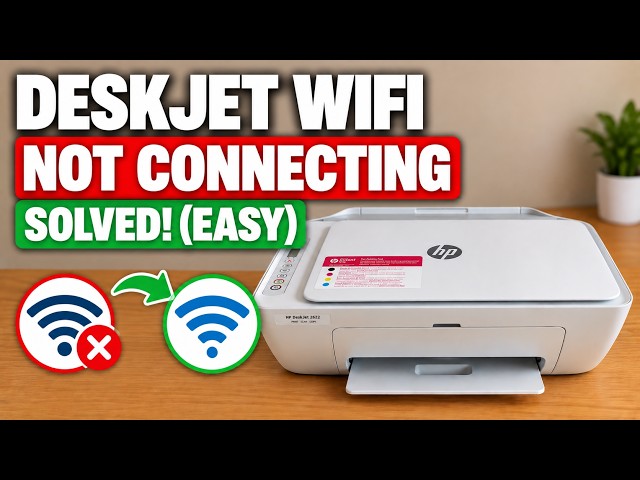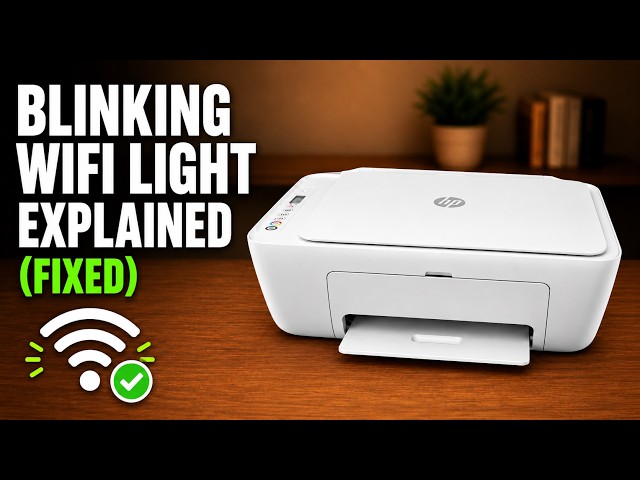
HP DeskJet 2600 blinking Wi-Fi light: what to check
A flashing blue wireless light means the DeskJet 2600 has not joined a wireless network. Check its light and connection stage before changing any saved settings.
Browse help with connecting your printer and staying connected.
A flashing blue wireless light means the DeskJet 2600 has not joined a wireless network. Check its light and connection stage before changing any saved settings.
Reconnect a DeskJet 2600 after a router, Wi-Fi name or password change. Try HP app setup, use the demonstrated recovery if discovery fails, then check the printer from home Wi-Fi.
Find where DeskJet 2600 setup is stopping: app discovery, the temporary printer connection, or the home network. Check the working connections before resetting wireless settings.
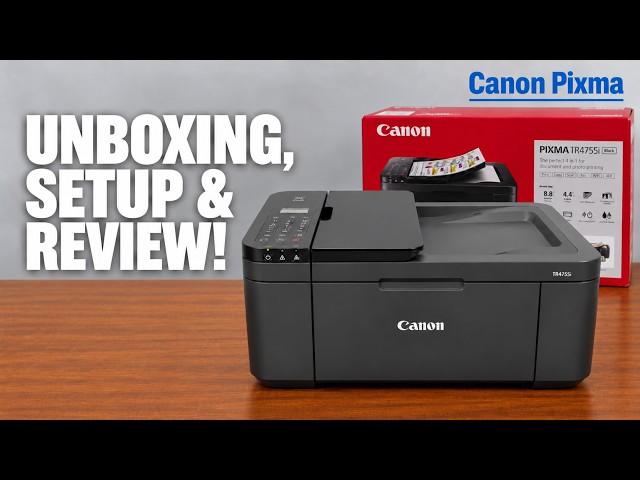
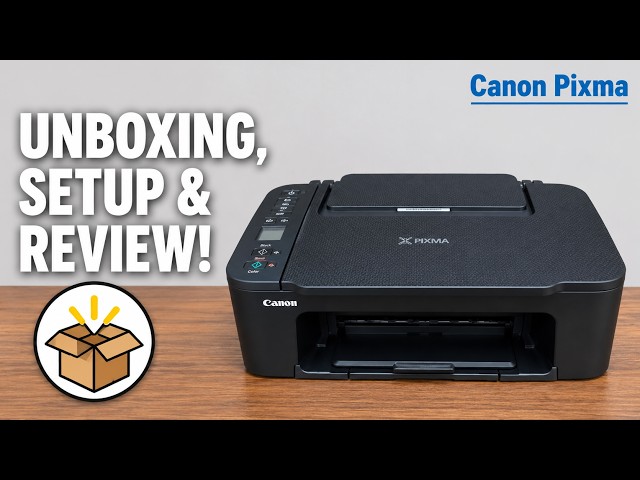
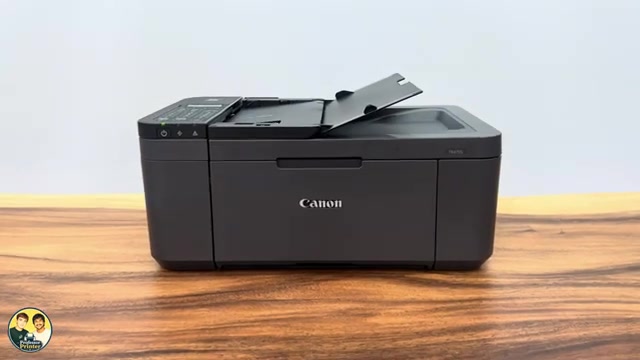
Install the TR4755i cartridges and paper, connect with Canon PRINT on an iPhone, then add Windows using the official installer if app setup fails.
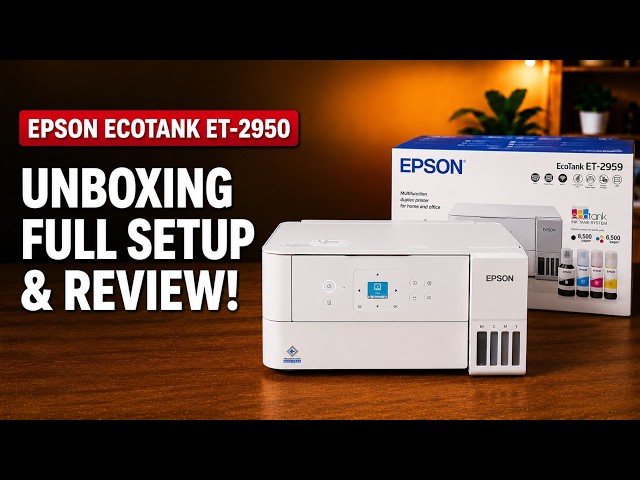
Set up the ET-2959 with Epson Smart Panel: fill and charge the ink, join Wi-Fi, complete alignment, then check Windows printing and Epson Scan 2.
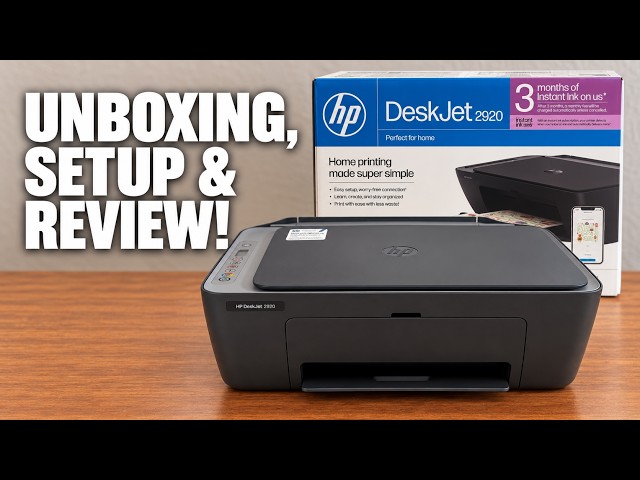
Set up the demonstrated DeskJet 2920 with paper, cartridges, alignment and iPhone Wi-Fi setup, then add it on a Mac and save a scan.
Install the TS3750i cartridges and rear-tray paper, connect with Canon PRINT, correct the first-print paper settings, and add the printer on Windows.
Add the networked HL-L2445DW in macOS Printers & Scanners, then select it for a small print check.
Use Brother Mobile Connect to register the HL-L2445DW, supply the home Wi-Fi password and check that setup finishes on the intended network.
Read the printer’s home-network IP address from its LCD or Brother Mobile Connect without changing the network configuration.
Find the printer on the same network, add it in Windows Printers & scanners and select it when printing a document.
Restore the HL-L2445DW’s network configuration when you need to set it up again, with the connection and password consequences clear before you confirm.
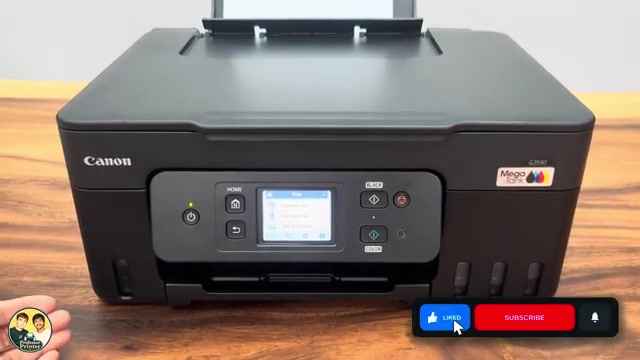
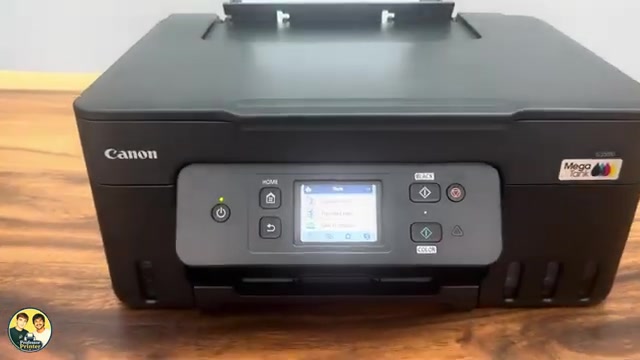
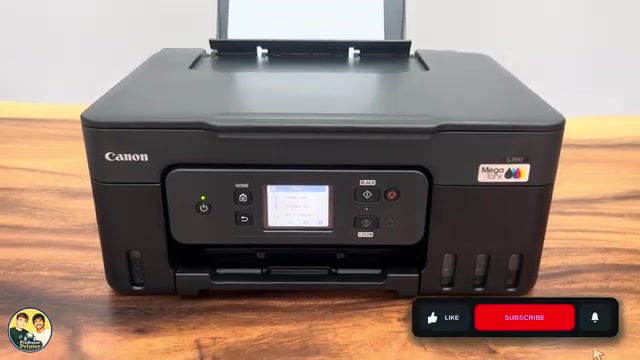
Join your home network from the G3590 touchscreen or Canon PRINT on iPhone, then verify a print. If you need a direct phone connection instead, use the separately explained Wireless Direct route.
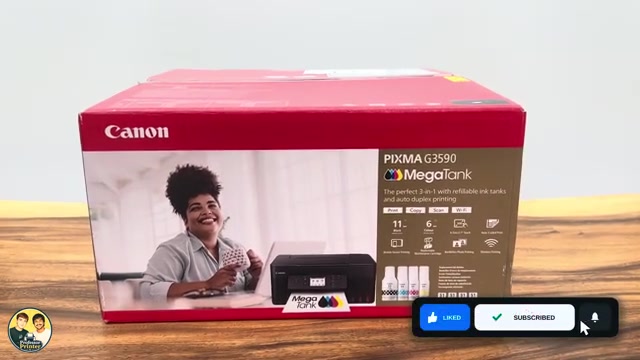
Unpack a G3590, follow its first-use prompts for printheads and ink, let initial preparation finish, then connect a phone or Windows computer and check a print.
Print the Canon PIXMA G3590 network report, find the router-network IP address, and include the initial administrator password only when you need it.
Use LAN settings only to restore Canon PIXMA G3590 network defaults without choosing the broader Reset all option. Reconnect the printer afterward.
Use cableless setup to send the router’s network details from Canon PRINT, then register the printer and check a real print or scan. A reset is only needed when you intend to clear existing settings.
The 21-Alarm-flash initialization resets machine settings and erases network configuration. Use it deliberately, then reconnect and restore the settings you need.
Print the network report and distinguish its default administrator password, direct-connection password and router details. A default password is not the current password after it has been changed.
Hold Stop until the Alarm lamp has flashed 19 times to initialise Canon PIXMA MG3620 network settings, then repeat connection setup.
Enable the printer’s access point, join its own network with the current access-point password and print locally. This replaces the router connection; it does not provide internet access.
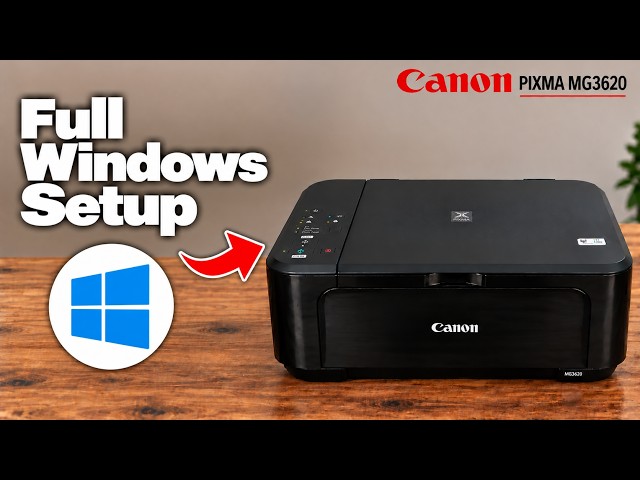
Use Canon’s exact-model setup software, select wireless LAN and complete driver installation before checking a print and a saved scan. The phone route is one option, not a Windows requirement.
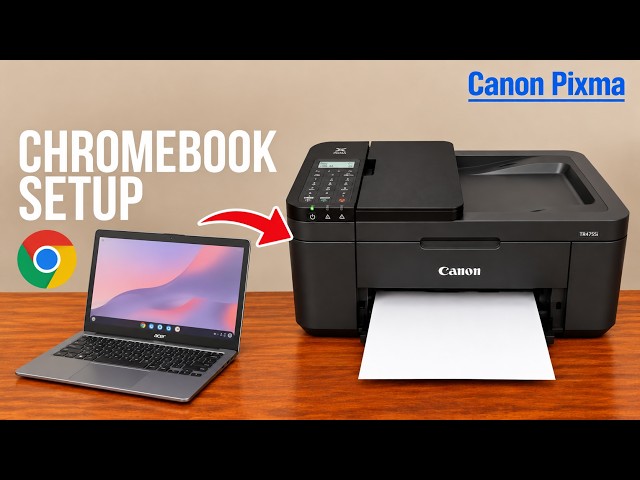
Put the Chromebook and printer on the same network, save the printer in ChromeOS and select it in the print dialog. Open the output tray before sending the job.
Choose one Wi-Fi setup method, enter the correct router details and finish phone or Windows installation. Reconnecting does not automatically require erasing network settings.
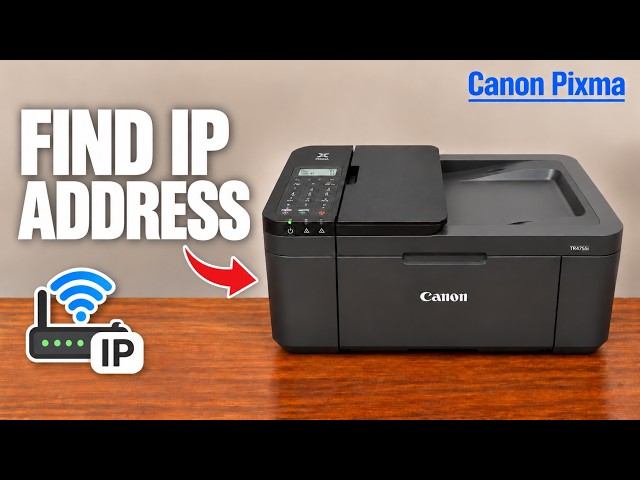
Print LAN details from the LCD, then read the IP Address entry for the connection you are using. The router connection and Wireless Direct have separate report sections.
Choose LAN settings inside Reset setting to clear the printer’s network configuration. Network printing, scanning and faxing stop until you set up the intended connection again.
Connect the printer’s rear USB port to your computer, run Canon’s exact-model installer and choose USB Connection. Complete the driver installation and verify a test print.
Print LAN details and use the actual C-code to choose a check. Distinguish signal, password, address and gateway problems before resetting the printer’s network settings.
Enable Wireless Direct, read this printer’s own network name and password, then join that network from Windows. Add/select the printer and print locally without a wireless router.
Use Canon PRINT to pass your home network details to the printer, then confirm the connection. A network reset is a separate option for clearing old settings, not a required first step.
Use Canon PRINT on Windows to discover the printer, transfer network settings and finish driver installation. Confirm the selected printer and test communication after setup.
Connect the printer’s USB port to your computer, select USB in Canon’s setup and finish the software installation. This recorded workflow is for Windows, not a universal Mac procedure.
Join the printer’s own wireless network using its printed password, add the printer in Windows and send a local test job. This connection does not supply Internet access.
Print the printer’s network information sheet or find its IP address under Device information on a connected Windows computer.
Reset the old connection, restore pairing mode and reconnect through Epson Smart Panel, keeping the printer password separate from the router password.
Turn the printer off, hold Power and Information together, and wait for the alternating network lights to stop before setting up Wi-Fi again.
Put the printer into pairing mode, use Epson Smart Panel to find it, and enter the printer password and home Wi-Fi password at their separate prompts.
Use the printer’s Wi-Fi Setup Wizard with your router’s current password, or add it through Epson Smart Panel. Check the connection before sending a job from your phone or computer.
Use Restore Default Settings → Network Settings to clear the printer’s network configuration, then set up the intended connection again. Keep the broader full-reset option separate.
Enable PC Connection via USB if needed, install the exact model’s Epson software and choose the USB connection. Keep the data cable connected when printing or scanning through that entry.
Use the network connection report to identify the failed connection, then check the current network name, password, signal and device access. Avoid changing unrelated settings on a guess.
With the printer and Windows computer on the intended network, add the printer and install the exact model’s Epson software if you need its scanning and maintenance controls. Verify the setup with a test page.
For a printer administration prompt, check the product’s PASSWORD label; if that label is absent, Epson lists the serial number as the default. This is separate from the router’s Wi-Fi password and the Wi-Fi Direct connection password.
Select the ET-2950 or ET-2959 from an Apple app’s Print menu, check the options and print over the same Wi-Fi network without installing a printer driver.
Choose your router’s exact network in Wi-Fi Setup Wizard, or use Epson Smart Panel on your phone. Complete setup and check a print from the same network.
Check the LCD error, correct network and selected print queue before reinstalling anything. A connected status does not prove that the current job reached the right printer.
Check the connection first, then restore only Network Settings when a fresh network setup is needed. Reconnect afterwards and secure the administrator password again.
Use a direct USB connection and Epson’s exact-model Windows software, then verify a printed page and saved scan. Keep the cable connected whenever you use this USB setup.
Put the printer and Windows computer on the same network, install the exact-model Epson print driver and Epson Scan 2, then check a print and a saved scan.
Find the printer’s own default administrator password, understand when the serial number applies, and keep it separate from Wi-Fi passwords.
Identify the XP-2205 controls, distinguish low ink from a cartridge error, and check Wi-Fi, paper and service-light patterns.
Use Epson Smart Panel to join your XP-2205 to a router, including reconnecting after a network name or password changes.
Separate a printer problem from a network or Windows queue problem using a local copy, network report and selected printer.
Install the available Epson software for your macOS version, allow local discovery and add the XP-2205 with its matching printer driver.
Use the XP-2205 information-and-power buttons to restore network defaults, then reconnect before printing wirelessly.
Enable the printer’s direct network, print its own Wi-Fi Direct credentials and connect a computer or phone without using your router.
Install Epson’s XP-2205 printer and scanner software and select the existing wireless printer when Windows discovery does not find it.
Use the touchscreen’s Wi-Fi Setup Wizard to select your router and enter its current password, then check the printer’s connection.
Locate the default PIN inside the front door and distinguish it from router Wi-Fi and Wi-Fi Direct passwords.
Read the printer’s current network address from its touchscreen, then use that address on a device connected to the same network.
Clear the printer’s network configuration without selecting the separate full factory-settings reset, then reconnect it to the intended network.
Enable the printer’s local wireless connection, join its own network using its current password and send a supported local print.
Connect the printer to the network, install HP’s exact-model software and add it in the HP app, then check printing and scanning separately.
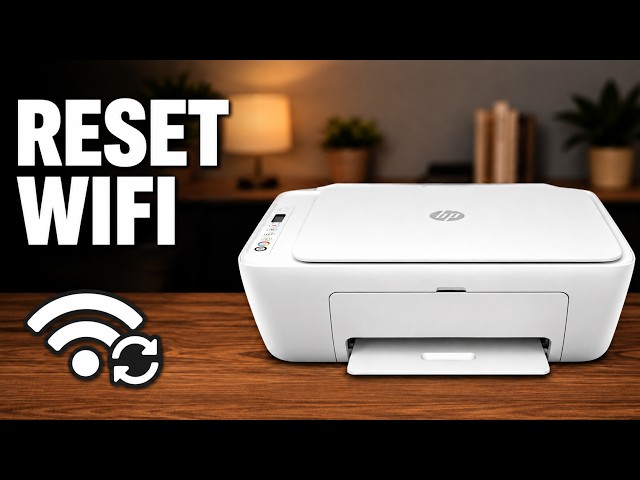
Clear an old wireless connection and make a DeskJet 2600 available for setup, with the correct button pair and indicator checks.
Check ink and paper, connect the printer to home Wi-Fi and confirm it is available to the HP app and AirPrint.
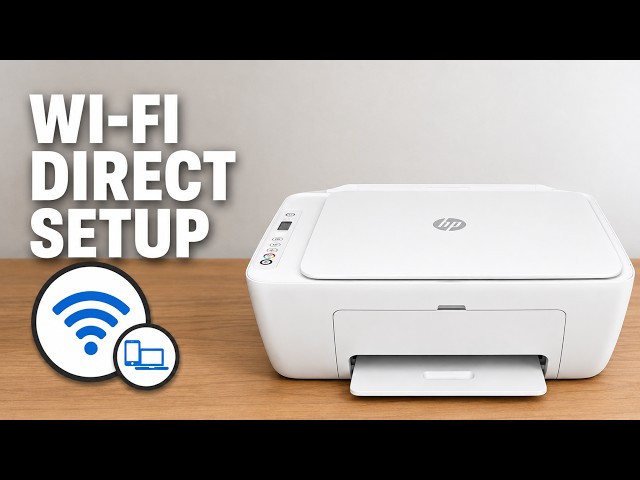
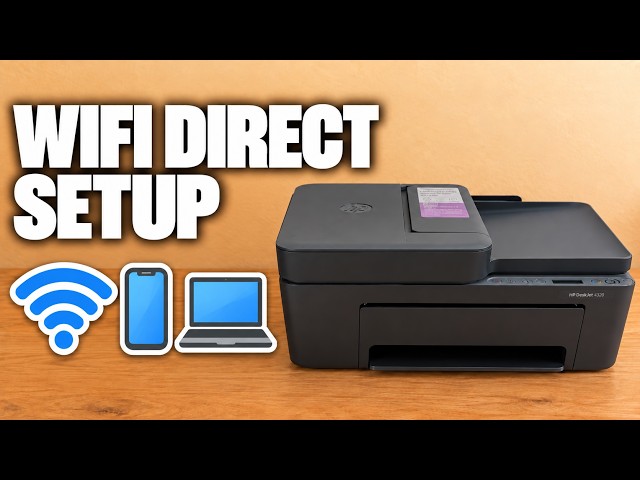
Connect an iPhone directly to a DeskJet 2600 for local printing, using the printer’s own network details without clearing its home Wi-Fi settings.
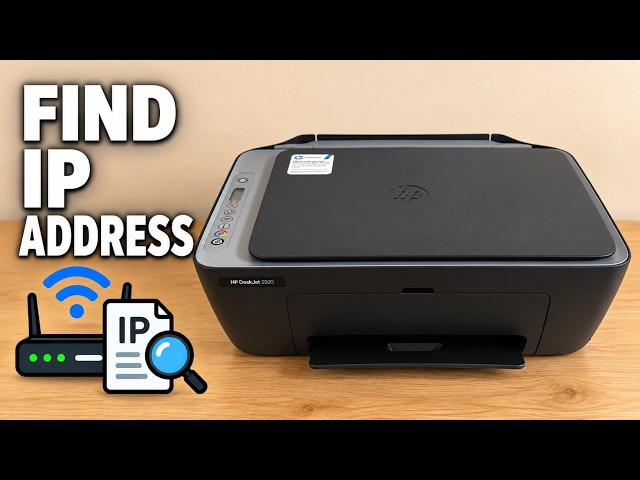
Print the DeskJet 2920’s network configuration page with a deliberate button press and read its address and connection status.
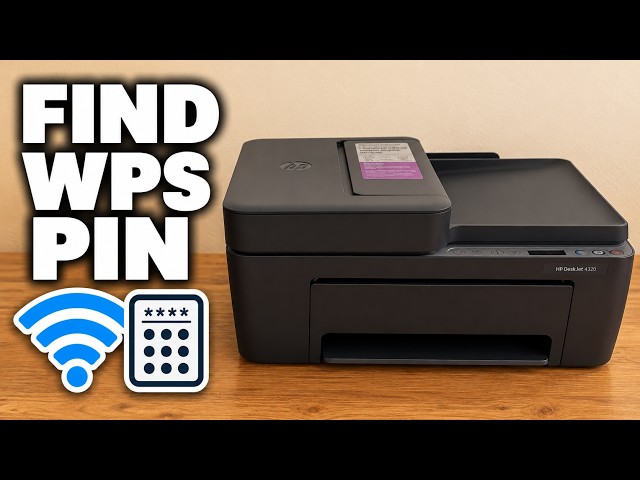
Print a temporary WPS PIN or locate the default administrator PIN inside the DeskJet 2920, depending on the prompt you are answering.
Enable the DeskJet 2920’s Direct network, print its connection details and connect an iPhone without resetting an existing home-network connection.
Connect an HP DeskJet 2920 to home Wi-Fi with an iPhone, interpret the wireless light and use the documented network reset only when needed.
Print the network configuration page for the home-network address, or identify the separate Wi-Fi Direct connection before opening printer settings.
Match the password to the prompt: use the printer’s information page for its Direct network and its own administration credentials for local settings. Neither is your home-router password.
Reach the printer’s wireless wizard through its direct connection, save the home network, then return your phone or Windows computer to that network and check discovery.
Clear the saved wireless configuration with the documented Wireless and Cancel controls, then run setup again. This is not a full factory reset or a repair for ink and paper faults.
Install the appropriate HP software, connect the printer’s rear USB port when prompted and verify a printed page. A USB connection does not require printer Wi-Fi.
Connect the iPhone directly to the printer’s own wireless network, print a local document, then return to your normal Wi-Fi. A router is not needed for this local connection.
Read the wireless light pattern, restore network setup only when needed and use the iPhone HP app to join your own network.
Connect the printer to your network, print a fresh information page and read the address for that active connection.
Read the PIN label inside your printer when a genuine setup or printer-settings prompt requests it.
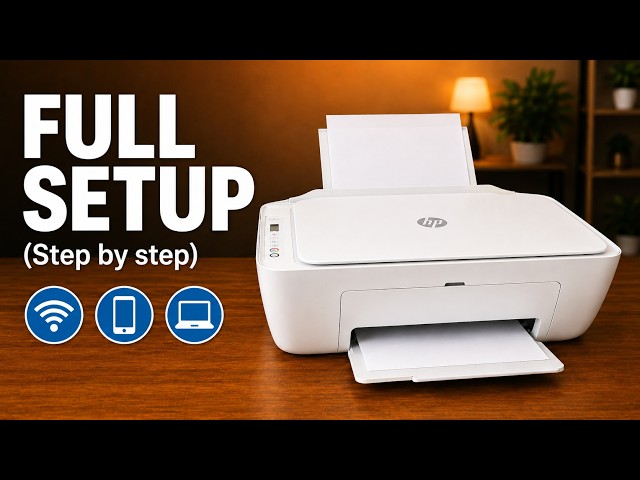
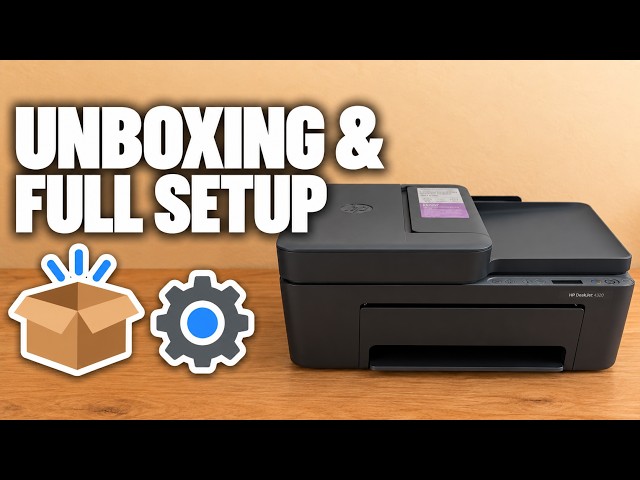
Remove the packing, load paper, fit the supplied cartridges and scan the alignment sheet before completing the recorded iPhone Wi-Fi setup.
Print your printer’s Direct name and password, enable Direct if needed and connect an iPhone without a router.
Generate a fresh WPS-PIN page with Information and Wi-Fi, then enter your own temporary code in the setup prompt.
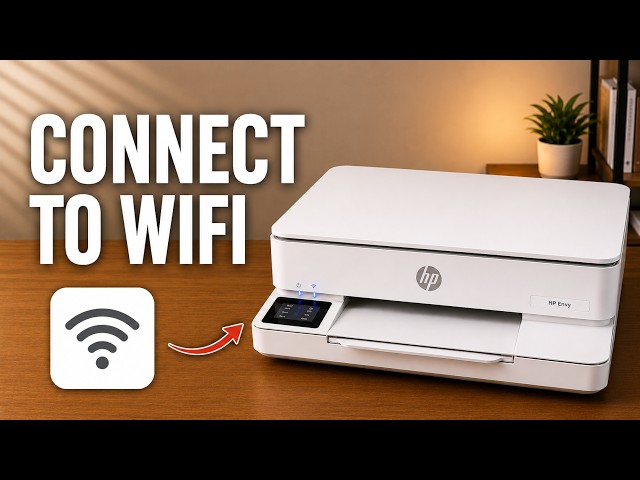
Use the ENVY 6100e touchscreen to choose your home network, check the connection and restore only network settings if needed.
Locate the ENVY 6100e’s default printer PIN and distinguish it from the router password and Wi-Fi Direct credentials.
Unpack the printer, install its supplied setup cartridges, complete alignment and connect it with the HP app before checking your first print.
Add the network printer in macOS, open its scanner and select a save destination before scanning from the flatbed.
Connect an iPhone directly to the ENVY 6100e’s own wireless network, find its password and return to normal Wi-Fi afterward.
Add the networked OfficeJet to macOS and the HP app, with checks for a printer that disappears during setup.
Use the printer’s touchscreen Wi-Fi Setup Wizard, enter your home-network password and then add the connected printer in the HP app.
Find the default printer PIN on the label inside the access door, and distinguish it from your home Wi-Fi password and Wi-Fi Direct credentials.
Load paper and setup cartridges, align the printer, connect it to home Wi-Fi with an iPhone, then add the existing printer on a Mac.
Print the printer’s network details or Wi-Fi test report from its touchscreen. Use the results for connection checks, not as a print-quality test.
Choose the reset that fits your problem and understand what it removes before confirming on the printer’s touchscreen.
Check for an available update from the touchscreen and let the printer finish without interrupting its power or connection.
Enable the printer’s direct wireless network, find its password and connect an iPhone locally after the printer’s initial setup.
Separate a lost Wi-Fi connection from an internet warning, then check the network, restart safely and reconnect only when needed.
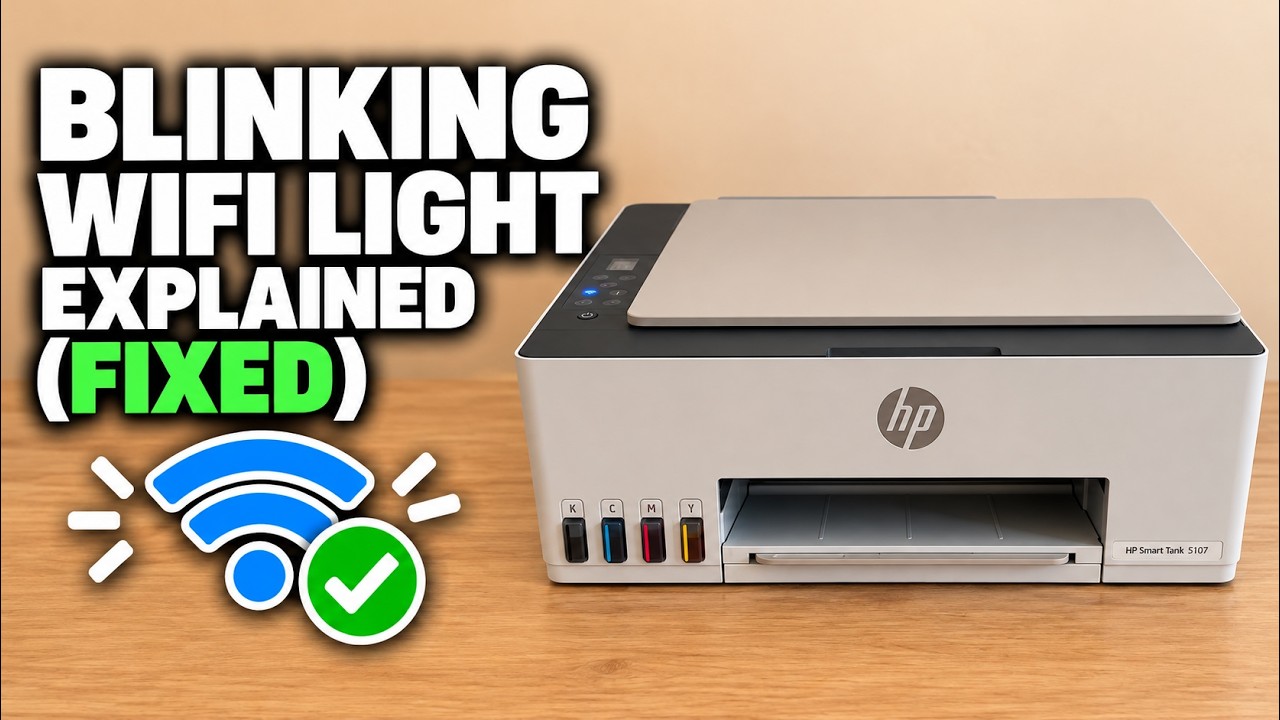
Set up or reconnect the Smart Tank 5107 on your home Wi-Fi, confirm the printer at its Information button and check the connection before printing.
Start the printer’s WPS push-button mode, press the router’s WPS control within two minutes and verify the wireless connection.
Set up the Smart Tank 5107 hardware, complete its alignment sheet and connect it to home Wi-Fi with the HP iPhone app.
Print the current network information and locate the default printer PIN, while keeping router and Wi-Fi Direct passwords separate.
Clear saved network settings with Information, Wi-Fi and Cancel, then reconnect the printer from Wi-Fi setup mode.
Connect the Smart Tank 5107 by USB, choose it in the Mac print dialog and open its scanner without setting up router Wi-Fi.
Enable Wi-Fi Direct, print this printer’s network name and password, then join its local connection from an iPhone.
Read the wireless light and screen together, switch Wi-Fi on if needed and choose setup only when the printer is not already connected.