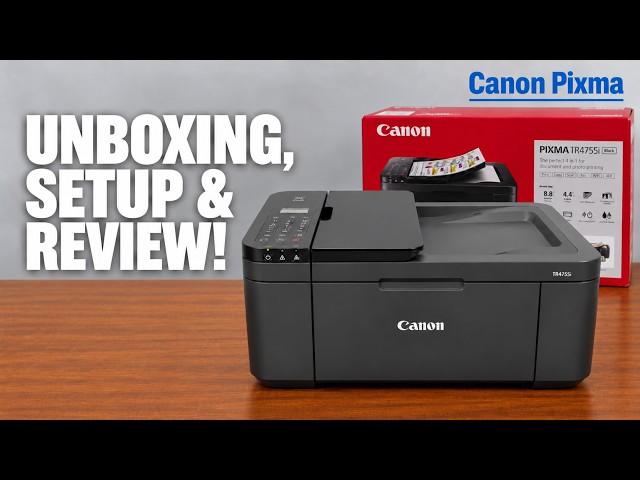
Canon PIXMA TR4755i
Canon PIXMA TR4755i setup: ink, Wi-Fi and Windows
Install the TR4755i cartridges and paper, connect with Canon PRINT on an iPhone, then add Windows using the official installer if app setup fails.
Getting startedRead & watch
Find your way around a printer and prepare for its first use.
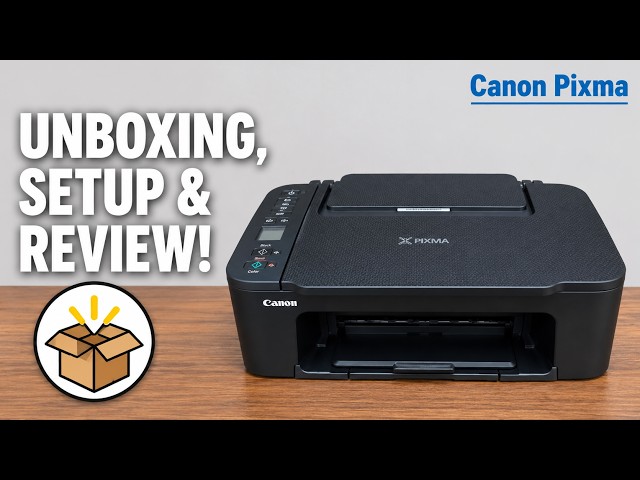
Install the TR4755i cartridges and paper, connect with Canon PRINT on an iPhone, then add Windows using the official installer if app setup fails.
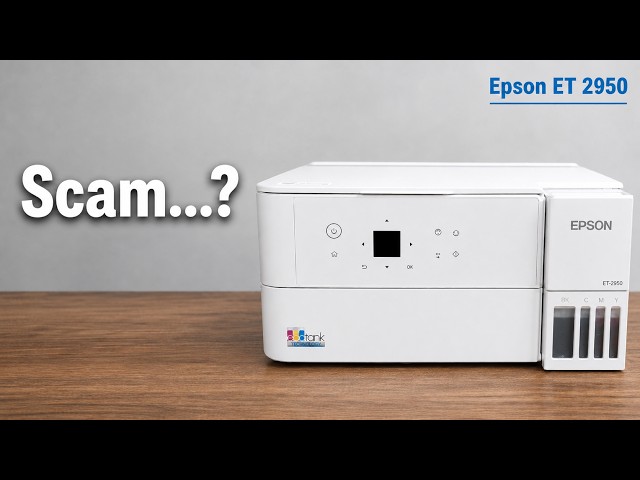
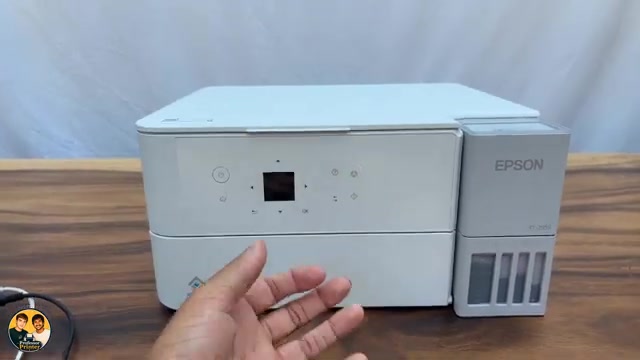
Professor Printer’s ET-2950 review weighs its everyday colour print against the small screen, interior access and purchase cost. See what the demonstration establishes.
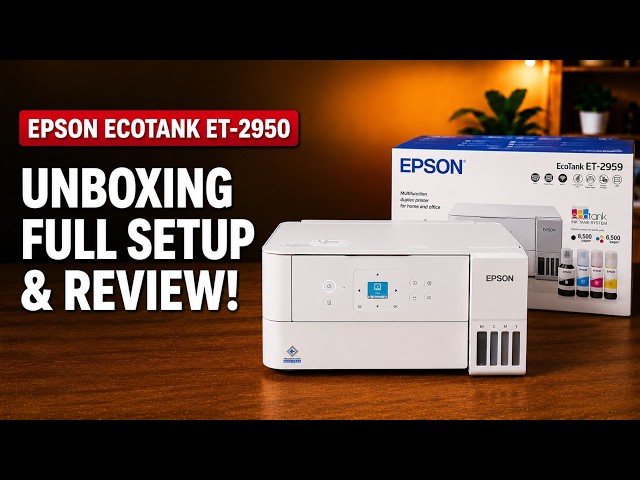
Set up the ET-2959 with Epson Smart Panel: fill and charge the ink, join Wi-Fi, complete alignment, then check Windows printing and Epson Scan 2.
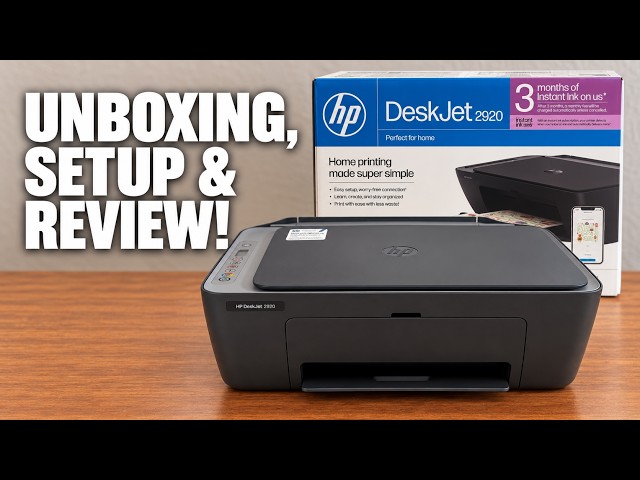
Set up the demonstrated DeskJet 2920 with paper, cartridges, alignment and iPhone Wi-Fi setup, then add it on a Mac and save a scan.
Install the TS3750i cartridges and rear-tray paper, connect with Canon PRINT, correct the first-print paper settings, and add the printer on Windows.
Use Brother Mobile Connect to open All Machine Settings, then sign in to the printer’s own web page with its current administrator password.
Open the firmware update in Brother Mobile Connect, use the printer’s administrator password and let the update and restart finish.
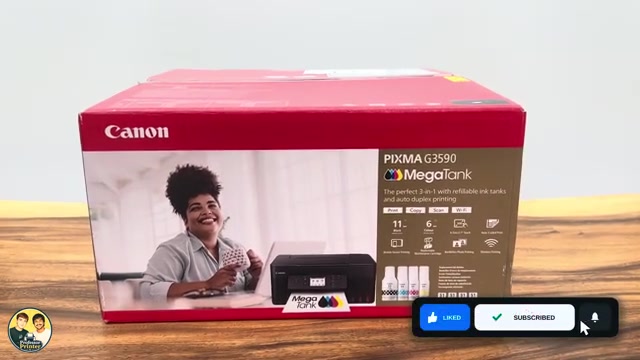
Unpack a G3590, follow its first-use prompts for printheads and ink, let initial preparation finish, then connect a phone or Windows computer and check a print.
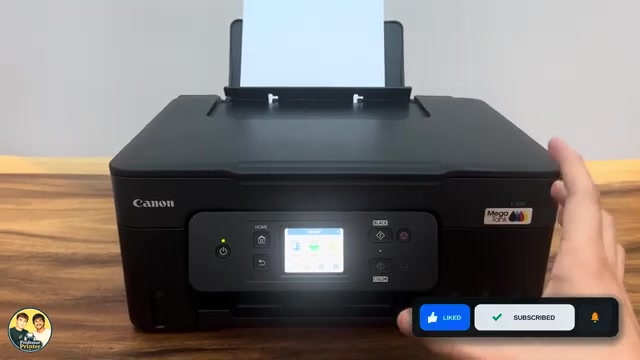
Change Keypad volume to silence Canon PIXMA G3590 button and touchscreen beeps. Alarm volume and printing noise have separate settings.
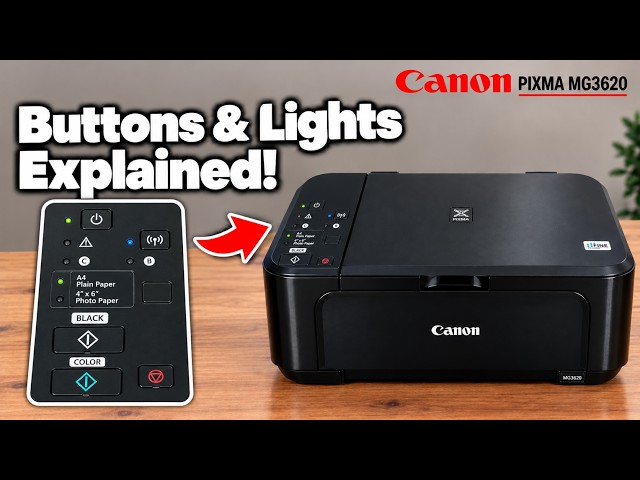
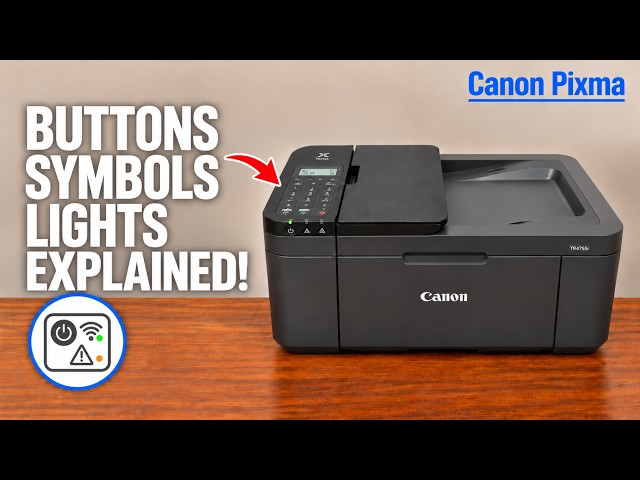
Identify the panel controls, stop a current job and distinguish normal activity from an alarm. Long holds start different tasks, so check the intended procedure first.
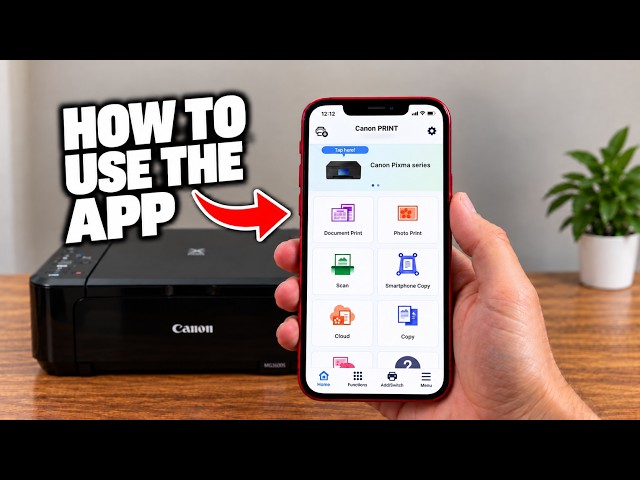
Choose photo printing, scanner capture, phone-camera copying or printer information in Canon PRINT. The app’s available controls depend on the selected model and connection.
Use cableless setup to send the router’s network details from Canon PRINT, then register the printer and check a real print or scan. A reset is only needed when you intend to clear existing settings.
Use Canon’s exact-model setup software, select wireless LAN and complete driver installation before checking a print and a saved scan. The phone route is one option, not a Windows requirement.
Use Setup for printer settings, Menu for the current task and Stop to cancel an active operation. Read the LCD message before trying a reset or maintenance command.
Select Language selection in Device settings. If the current text is unreadable, Canon provides a specific Setup → right twice → OK → right four times → OK route.
Connect the correct telephone line, choose the receive mode for that line and enter your real sender details. Send a document to a checked fax number, then verify its transmission result.
All data restores printer settings and the administrator password to defaults, requiring setup again. It preserves the LCD language and several other items; use LAN settings instead for a network-only reset.
Connect the printer’s rear USB port to your computer, run Canon’s exact-model installer and choose USB Connection. Complete the driver installation and verify a test print.
Hold the Power button until its light blinks, wait for shutdown, and locate the rear power connection if the printer does not respond.
Put the printer into pairing mode, use Epson Smart Panel to find it, and enter the printer password and home Wi-Fi password at their separate prompts.
Prepare a new, unfilled EcoTank for sublimation using the ink-first setup sequence explained in the video, followed by charging, nozzle checks and sublimation paper.
Use the printer’s Wi-Fi Setup Wizard with your router’s current password, or add it through Epson Smart Panel. Check the connection before sending a job from your phone or computer.
Select Clear All Data and Settings only when you intend to reset the printer’s stored configuration. Have your connection details ready, then configure the printer again after the reset.
Enable PC Connection via USB if needed, install the exact model’s Epson software and choose the USB connection. Keep the data cable connected when printing or scanning through that entry.
With the printer and Windows computer on the intended network, add the printer and install the exact model’s Epson software if you need its scanning and maintenance controls. Verify the setup with a test page.
For a printer administration prompt, check the product’s PASSWORD label; if that label is absent, Epson lists the serial number as the default. This is separate from the router’s Wi-Fi password and the Wi-Fi Direct connection password.
Save the printer in ChromeOS on the same Wi-Fi network, select it as the print destination and check a test page. Use ChromeOS’s built-in printing rather than a Windows Epson driver.
Use Clear All Data and Settings when you intend to remove stored personal information and restore defaults. This also removes network settings, so prepare to reconnect the printer afterwards.
Choose your router’s exact network in Wi-Fi Setup Wizard, or use Epson Smart Panel on your phone. Complete setup and check a print from the same network.
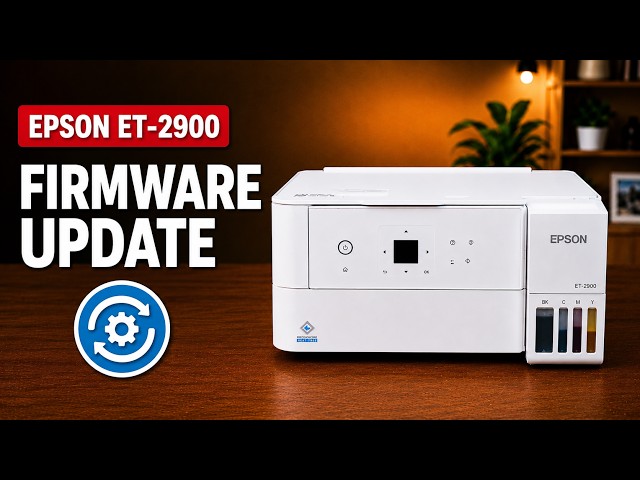
Use the printer’s Firmware Update menu, or the selected printer in Epson Smart Panel, to check for an available update. Read the offer and keep power connected until any chosen update finishes.
Use sublimation ink at the first fill of a new EcoTank: follow Professor Printer’s explanation of the initial charging stage, matching tanks and careful bottle handling.
Use a direct USB connection and Epson’s exact-model Windows software, then verify a printed page and saved scan. Keep the cable connected whenever you use this USB setup.
Put the printer and Windows computer on the same network, install the exact-model Epson print driver and Epson Scan 2, then check a print and a saved scan.
Add a supported Epson printer, choose the right task and check the result. Learn the difference between saving a scan, making a paper copy and capturing a document with your phone camera.
Find the printer’s own default administrator password, understand when the serial number applies, and keep it separate from Wi-Fi passwords.
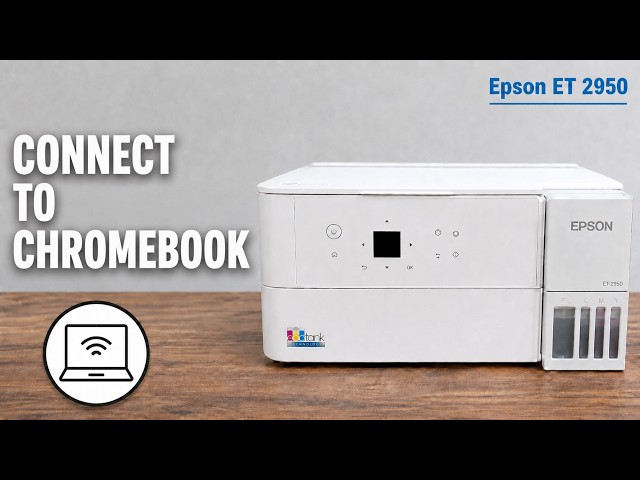
Use Epson Smart Panel to join your XP-2205 to a router, including reconnecting after a network name or password changes.
Install the available Epson software for your macOS version, allow local discovery and add the XP-2205 with its matching printer driver.
Professor Printer’s XP-2205 review weighs occasional home printing against button-driven setup, manual duplex and a slow high-quality colour demonstration.
Unpack the XP-2205, install its supplied cartridges, complete Smart Panel ink initialization and check the printer before adding Windows software.
Install Epson’s XP-2205 printer and scanner software and select the existing wireless printer when Windows discovery does not find it.
Use the touchscreen’s Wi-Fi Setup Wizard to select your router and enter its current password, then check the printer’s connection.
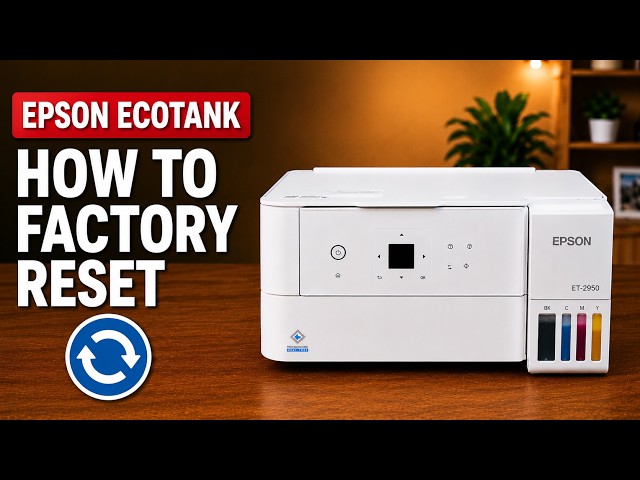
Use the touchscreen’s Restore all factory defaults command deliberately, then complete setup again. This resets settings rather than repairing a physical printer fault.
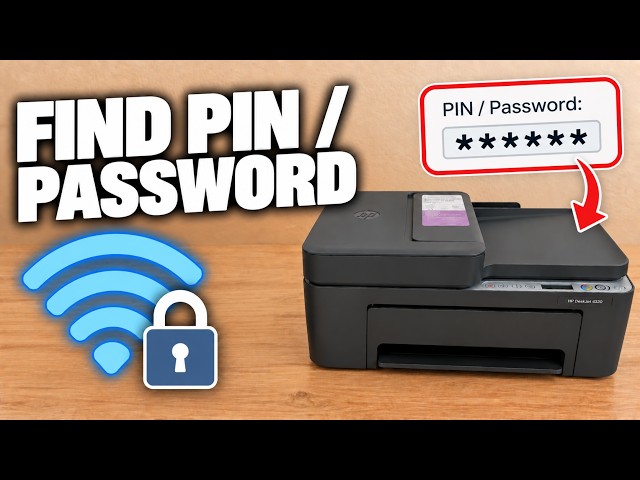
Locate the default PIN inside the front door and distinguish it from router Wi-Fi and Wi-Fi Direct passwords.
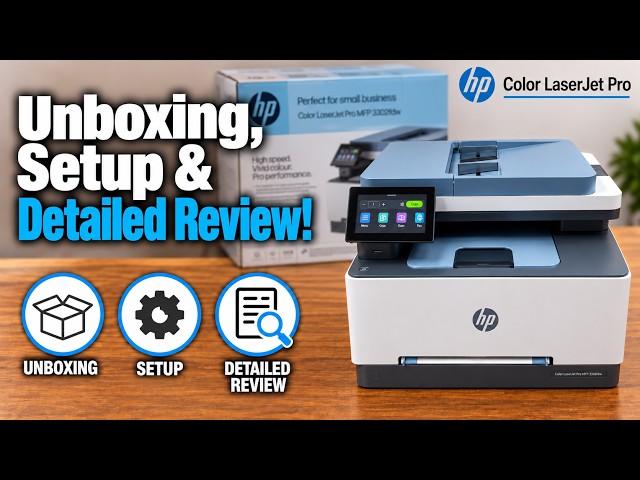
Prepare the printer and Tray 2, complete touchscreen network setup, install the matching software and check a first page before adding the phone app.
The presenter values the touchscreen and document workflow but criticises photo output, curled pages and setup friction. Here is what the demonstration supports and what to check for your own workload.
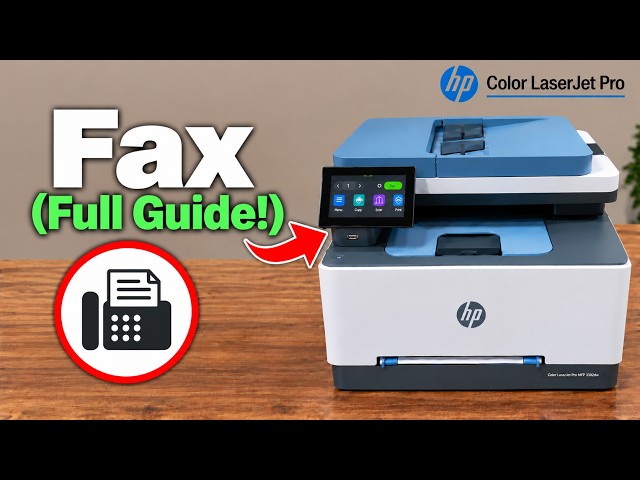
Connect the printer’s fax port to a suitable telephone service, enter your real header details, send to a confirmed recipient and check the fax result.
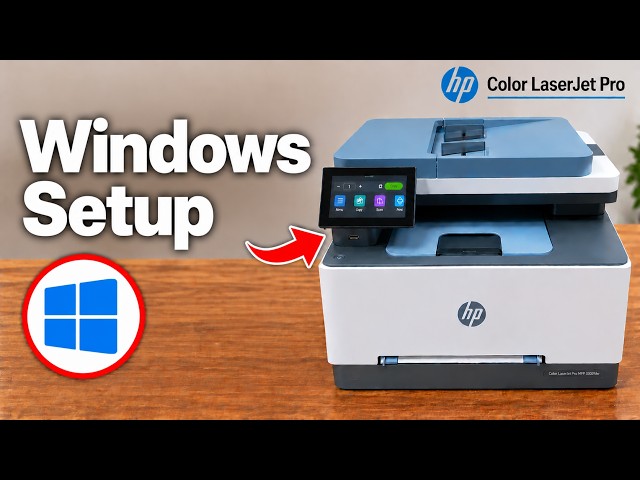
Connect the printer to the network, install HP’s exact-model software and add it in the HP app, then check printing and scanning separately.
Check ink and paper, connect the printer to home Wi-Fi and confirm it is available to the HP app and AirPrint.
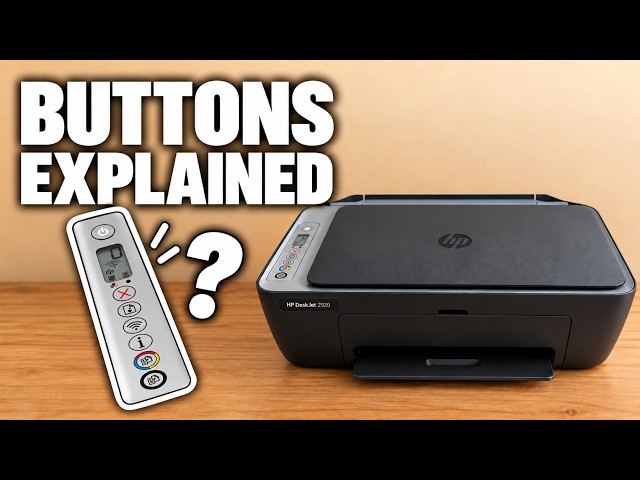
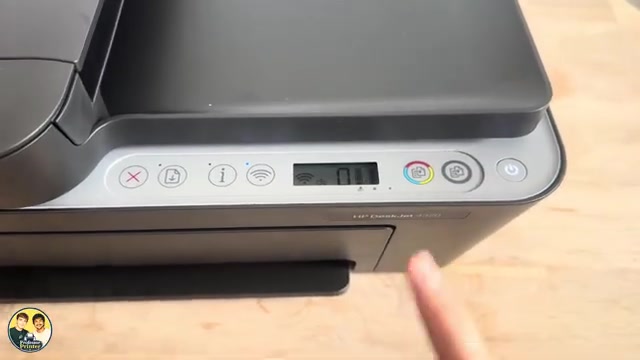
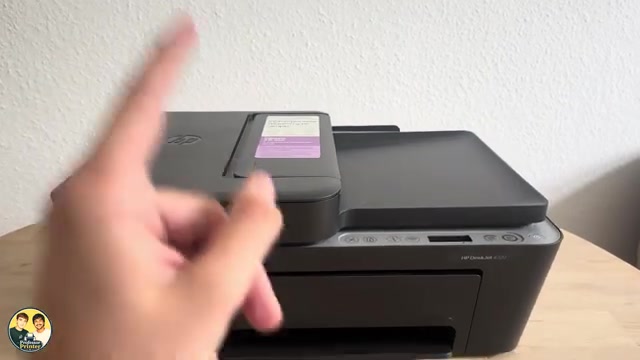
Identify Cancel, Resume, Wi-Fi, Information and Copy on the DeskJet 2900 panel, and read warning lights alongside the displayed error.
The presenter’s assessment of everyday printing and app use, with verified 2920/2955 feature limits and questions to check before buying supplies.
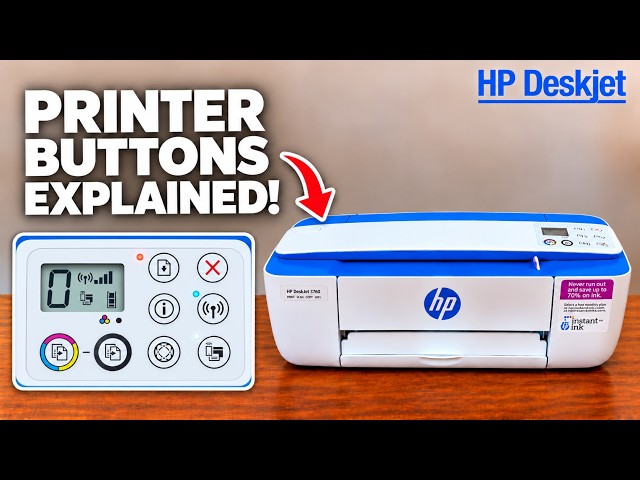
Identify the main controls, read the wireless and ink indicators, and distinguish paper-size errors from a stalled carriage before choosing a remedy.
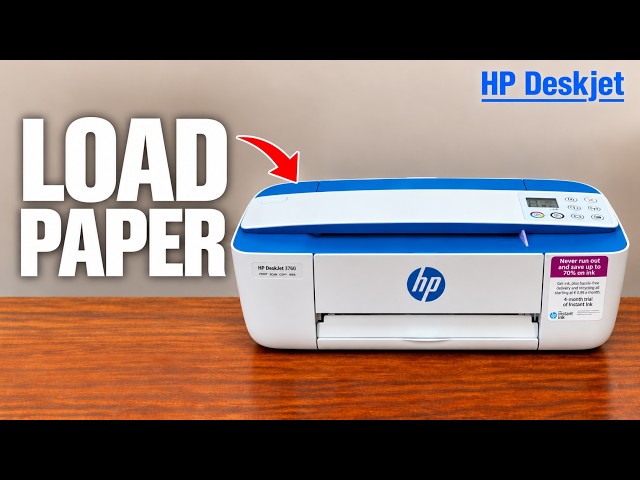
Raise the rear input support, load paper with its print side facing up, fit the width guide and open the output support before printing.
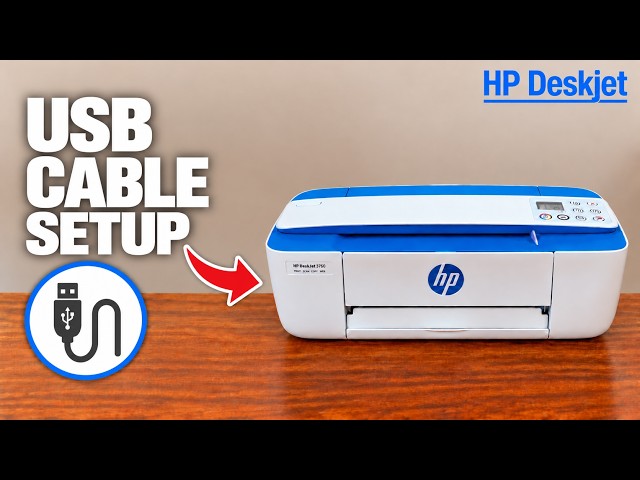
Install the appropriate HP software, connect the printer’s rear USB port when prompted and verify a printed page. A USB connection does not require printer Wi-Fi.
Identify Cancel, Resume, Information, Wi-Fi and Copy, understand the display, and avoid starting a network reset when you only need to stop a job.
Read the PIN label inside your printer when a genuine setup or printer-settings prompt requests it.
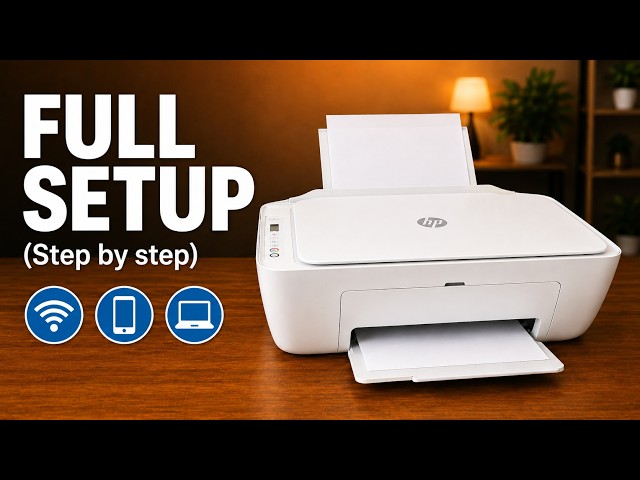
Remove the packing, load paper, fit the supplied cartridges and scan the alignment sheet before completing the recorded iPhone Wi-Fi setup.
Use the rear input tray for blank paper, adjust the width guide and extend the output tray. Keep the top document feeder for originals to copy or scan.
Use the touchscreen to select automatic firmware updates or update notifications, and check Internet access before expecting an installation.
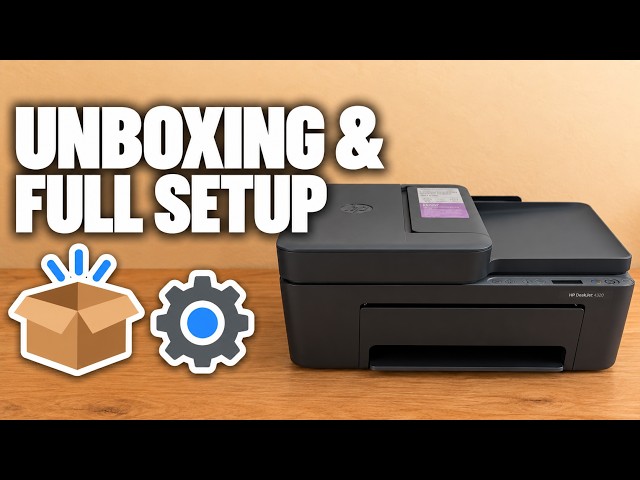
Unpack the printer, install its supplied setup cartridges, complete alignment and connect it with the HP app before checking your first print.
A source-based look at the touchscreen, paper tray and flatbed workflow, with the presenter’s opinions separated from unverified cost and speed claims.
Load paper and setup cartridges, align the printer, connect it to home Wi-Fi with an iPhone, then add the existing printer on a Mac.
A source-based look at the presenter’s OfficeJet Pro 8124e impressions, with clear limits on model equivalence, speed claims and ongoing ink costs.
Find your printer, print a file, distinguish printer scanning from camera scanning, save a PDF and locate settings in the HP app.
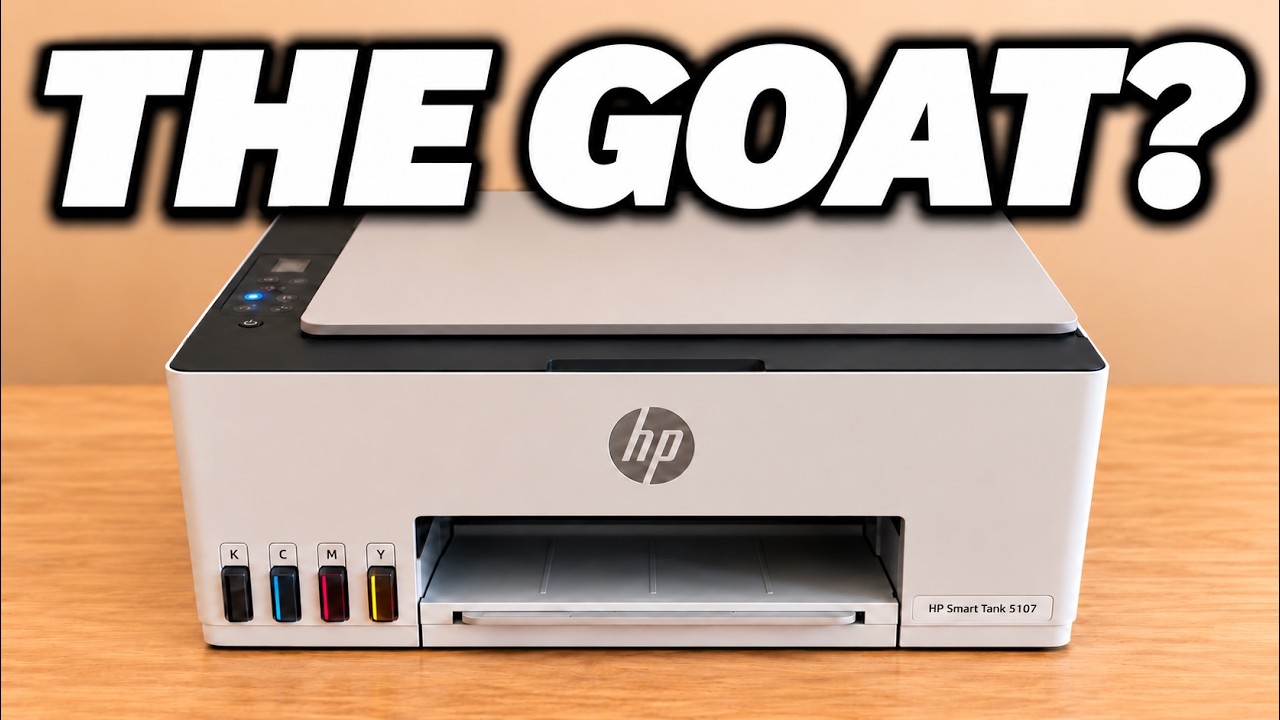
Set up the Smart Tank 5107 hardware, complete its alignment sheet and connect it to home Wi-Fi with the HP iPhone app.
The channel’s Smart Tank review favours refillable ink for home documents, while highlighting manual duplex, flatbed scanning and a button-heavy control panel.