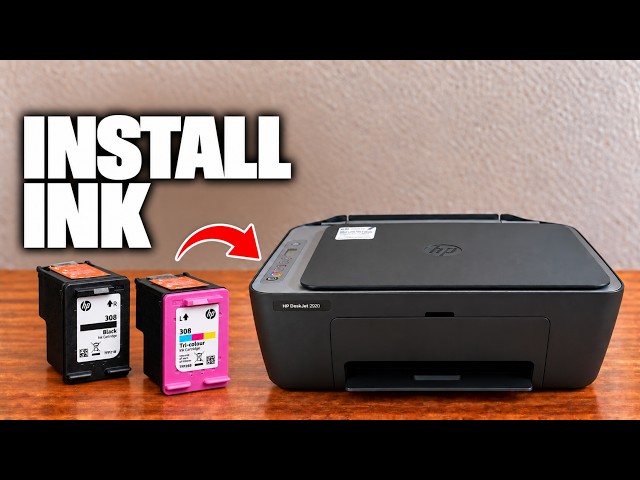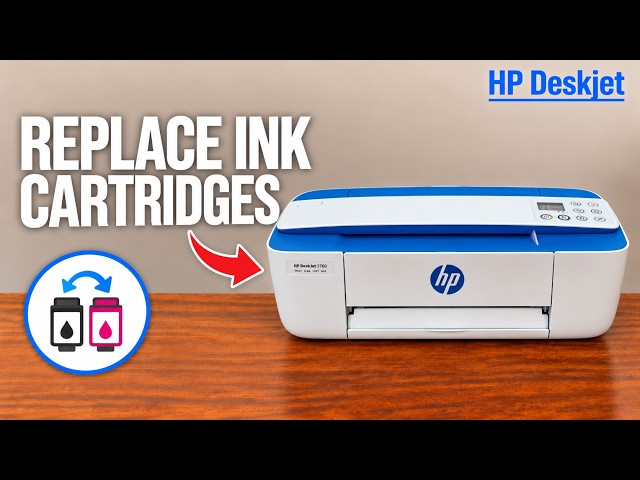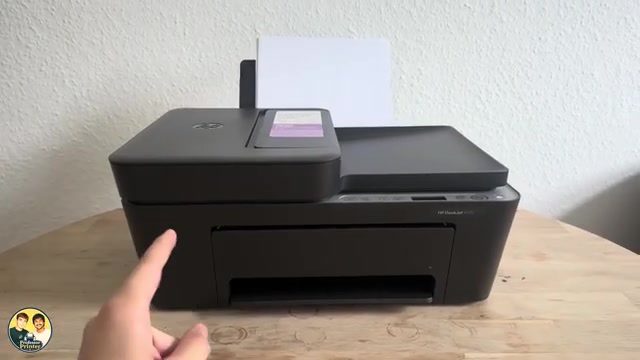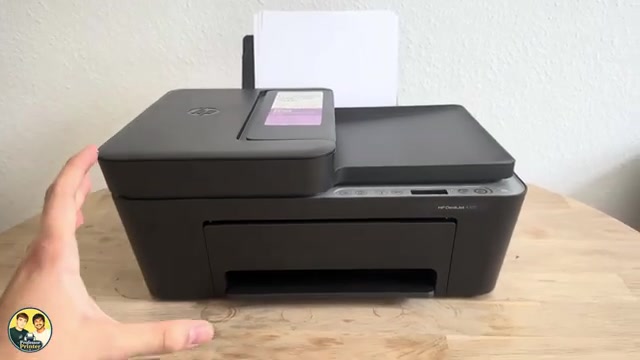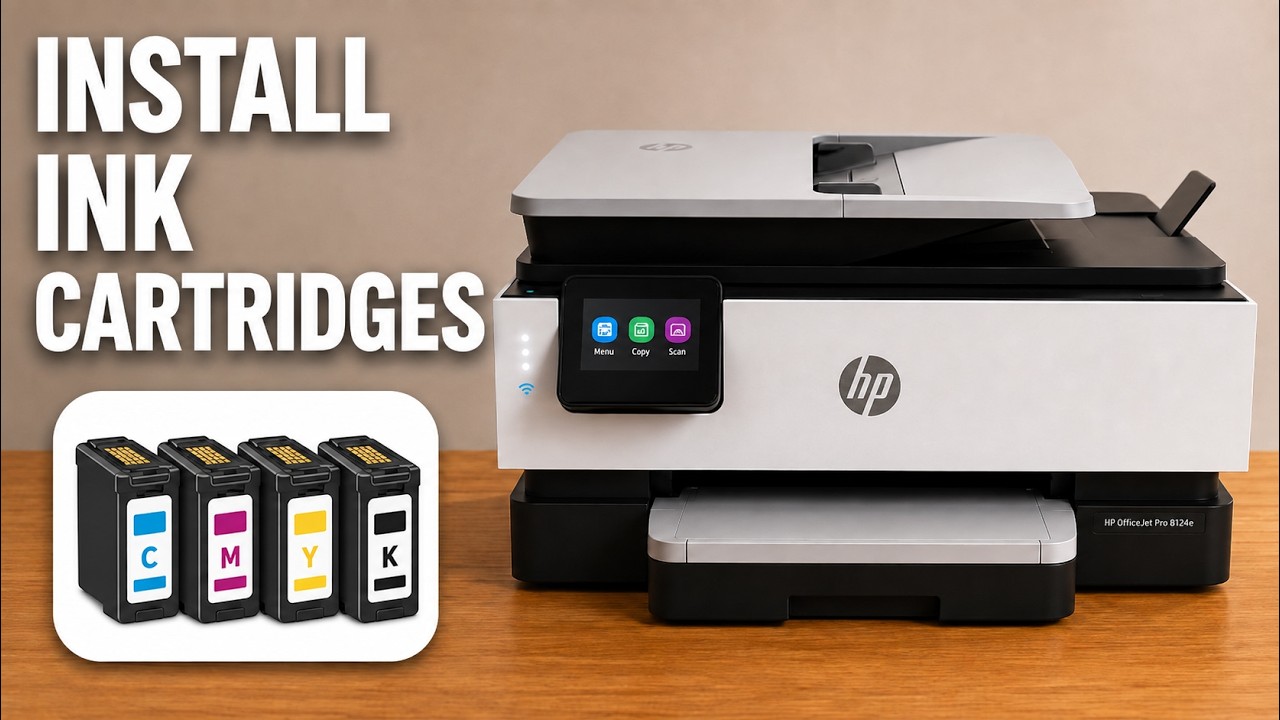
HP ENVY 6120e
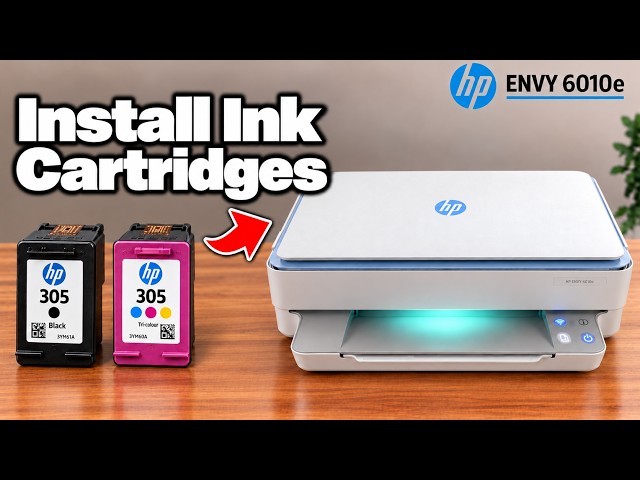
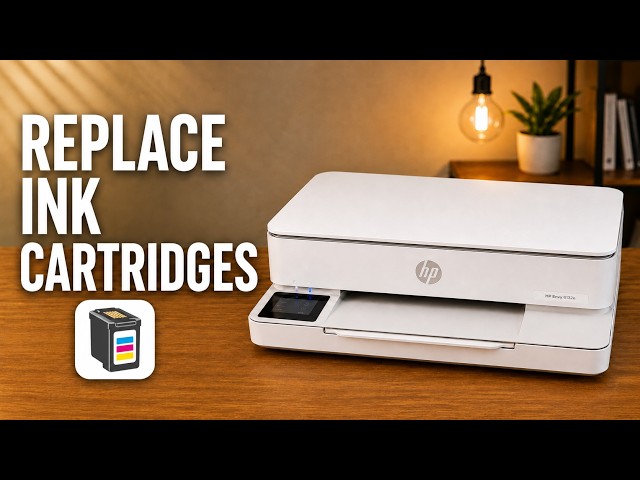
HP ENVY 6120e: replace ink and check estimated levels
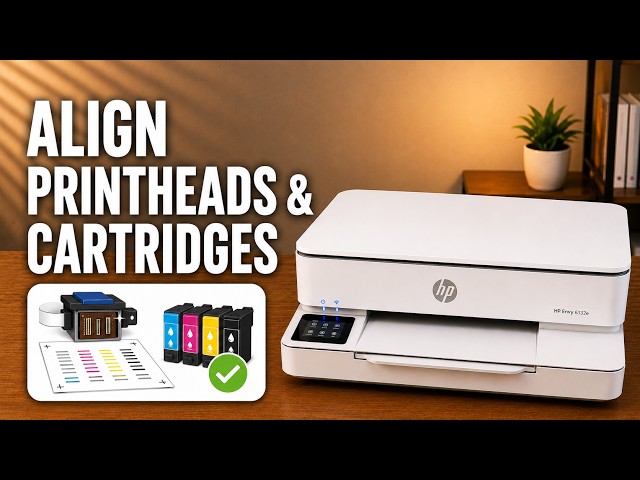
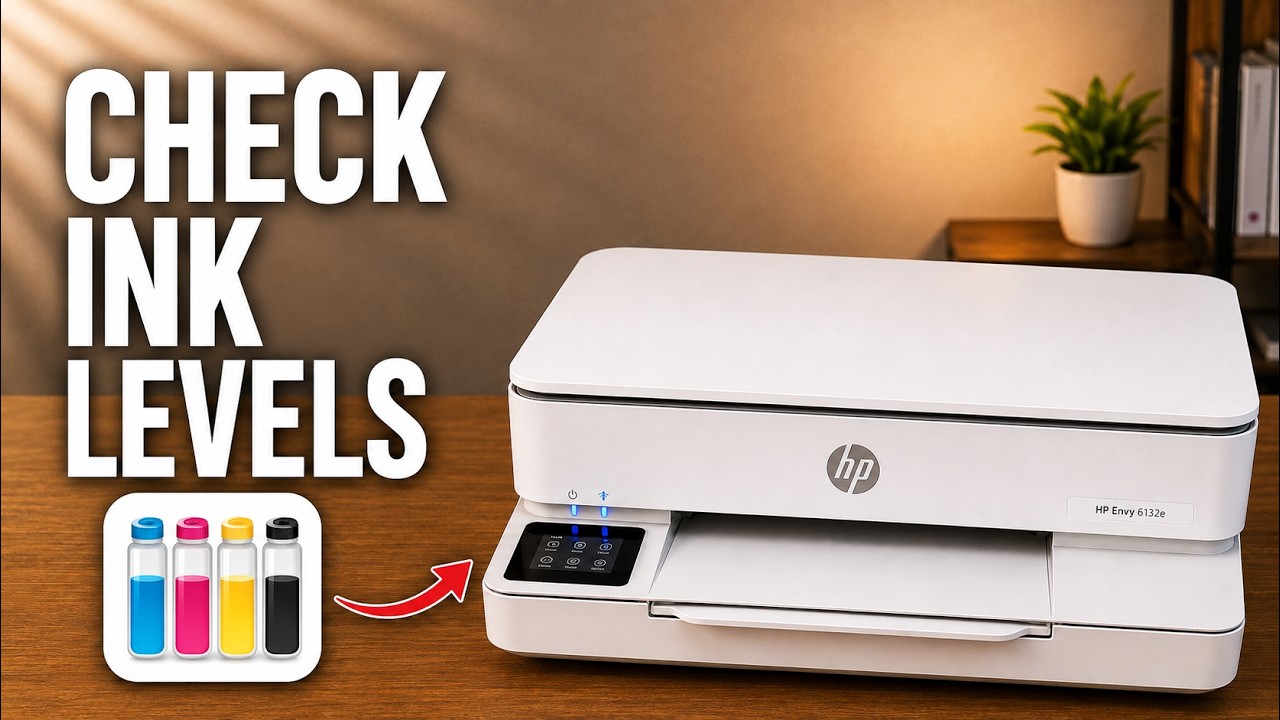
Remove and seat the cartridges in an HP ENVY 6120e, check estimated ink levels, and know when alignment is expected after fitting a new cartridge.
Ink & tonerRead & watch
Find model-specific help with printer ink and toner.
Remove and seat the cartridges in an HP ENVY 6120e, check estimated ink levels, and know when alignment is expected after fitting a new cartridge.
Find the black toner supply indicator in Brother Mobile Connect, or check estimated toner and drum life on the printer’s LCD.
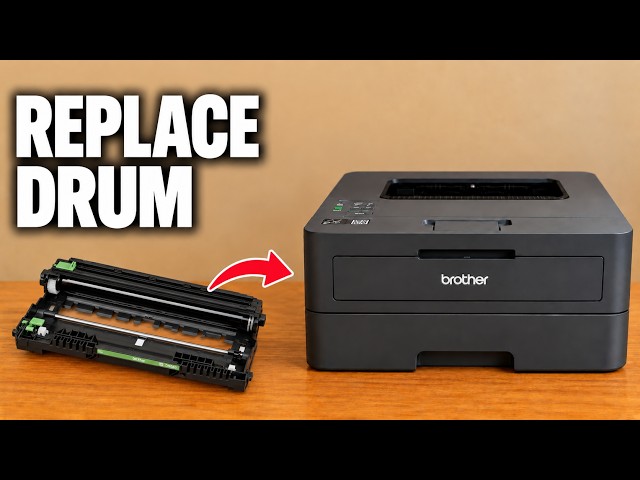
Move the toner cartridge into a new drum, reinstall the assembly and reset the drum counter. Reset the counter only when a new drum has been fitted.
Fit the toner into its separate drum unit, clean the corona wire and refit the assembly. Initial installation and replacement have different starting points.
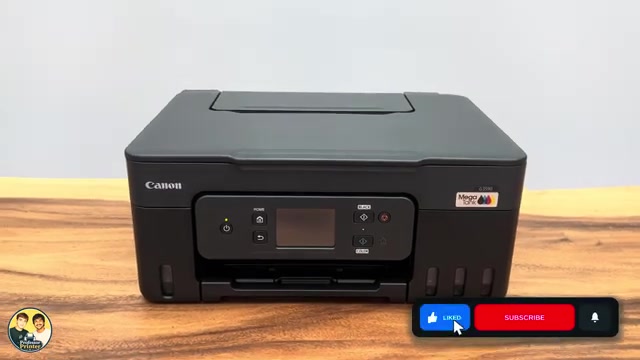
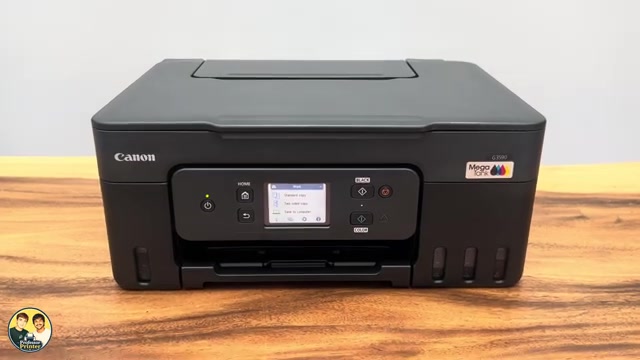
Use a nozzle check to choose normal cleaning or Deep Cleaning on the Canon G3590. Check ink and maintenance-cartridge capacity, and leave the printer plugged in during the required wait before repeating a deep clean.
Refill the Canon PIXMA G3590 with the correct ink colours up to the upper limit line, close the tanks and reset the level count only when the required tanks are full.
Use the G3590 Head Replacement menu, check ink and maintenance capacity, fit the colour and black heads in their correct holders, then check the output.
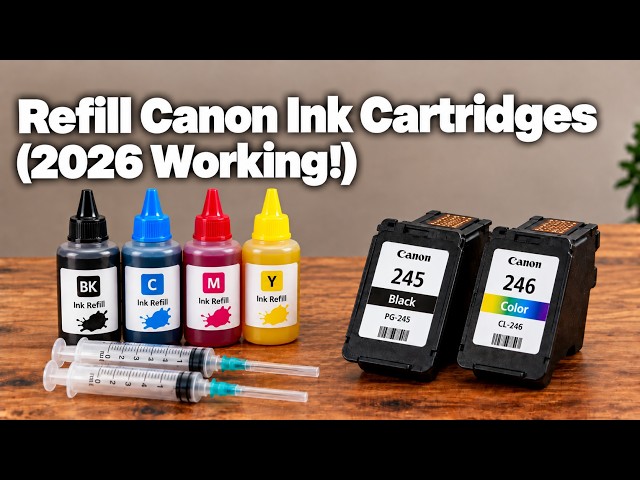
Refill the PG-540 black cartridge and the colour cartridge shown in Professor Printer’s video, using separate syringes, the demonstrated ports and slow injection.
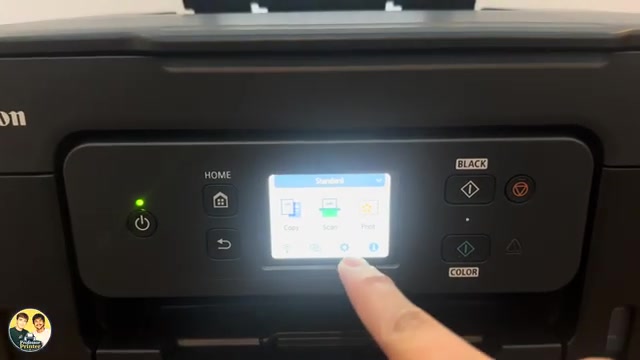
Read the black and colour cartridge estimates in Canon PRINT, a browser or the Canon Windows driver. Used or refilled cartridges can report unreliable levels; an error needs its actual support code.
Use ordinary cleaning only when the nozzle pattern needs it. After two unsuccessful standard cleanings, Canon allows deep cleaning, with a 24-hour wait before repeating that deeper cycle.
Read the exact error before acting. Replacing the affected cartridge is one option; the documented five-second Stop action for 1686/1688 disables ink monitoring and does not refill or repair a cartridge.
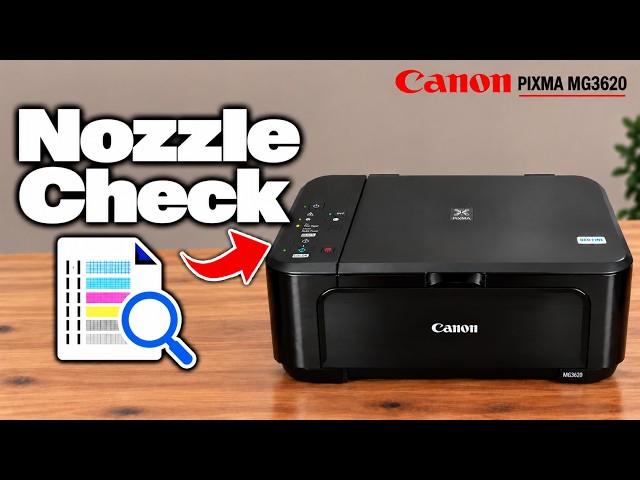
Print the diagnostic pattern with one Alarm flash, then look for missing lines or white streaks before deciding whether cleaning is needed.
Confirm the regional cartridge number, wait for the holder to stop, then fit colour on the left and black on the right. Never force the head cover open.
Open Setup → Ink information → Remaining ink to read the cartridge indicators. Treat a low-ink warning and an ink-recognition error as different conditions.
Use Setup → Maintenance → Nozzle check, then inspect missing lines, horizontal streaks or absent colour before deciding whether to clean.
Match paper settings, check ink and print a nozzle pattern. Use ordinary cleaning only for a deficient pattern, then follow Canon’s limited deep-cleaning sequence if needed.
Check the exact regional ink number, wait for the holder to stop and fit colour on the left, black on the right. Lock each cartridge until it clicks, then check the LCD and next print.
Open your printer in Canon PRINT to view the ink estimates. You can also read the black and colour ink lamps; a flashing error needs its exact LCD code, not just a low-ink guess.
Use Setup code 2 for ordinary cleaning, then print and compare a nozzle check. Clean only for a deficient pattern and follow Canon’s limited escalation if two ordinary cycles fail.
Fit the colour and black cartridges in the TS3750i, secure the locking levers, then complete Canon’s alignment check.
Use Setup code 1 to print a Canon PIXMA TS3750i nozzle check, then look for missing lines, horizontal white streaks or a missing colour.
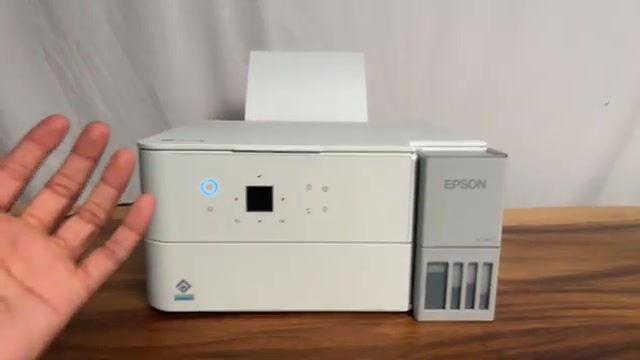
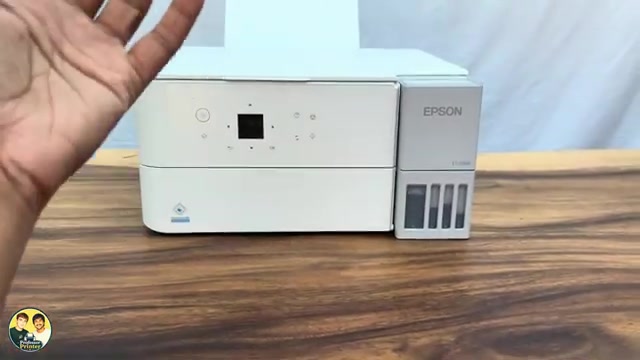
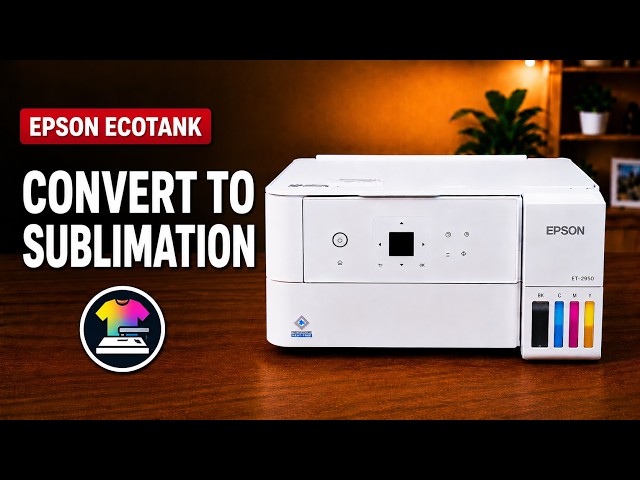
Prepare a new, unfilled EcoTank for sublimation using the ink-first setup sequence explained in the video, followed by charging, nozzle checks and sublimation paper.
Look at all four tank windows to check the ink actually remaining. Smart Panel shows an estimate; a full-looking app indicator is not proof that a tank is full.
Use a nozzle pattern to distinguish missing ink from an alignment issue, clean only when needed and observe the ink-level and waiting limits before Power Cleaning.
Print the nozzle pattern from Maintenance and inspect each black and colour line. Choose the next action from missing segments, rather than cleaning a printer whose pattern is already complete.
Use the correct ink for the exact model and region, fill the matching tank to its upper line without squeezing the bottle, then update only the levels you actually refilled.
Use Settings → Maintenance → Set Ink Level to match the stored estimate to the ink you can actually see. This is different from filling a tank or resetting it to 100%.
Choose ordinary or power cleaning from the nozzle pattern, let the cycle finish and check again. Use Epson’s waiting limits instead of repeating maintenance indefinitely.
Print and inspect the nozzle pattern before choosing maintenance. Complete lines need no cleaning; missing segments call for the appropriate next check.
Choose the correct ink for your exact printer and region, refill each matching tank to its upper line, then complete the ink-level setting. Adding ink alone does not update the displayed estimate.
Match the printer’s ink estimate to the visible tank levels with Set Ink Level. Use the separate full reset only after the corresponding tank has been refilled.
Use sublimation ink at the first fill of a new EcoTank: follow Professor Printer’s explanation of the initial charging stage, matching tanks and careful bottle handling.
Check the exact cartridge message, regional compatibility, tape and seating before replacing more parts or changing settings.
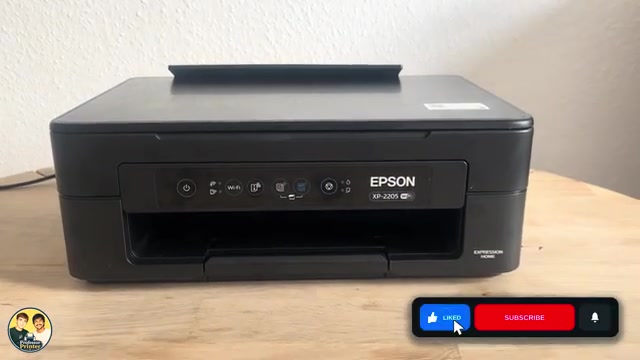
Open the selected XP-2205 in Epson Smart Panel and read its cartridge estimates. Use low-ink information for planning, without treating it as an exact quantity.
Check the nozzles first, run a cleaning only when needed, and follow Epson’s limits before repeating or using Power Cleaning.
Print the XP-2205 nozzle pattern using Power and Stop, then decide whether cleaning is needed from the missing lines.
Move the cartridge holder using the correct ink-light condition, fit the replacement securely and complete charging before printing.
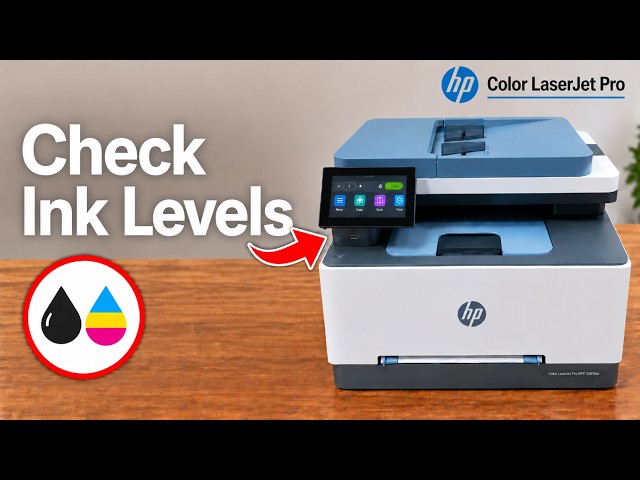
Open Supplies → Cartridges on the touchscreen or view the selected printer in the HP app. Use the estimates for planning rather than treating them as exact measurements.
Open the toner drawer, match the replacement to its colour slot and close the drawer and access door before checking the printer.
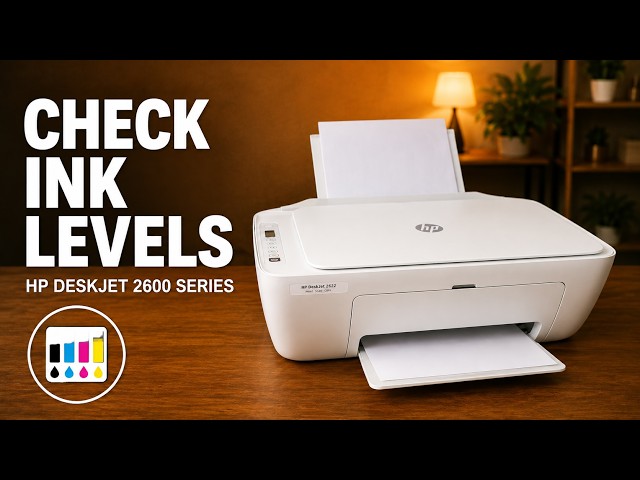
Read the DeskJet 2600’s ink indicators, print its status report or view estimated levels in the connected HP app.
Use the printer’s own supply label and HP’s regional information before buying a cartridge; a matching shape is not enough.
Follow the source video’s three-stage cartridge clean: cotton bud, damp-paper dabbing and a shallow soak, followed by drying, reinstallation and a test print.
Check missing black or colour on a DeskJet 2600, run the HP app’s cleaning tool, inspect the test page and decide when to stop.
Release the old DeskJet 2600 cartridge, install the correct regional replacement and complete the alignment requested after new ink.
Print an alignment page, position it on the scanner and complete the app’s scan prompt to check blurred or misaligned output.
Read the cartridge icons, HP app estimates and local supply-status page, while distinguishing low ink from a cartridge error.
Check paper and ink status, run the HP app’s cleaning routine and inspect its test page before deciding whether a further cleaning is needed.
Read the cartridge label inside a DeskJet 2920 or 2955 and check HP’s regional supply information before choosing a replacement.
Use Professor Printer’s DeskJet 2900-series manual method: remove the affected cartridge, dab its printhead, optionally soak the base, then dry and reinstall.
Install the correct regional cartridges in a DeskJet 2920 or 2955, check left and right positions, and complete the new-cartridge alignment.
Read the black and tri-colour indicators on the printer or open the supply display in the HP app, while treating every reading as an estimate.
Check ink, paper and job settings, then use the printer’s automatic cleaning tools and inspect the diagnostic page. Use alignment for crooked lines and stop when the output is acceptable.
Wait for the carriage to stop, release the old cartridge downward and install the correct replacement at a slight upward angle until it clicks. Check the printer and a completed page afterwards.
Read the colour and black level icons or view estimated supplies in the HP app. Use the estimates to plan, alongside the actual print quality and cartridge messages.
Identify the affected cartridge, check compatibility, tape and seating, then use HP’s E0 restart or replacement steps only if the error remains.
Follow Professor Printer’s DeskJet 4300-series method: dab the cartridge printheads, optionally soak their bases, dry and reinstall, then check the printed result.
Check the supply number for your printer’s region, replace the required cartridge with the carriage stopped, and complete the alignment if a new-cartridge page prints.
Open the cartridge access door, use the hinged cartridge latches and complete the new-cartridge alignment scan.
Print the alignment sheet from the touchscreen, place it face down on the scanner glass and choose Scan to complete calibration.
Check the exact cartridge message, confirm the correct regional supply and reseat the cartridge without touching its nozzles or contacts.
View the ENVY 6100e’s estimated ink on its touchscreen, in the HP app or on its local settings page without mistaking an estimate for a print-quality test.
Check paper and ink, inspect a diagnostic report, then choose cartridge cleaning, alignment or smear cleaning for the actual print defect.
Follow Professor Printer’s syringe-refill method: peel back the labels, add ink slowly to the demonstrated black and colour ports, then replace the labels.
Identify the exact cartridge message, check the correct regional supply and reseat the indicated cartridge without touching its contacts.
Use Supplies on the touchscreen to inspect estimated cartridge levels and the separate printhead status. The HP app also shows supply estimates.
Open the cartridge access door, release the old cartridge and seat its replacement in the matching color slot. Check the cartridge number for your region first.
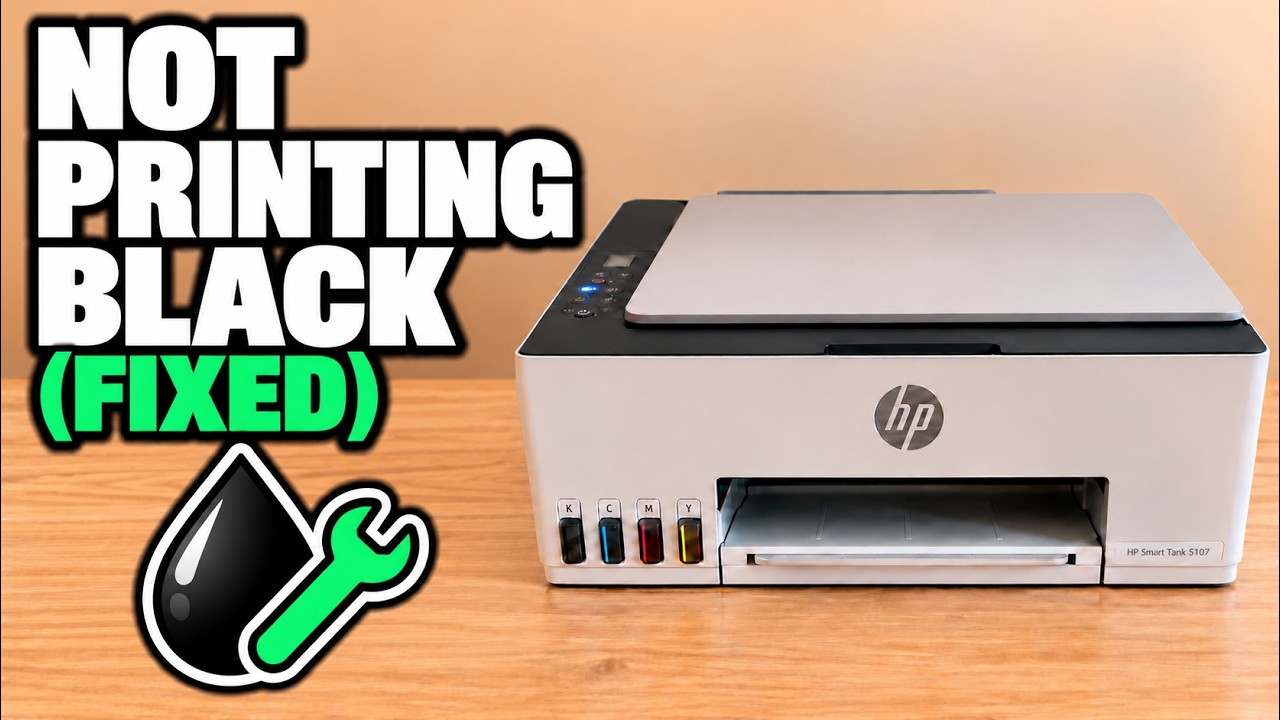
Follow Professor Printer’s manual black-printhead cleaning method for the HP Smart Tank 5107, including access, dabbing, optional soaking and refitting.
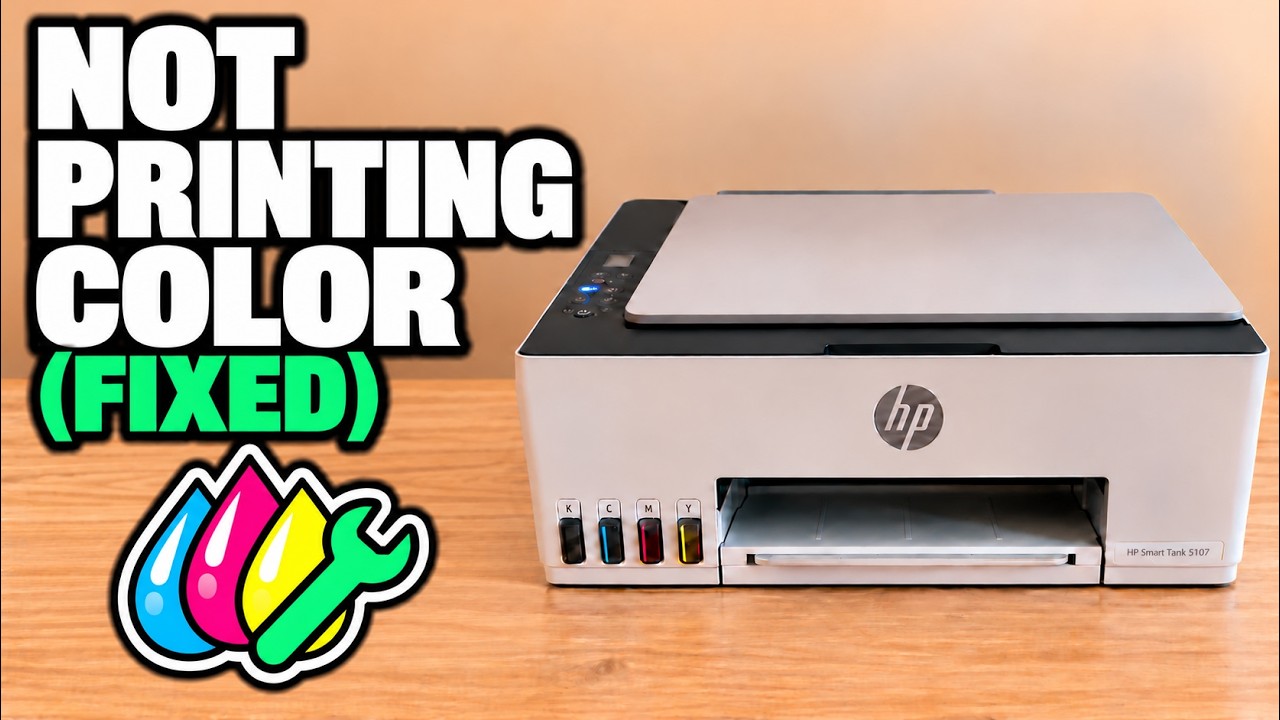
Professor Printer’s HP Smart Tank 5107 colour-printhead cleaning method: remove the head, dab its ink outlet, check the colour marks and refit it.
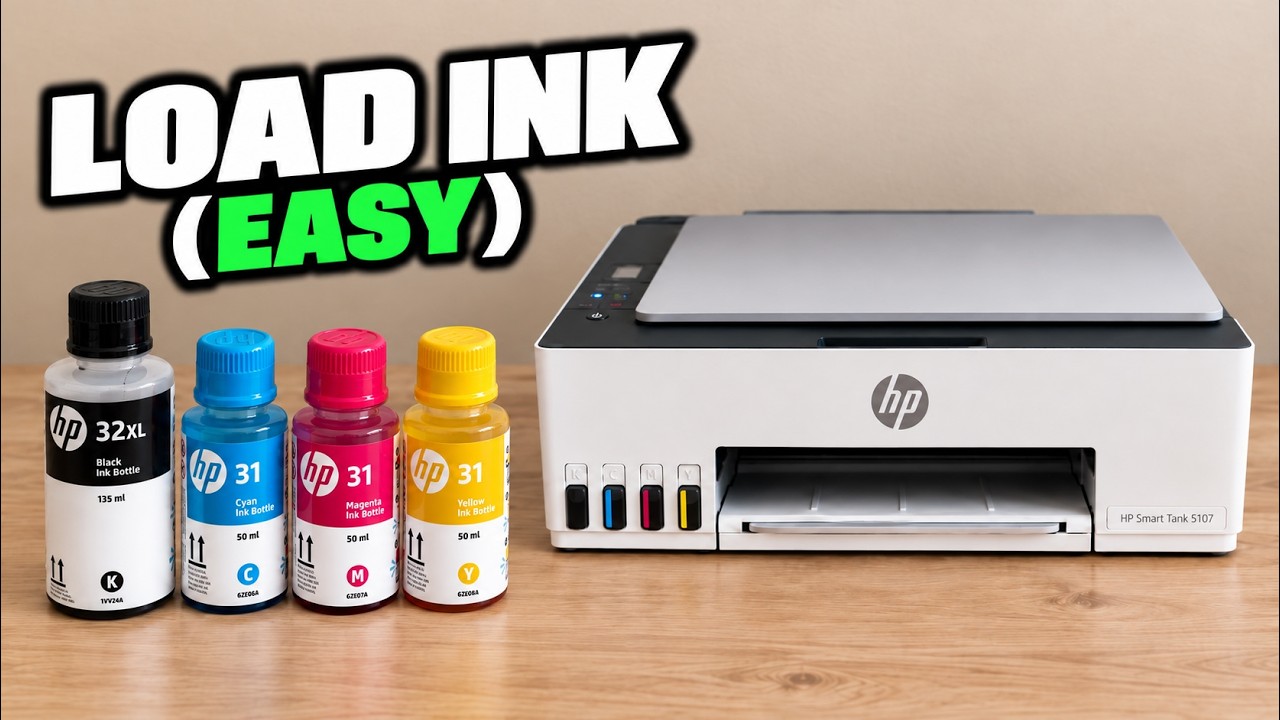
Check the bottle numbers on your own printer, match each ink colour and refill without squeezing the bottle or tilting the printer.
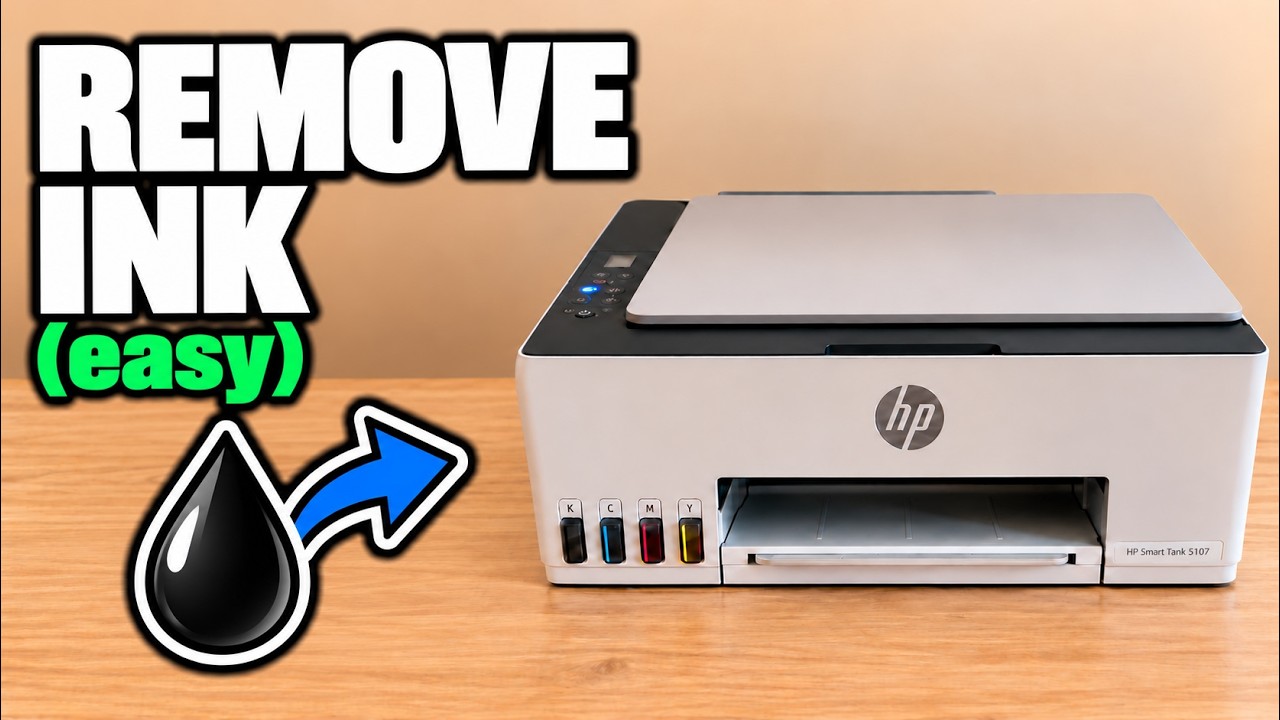
Professor Printer explains draining an HP Smart Tank 5107 back into an ink bottle by inversion, including preparation and spill precautions. Drainage is not filmed.
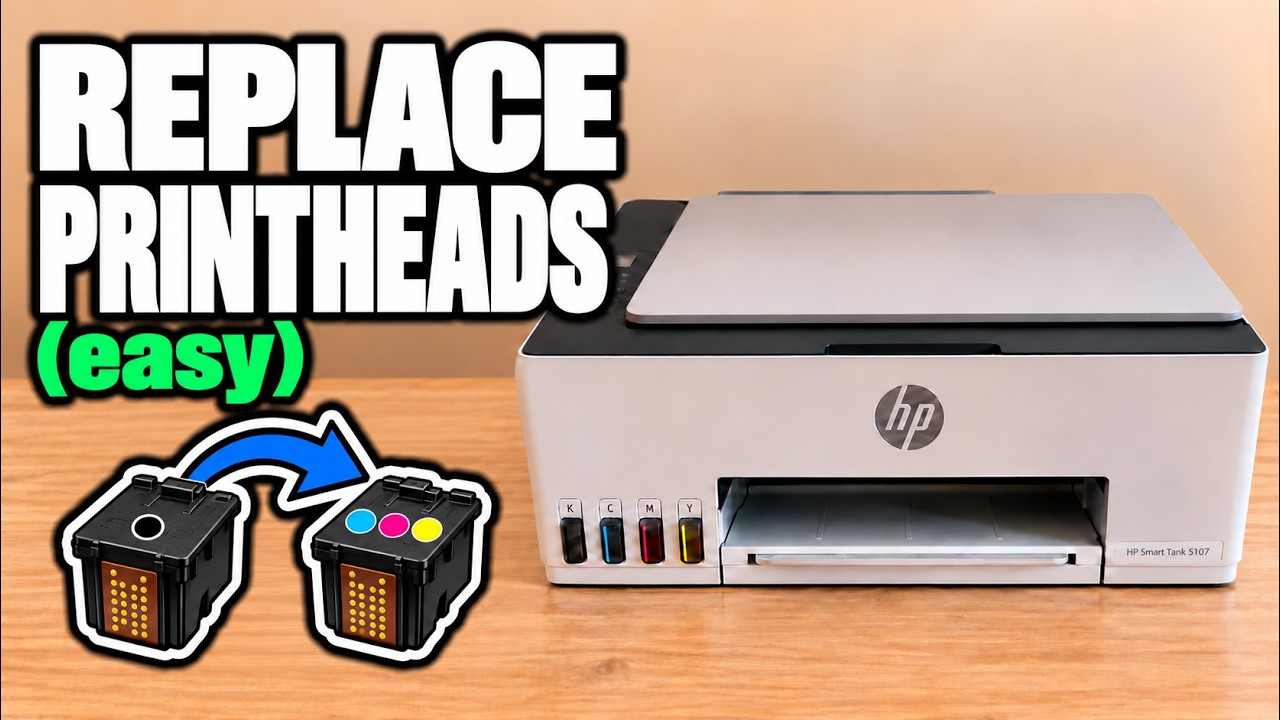
Follow Professor Printer’s HP Smart Tank 5107 printhead access and replacement method, including release, orientation, refitting and clearing the access error.