Epson EcoTank ET-2959
Epson EcoTank ET-2959 setup: ink, Wi-Fi and Windows
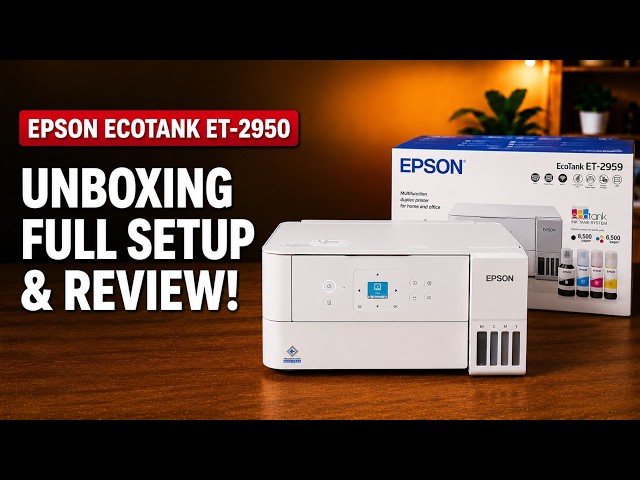
Set up the ET-2959 with Epson Smart Panel: fill and charge the ink, join Wi-Fi, complete alignment, then check Windows printing and Epson Scan 2.
Getting startedWatch video
Find a guide for turning a paper document into a digital file.
Set up the ET-2959 with Epson Smart Panel: fill and charge the ink, join Wi-Fi, complete alignment, then check Windows printing and Epson Scan 2.
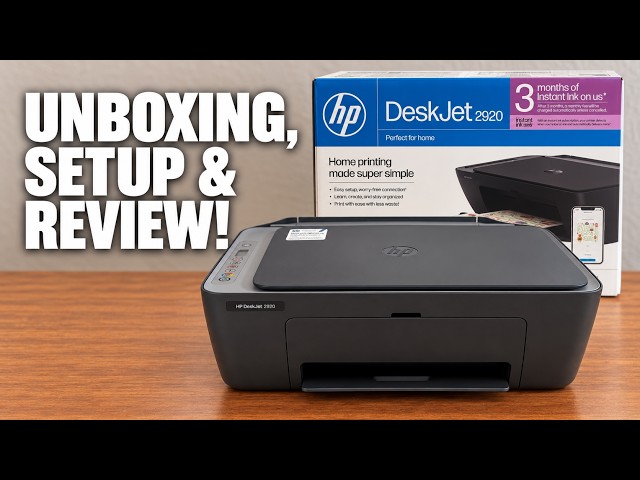
Set up the demonstrated DeskJet 2920 with paper, cartridges, alignment and iPhone Wi-Fi setup, then add it on a Mac and save a scan.
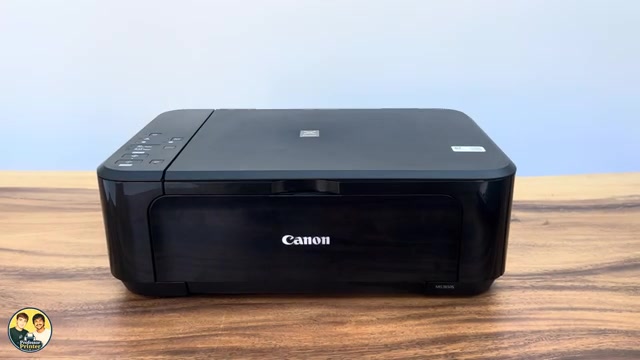
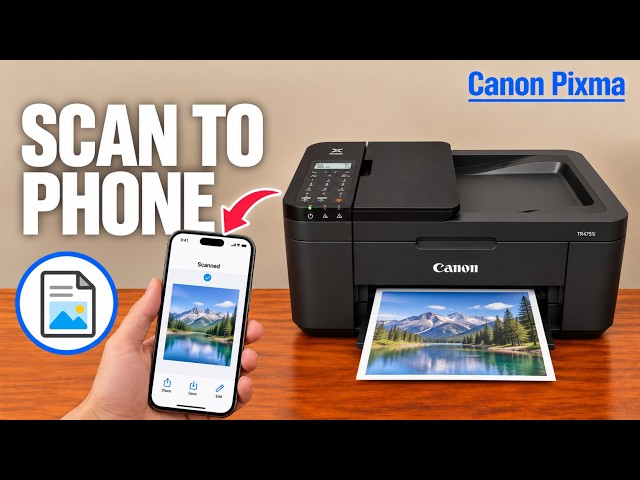
Make a standalone copy, save a scan to iPhone or Windows, or send a document/photo through Canon PRINT. Use the branch for your device and distinguish manually turning originals from automatic two-sided output.
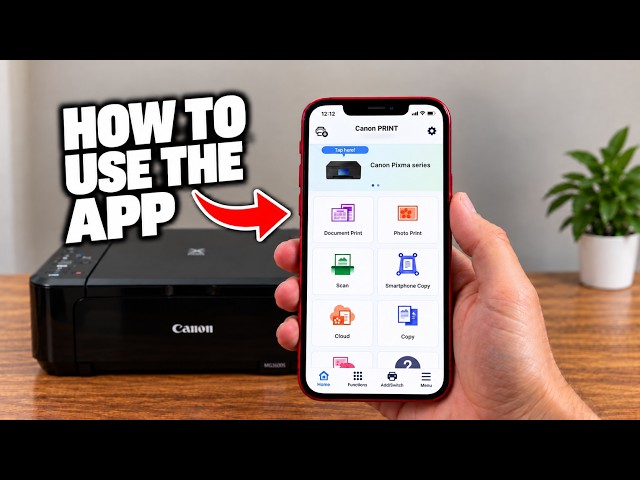
Choose photo printing, scanner capture, phone-camera copying or printer information in Canon PRINT. The app’s available controls depend on the selected model and connection.
Print from a phone or Windows, make panel copies and combine scanned pages into a saved PDF with Canon PRINT or Canon IJ Scan Utility.
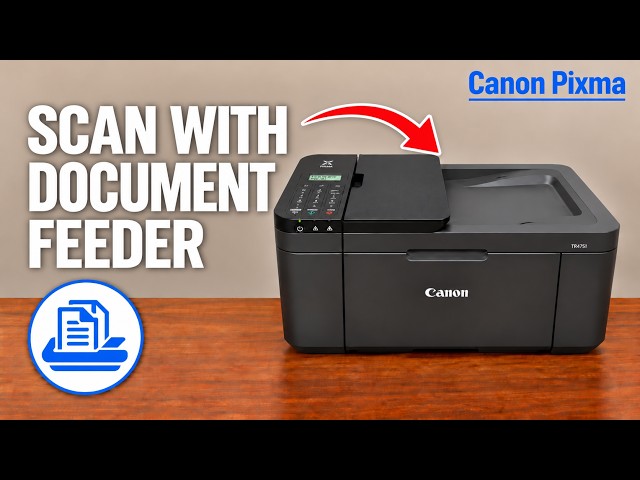
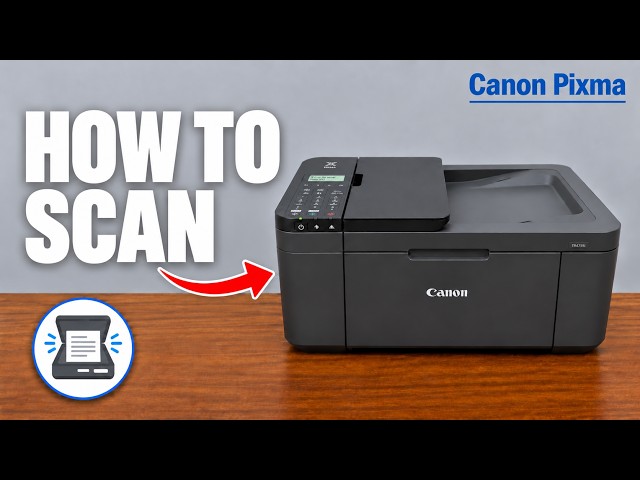
Load suitable originals face up in the document feeder, scan in Canon PRINT for Windows, then save all pages into one PDF and check the saved file. Two-sided originals need a manual second pass.
Scan a document with Canon PRINT, add another side if needed, then export a PDF or JPEG to Files and reopen it. The demonstrated phone workflow uses iPhone sharing options.
Choose the glass for photos or suitable documents, then scan and save with Canon PRINT for Windows. Use the feeder only for suitable plain-paper originals, with a manual second pass for two-sided pages.
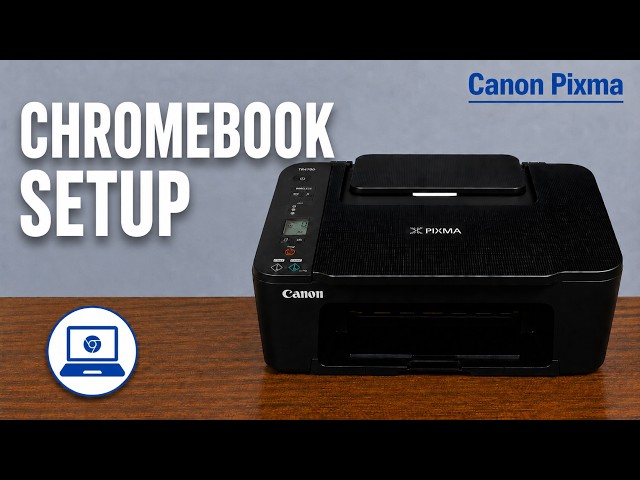
Save the printer on the same Wi-Fi network, select it as the print destination and use ChromeOS Scan for a document. Check the saved file separately from the scanner preview.