Step 1:Check that ChromeOS can see the ET-2400
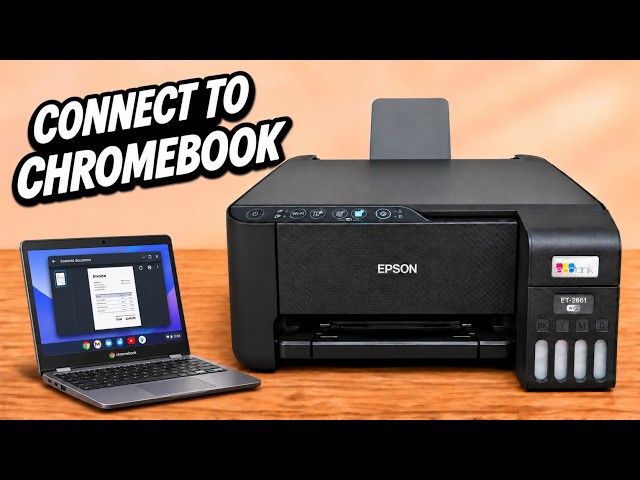
Put the Chromebook and printer on the same Wi-Fi network. If you have already added this printer, go straight to the glass. Otherwise, use the Chromebook launcher to open Print jobs, select Manage printers and add the Epson from the available printers.
Watch this section at 0:22Step 2:Place the original face down
Lift the scanner lid and lay the side you want to capture against the glass. Align the top of the page to the arrow in the right-hand corner, then lower the lid. This matters for a photo as much as for a text page.
Watch this section at 0:46Step 3:Choose the destination and file format
Search for Scan in the Chromebook launcher and open the app. Confirm that the Epson is selected. Choose a save folder and PDF, JPEG or PNG. Expand the other settings if you need to change colour, resolution or page size.
Watch this section at 1:21Step 4:Scan and open the saved file
For a single sheet, select Scan. To combine several sides into a PDF, choose PDF and enable the multiple-page option before starting. Place each new page on the glass or turn the sheet over for its reverse side. When scanning finishes, use the link on the result screen to open the file in your selected folder and check the page orientation.
Watch this section at 1:57