Before you start
- Epson Smart Panel connected to the printer on an iPhone.
Scan and save from Epson Smart Panel
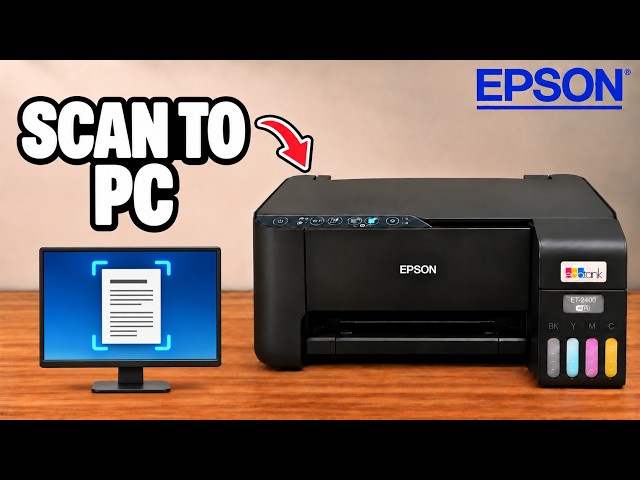
Select Scan in Epson Smart Panel, capture the original, then choose where to save the file. These saving steps use an iPhone and its Files picker.
Step 1:Place the original on the scanner glass
Put the original face down with its top corner aligned to the arrow on the glass. Close the scanner lid.
Step 2:Open Scan and check the settings
Open the connected printer in Epson Smart Panel and select Scan. Choose the resolution, document size, image type and output format you need. The settings also include background removal and image correction.
Step 3:Scan and inspect the preview
Choose Start and wait for the scan. Inspect the preview before saving. If the reverse side shows through, review the resolution and image-correction settings instead of saving an unreadable result.
Step 4:Add another page when needed
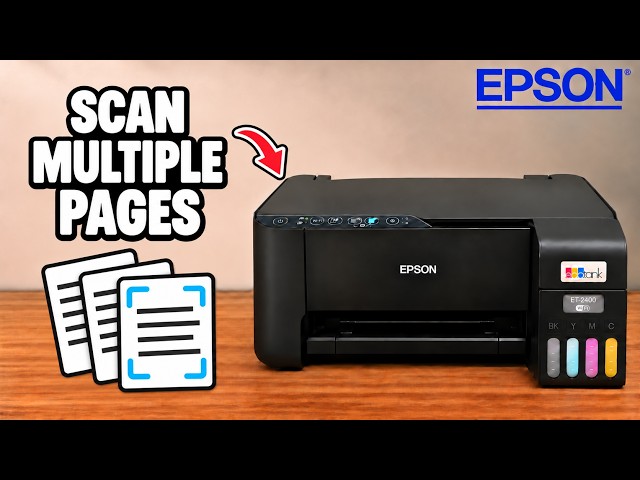
For a second side or another page, replace the original on the glass in the same orientation. Tap the plus/Scan control to capture it. Repeat until the document is complete, then choose Next.
Step 5:Choose the file name and save location
Name the scan and choose Save. Use Browse in the iPhone file picker to select a folder on the phone or in iCloud Drive, then Save there. Open Files and check that the saved scan is in that location.
Questions & troubleshooting
Scan opens with an error. What can I try?
Restart the printer, then open Scan again in Smart Panel. That clears the initial scan error in the walkthrough.
Where did the scan go?
Open the folder you selected with Browse when saving. In the iPhone workflow, that may be a folder on the phone or in iCloud Drive.