Epson EcoTank ET-2400
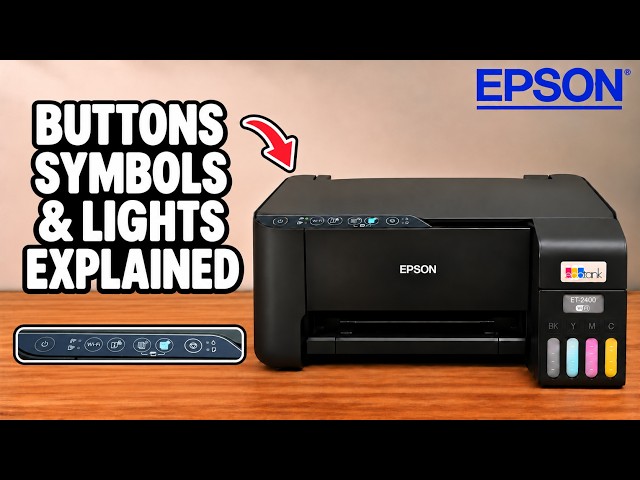
Epson ET-2400 buttons, symbols and Wi-Fi lights
Identify the copy and Stop buttons, read the two Wi-Fi indicators and find the button combinations for common printer tasks.
Getting startedWatch video
Find setup, troubleshooting and everyday guides for Epson EcoTank ET-2710 and related printers.
42 guides across 6 tasks
Identify the copy and Stop buttons, read the two Wi-Fi indicators and find the button combinations for common printer tasks.
Open the printer’s advanced settings, sign in with its current administrator password and enter a new matching password in the change form.
Join the ET-2400 directly from your Chromebook, enter your home Wi-Fi details on the printer’s settings page, then save the printer in ChromeOS.
Locate the Password label or print the detailed network report to find the default printer password used for setup.
Raise the rear paper support, slide the guides outward, insert the sheet and bring the guides snugly against it without bending the paper.
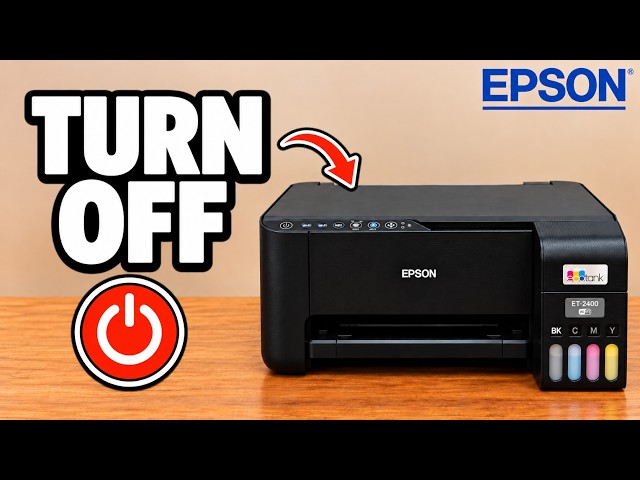
Hold the Power button until its light blinks, wait for shutdown, and locate the rear power connection if the printer does not respond.
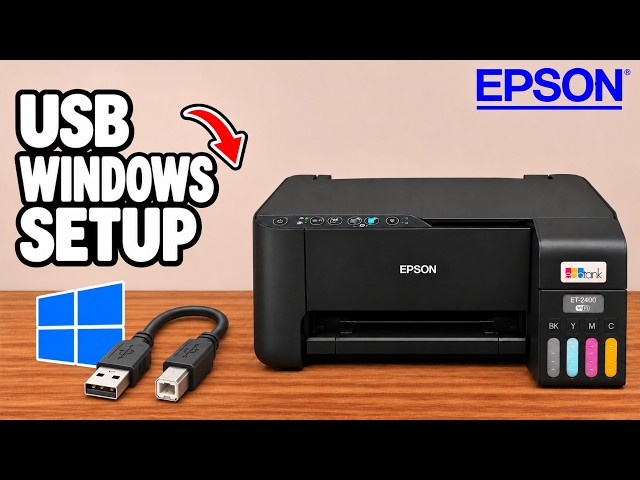
Connect the printer by USB, install the Epson driver and scanner utilities, and select it from your Windows applications.
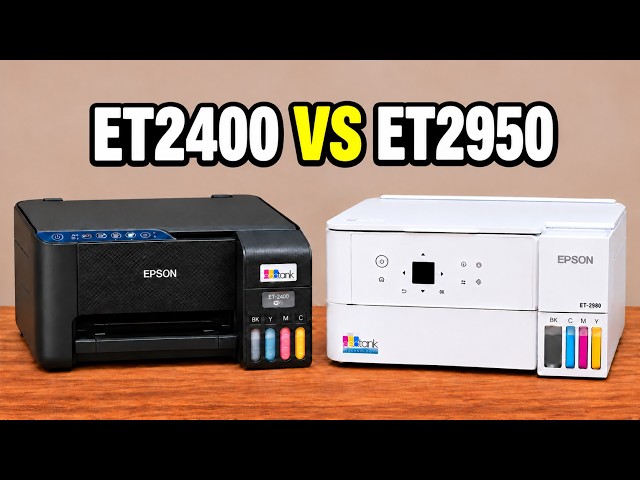
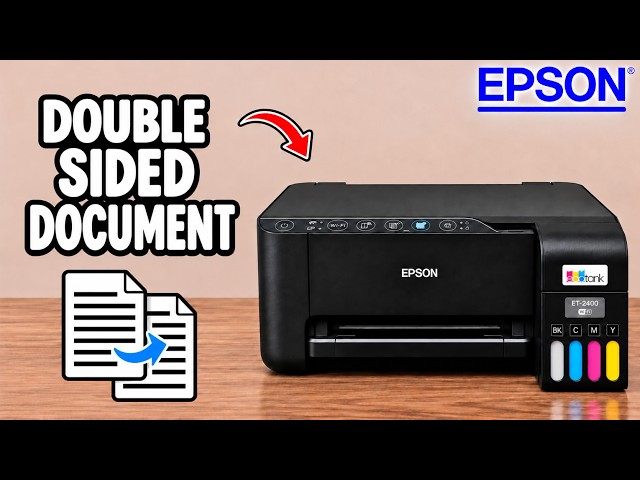
Compare the button-only EcoTank with the newer screen-equipped printer: setup, maintenance access and the practical difference between manual and automatic two-sided printing.
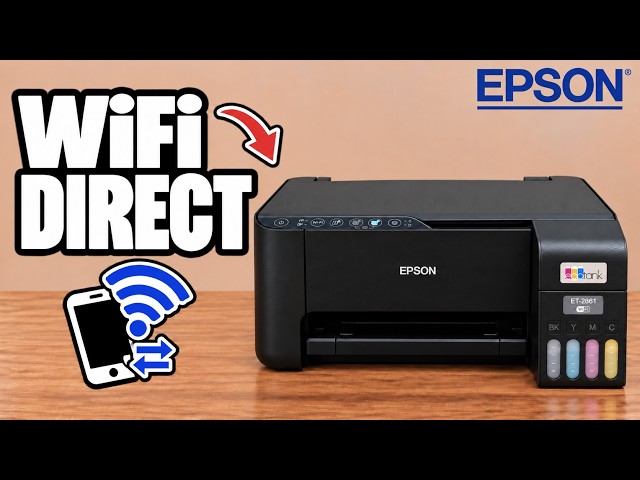
Enable the printer’s DIRECT Epson network, join it from an iPhone and connect through Epson Smart Panel without a home router.
Put the printer into pairing mode, enter its administrator password and use Epson Smart Panel to connect it to your home Wi-Fi.
Use Epson’s regional setup installer on a Windows computer, put the printer in pairing mode, and follow the automatic Wi-Fi connection steps shown in the video.
Open the printer’s advanced settings, sign in with its current administrator password and enter a new matching password in the change form.
Join the ET-2400 directly from your Chromebook, enter your home Wi-Fi details on the printer’s settings page, then save the printer in ChromeOS.
Locate the Password label or print the detailed network report to find the default printer password used for setup.
Print the printer’s network information sheet or find its IP address under Device information on a connected Windows computer.
Load A4 or Letter paper and press Information for one or two seconds to print the network report, then read its current Wi-Fi and IP-address status.
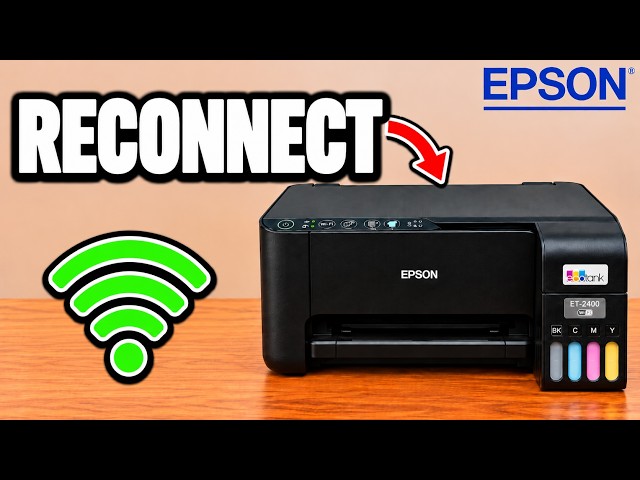
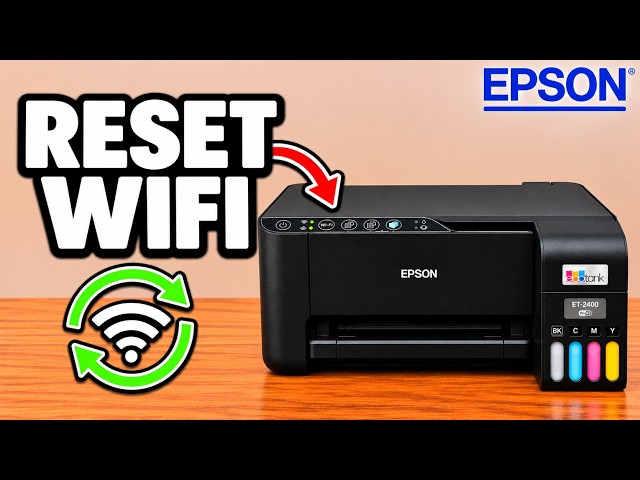
Reset the old connection, restart pairing and reconnect through Smart Panel, with a Windows Auto Connect alternative if the phone setup stalls.
Clear the printer’s existing connection with Power and Information, then wait for the network lights to stop before reconnecting.
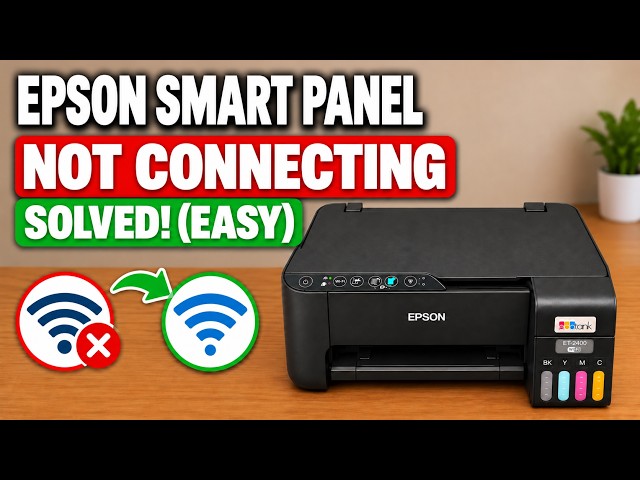
Restart discovery with a fresh Smart Panel installation, the right phone permissions and active printer pairing mode.
Connect the printer by USB, install the Epson driver and scanner utilities, and select it from your Windows applications.
Enable the printer’s DIRECT Epson network, join it from an iPhone and connect through Epson Smart Panel without a home router.
Put the printer into pairing mode, enter its administrator password and use Epson Smart Panel to connect it to your home Wi-Fi.
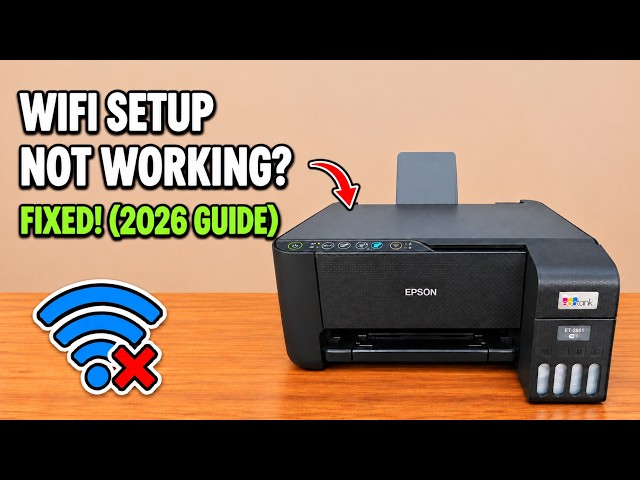
Use the printer’s Wi-Fi Direct network and browser settings to choose your router and reconnect when app setup fails.
Use Epson’s regional setup installer on a Windows computer, put the printer in pairing mode, and follow the automatic Wi-Fi connection steps shown in the video.
Pair the ET-2400 with a router that supports push-button WPS. You only need access to the router and printer controls for this connection.
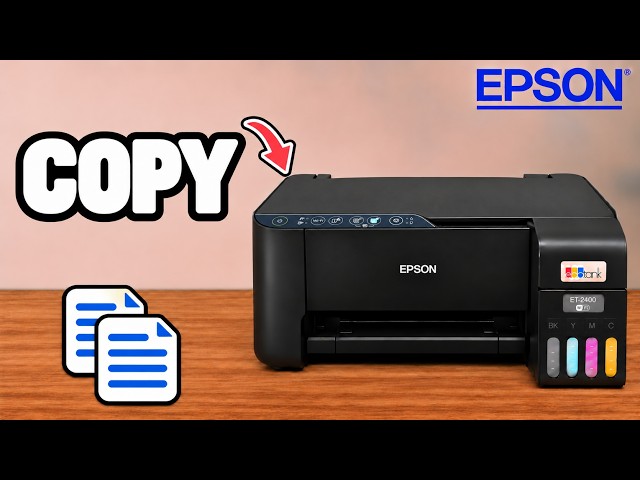
Use the printer buttons for a paper copy, Epson Smart Panel on an iPhone or Epson Scan 2 on Windows. Choose the route for the document you have and the output you need.
Use the Chromebook’s Scan app to capture a document from the ET-2400, choose PDF, JPEG or PNG and open the saved file from the result screen.
Use Epson Scan 2’s Add or edit pages after scanning option to scan a stack of originals into one saved PDF.
Scan in Epson Smart Panel, add more pages if needed, and save the document to a chosen folder in Files or iCloud Drive.
Open Epson Scan 2, choose a file format and destination, then scan a document from the flatbed to your computer.
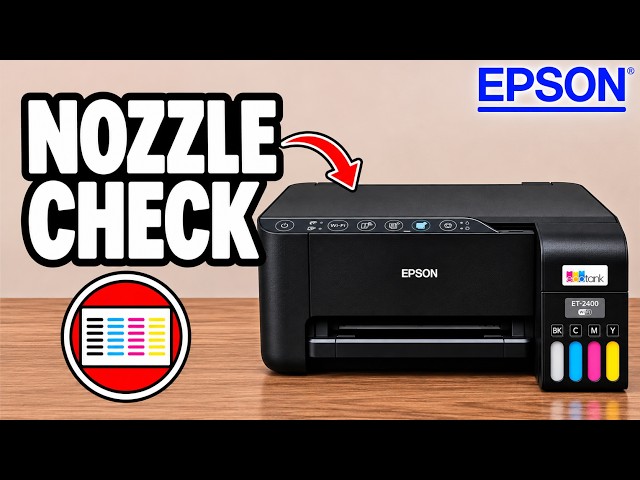
Use a nozzle check to distinguish missing ink from a device connection problem, then work through regular cleaning and the Windows Power Cleaning route.
Read the ink through the front tank windows and compare it with the level marks before it falls too low.
Use Epson Smart Panel to print a nozzle check, run Head Cleaning and compare the next pattern for missing or faded lines.
Start printhead cleaning with the Stop button, wait for the power light to settle, then print a nozzle check to compare the result.
Open the Epson driver’s Maintenance tab to find Power Cleaning, check the ink requirement, and compare nozzle checks before deciding whether to repeat it.
Use the printer regularly, include colour in routine prints and know how to run the short button-operated head cleaning.
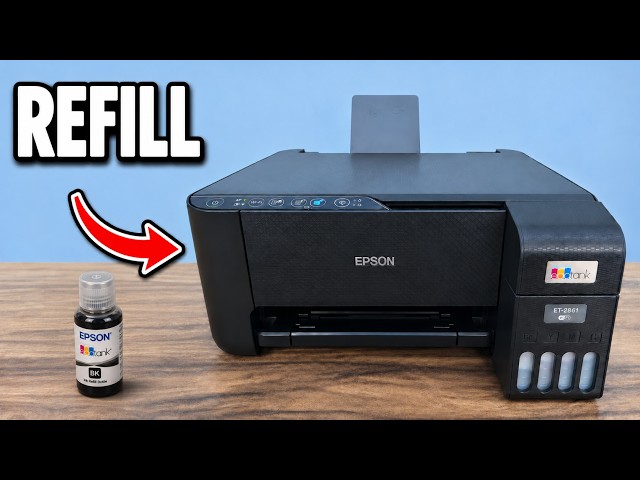
Open the tank cover, match each bottle to its colour and let the ink flow into the tank without squeezing the bottle.
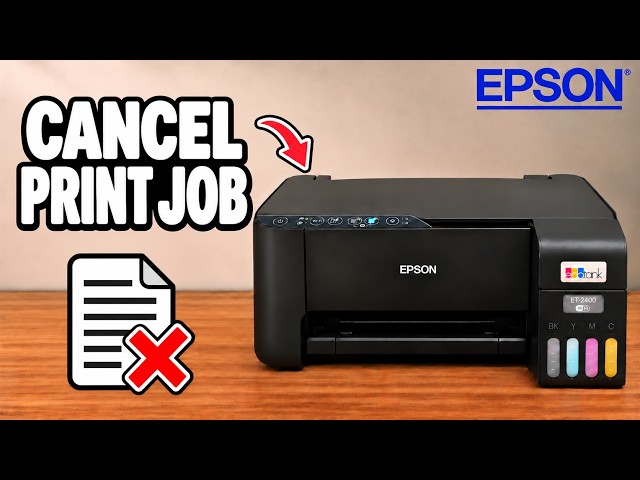
Press the printer’s Stop button to interrupt the current print and let the sheet finish ejecting.
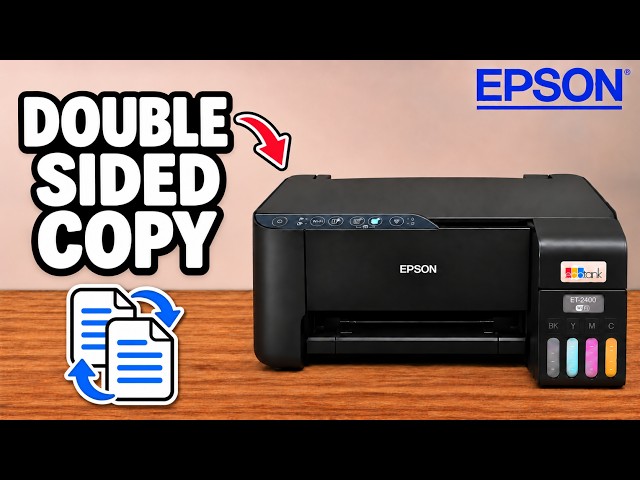
Copy the first side, reload the printed sheet and turn over the original to copy onto the back manually.
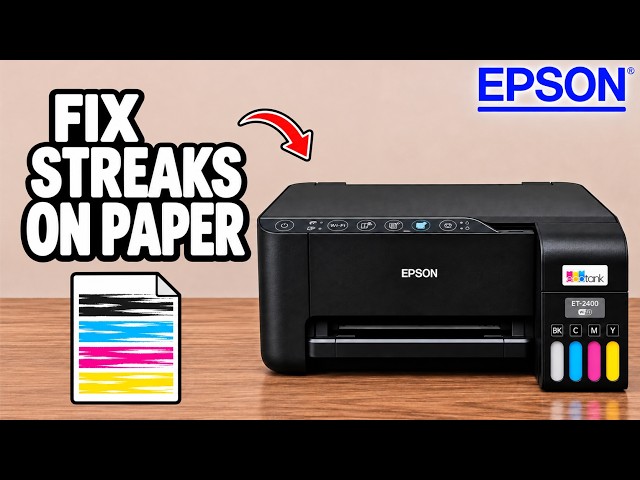
Try blank black-and-white and colour copies to check for stray ink marks on otherwise blank paper.
Raise the rear paper support, slide the guides outward, insert the sheet and bring the guides snugly against it without bending the paper.
Copy a document with the printer buttons, adjust copy settings in Epson Smart Panel, and turn the original and paper by hand for a two-sided copy.
Print page one, reload the sheets in the correct direction, then print page two on their reverse sides.
Use Power and Stop to print a nozzle-check pattern directly from the printer, then look for breaks in the printed lines.
Use the printer buttons for a paper copy, Epson Smart Panel on an iPhone or Epson Scan 2 on Windows. Choose the route for the document you have and the output you need.
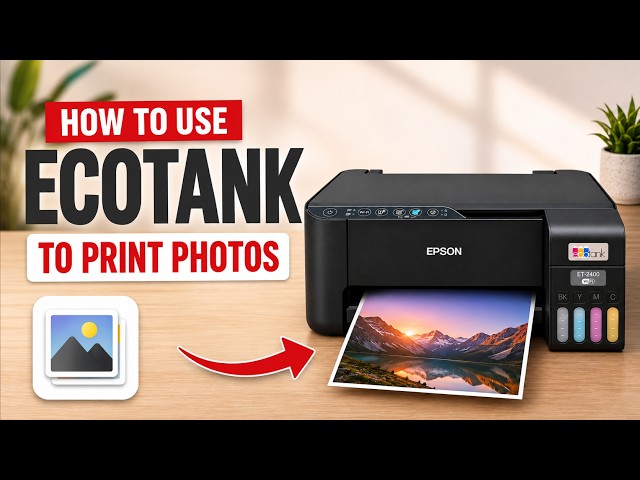
Load photo paper, match the paper size and media type in Epson Smart Panel, and choose High quality before printing.
Print the vertical and horizontal alignment patterns, choose the best blocks on your own sheets and save them in Epson Printing Preferences.
Compare the button-only EcoTank with the newer screen-equipped printer: setup, maintenance access and the practical difference between manual and automatic two-sided printing.
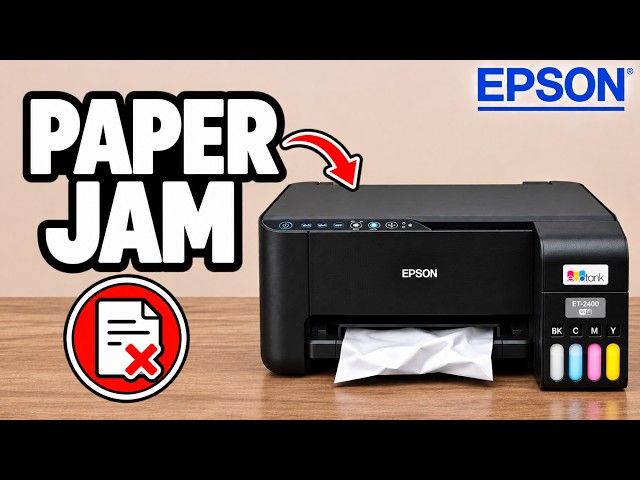
Follow Professor Printer’s checks for paper obstructions and print settings, then the demonstrated connection reset. Reconnect Wi-Fi afterwards if you reset.
Use a nozzle check to distinguish missing ink from a device connection problem, then work through regular cleaning and the Windows Power Cleaning route.
Identify the copy and Stop buttons, read the two Wi-Fi indicators and find the button combinations for common printer tasks.
Press the printer’s Stop button to interrupt the current print and let the sheet finish ejecting.
Use Epson Smart Panel to print a nozzle check, run Head Cleaning and compare the next pattern for missing or faded lines.
Start printhead cleaning with the Stop button, wait for the power light to settle, then print a nozzle check to compare the result.
Try blank black-and-white and colour copies to check for stray ink marks on otherwise blank paper.
Load A4 or Letter paper and press Information for one or two seconds to print the network report, then read its current Wi-Fi and IP-address status.
Use Power and Stop to print a nozzle-check pattern directly from the printer, then look for breaks in the printed lines.
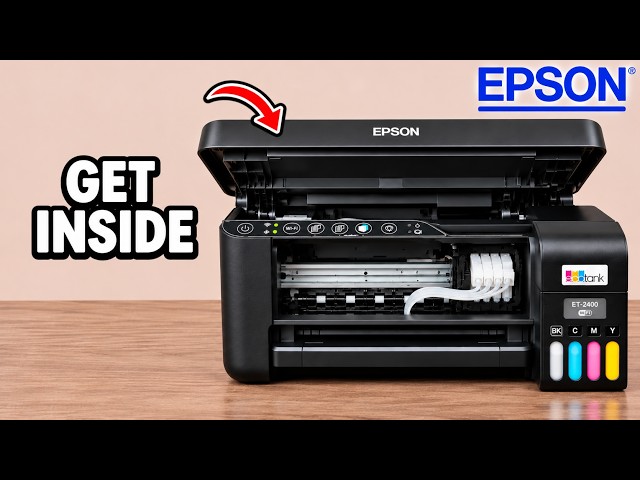
Find the front, rear feed and underside access points shown in Professor Printer’s Epson EcoTank video, without dismantling the rear casing.
Identify whether the paper light, ink light or both are lit, then follow the checks explained in the video for paper loading, jams, ink charging and waste-ink warnings.
Disconnect power, then inspect the front interior, rear feeder and underside paper path using the access points shown in the video.
Open the Epson driver’s Maintenance tab to find Power Cleaning, check the ink requirement, and compare nozzle checks before deciding whether to repeat it.
Use the printer regularly, include colour in routine prints and know how to run the short button-operated head cleaning.
Print the vertical and horizontal alignment patterns, choose the best blocks on your own sheets and save them in Epson Printing Preferences.
Reset the old connection, restart pairing and reconnect through Smart Panel, with a Windows Auto Connect alternative if the phone setup stalls.
Clear the printer’s existing connection with Power and Information, then wait for the network lights to stop before reconnecting.
Restart discovery with a fresh Smart Panel installation, the right phone permissions and active printer pairing mode.
Hold the Power button until its light blinks, wait for shutdown, and locate the rear power connection if the printer does not respond.
Use the printer’s Wi-Fi Direct network and browser settings to choose your router and reconnect when app setup fails.
Find more tutorials for related printers.