Before you start
- Epson Smart Panel already connected to the printer.
- Photo paper and an image accessible on the phone.
Match the settings to the photo paper
Use Print Photos in Epson Smart Panel and select the size and type of paper actually loaded. Set High quality, then review the border option before printing.
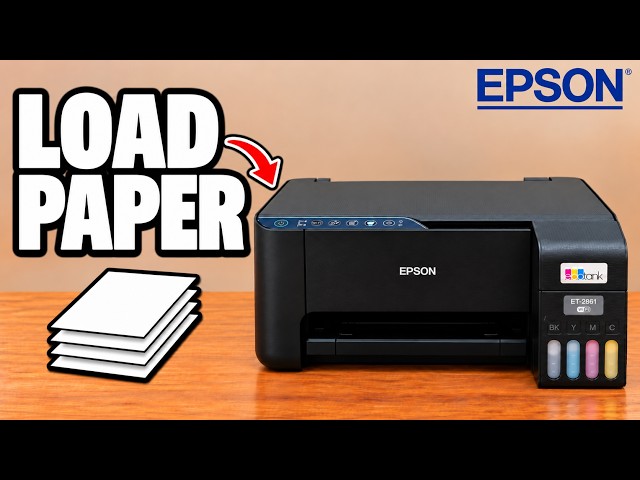
Step 1:Load the photo paper in the rear feeder
Extend the rear paper support and move the blue guides apart. Put the photo paper centrally in the feeder, then bring the guides to its edges without bending or creasing it.
Step 2:Choose the photo in Smart Panel
Open the connected printer in Epson Smart Panel. Choose Print, then Print Photos. Select the photo you want and choose Add.
Step 3:Match size, type and border settings
Set Paper Size to match the loaded sheet and choose its Media Type, such as the appropriate glossy-photo option. Choose bordered or borderless as available for that size, then set Print Quality to High.
Step 4:Review and print
Choose Done, then Print. Allow the high-quality photo print to finish; it takes longer than a quick plain-paper document. Inspect the finished picture and its borders against your selected settings.
Questions & troubleshooting
Why does my photo still have a border?
Check both the actual paper size and the size selected in the app. The borderless choice depends on a supported matching size; the example print retains a border when those conditions are not met.