Before you start
- A clear work surface.
- Access to the power cable at the rear.
- A helper if needed to support the printer during the underside inspection.
Check the paper path in three places
The source explains manual paper removal and shows where to inspect the printer. It does not show an actual jam being cleared or a successful test print afterwards. Use the access demonstration to locate the trapped paper in your own printer.
Step 1:Disconnect the power cable
Turn to the rear of the printer and unplug its power cable before reaching into the paper path.
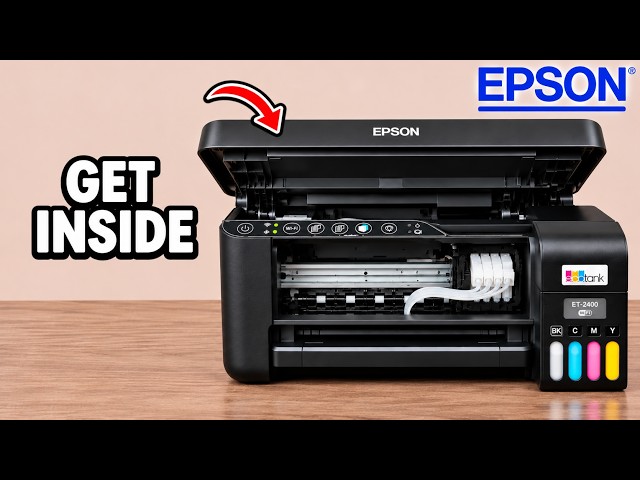
Step 2:Open the front and inspect the interior
Lower the front cover to see the paper path. Raise the upper scanner unit from the front for a wider view inside. Look for paper caught in the exposed path.
The presenter describes removing accessible paper by hand or using chopsticks or tweezers where needed. Grip the paper rather than printer components and draw it out carefully. Avoid tearing it, since small fragments are harder to retrieve.
Step 3:Inspect the rear paper feeder
Raise the rear paper support and look into the paper-entry opening. Remove accessible trapped paper there. The video mentions chopsticks or tweezers as possible ways to reach paper in this opening.
Step 4:Check the underside paper path
Follow the demonstrated position with the printer supported on its back. Lift the front paper tray fully to expose the underside and look for paper in that part of the path.
What this inspection establishes
The three openings let you check the visible paper path for trapped sheets or fragments. Removing a visible obstruction is different from confirming the whole printer works: the source ends after the inspection and does not demonstrate a particular error light clearing.
Questions & troubleshooting
Can a reset automatically remove the jam?
This source teaches physical inspection and removal. A button reset cannot pull a trapped sheet out of the paper path.
Should I remove the rear casing?
The demonstrated checks use the existing front, feeder and underside openings. Rear-casing dismantling is not shown.