Before you start
- A clear view of the paper and ink symbols on the control panel.
- Note whether each light is steady, flashing together or flashing alternately.
First identify the symbol and flashing pattern
The orange lights sit beside the paper and ink symbols. Check which symbol is lit, whether its light is steady or flashing, and whether both lights flash together or alternately. Professor Printer uses those distinctions to choose the next check.
The video shows an empty rear feeder with a paper warning. Its other light categories are explained by the presenter; they are not separate fault-and-repair demonstrations.
Watch this section at 0:10Steady orange paper light: check the loaded paper
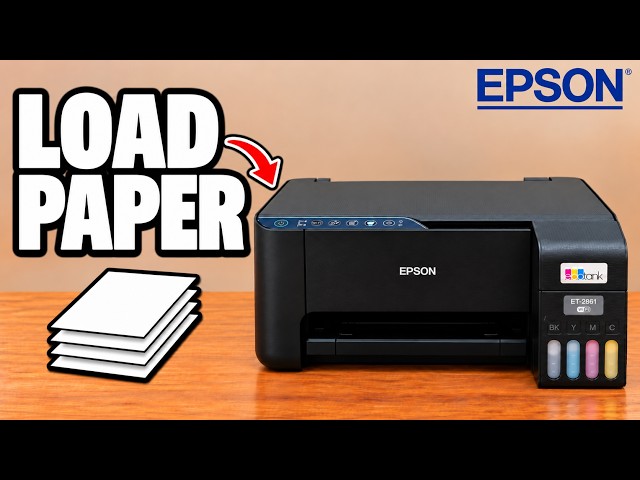
In the shown example, the rear feeder has no paper. Press Stop, load paper into the rear feeder, then retry the job. The presenter also points to unsuitable paper as a reason to check the type and size you have loaded.
Make the paper sit straight between its guides and select the corresponding size on the device sending the job. The paper-loading guide below shows the feeder adjustment.
Watch this section at 0:24Flashing paper light: inspect for a jam
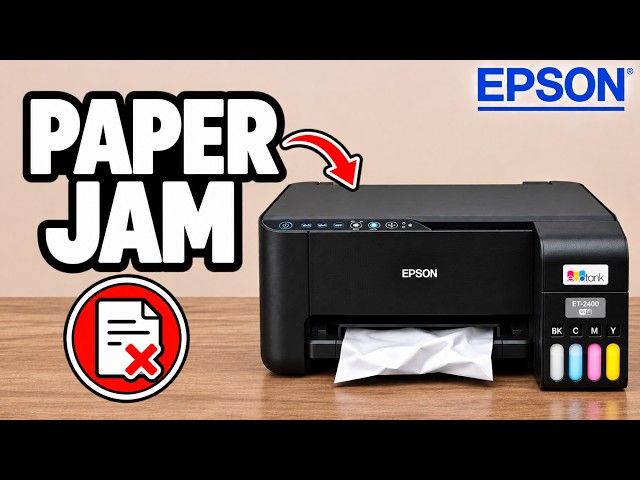
The presenter identifies a flashing paper light as a paper-jam warning. Unplug the printer before looking inside for trapped paper. Follow the separate paper-jam guide for the demonstrated front, rear-feed and lower inspection points.
Steady ink light: consider the initial charge
For a steady ink light, the presenter says initial ink charging may be unfinished, or the ink type may be unsuitable. Check what stage of setup the printer has reached and the ink that was used.
This video does not demonstrate draining ink or replacing supplies to clear that light. Do not infer a particular bottle or replacement part from the light alone.
Watch this section at 1:39Both orange lights: the waste-ink explanation
Professor Printer explains that both orange lights flashing together can indicate a waste-ink pad approaching or reaching capacity. He also associates alternating orange lights with an approaching-capacity waste-ink warning.
His suggested next step is Epson service or a suitable home-maintenance replacement procedure. Pad replacement, counter resets and identifying the pad that needs attention are not covered here; use guidance for your actual printer and warning.
Watch this section at 1:04Retry after addressing the cause
Press Stop to stop the current operation, address the identified problem, then retry what you were doing. Pressing Stop by itself does not load paper, remove a jam or replace a waste-ink pad.
Check whether the warning has cleared and whether the original job now works. The source demonstrates the empty-feeder example and explains the other patterns, without promising that a single action clears every orange light.
Questions & troubleshooting
Can I clear every orange warning by pressing Stop?
No. Stop ends the current operation in the source method. The paper, obstruction, charging issue or waste-ink condition still needs attention before retrying.
Does this guide include a waste-ink-pad replacement or reset?
No. The source mentions service and home maintenance but does not demonstrate a replacement or counter-reset procedure.