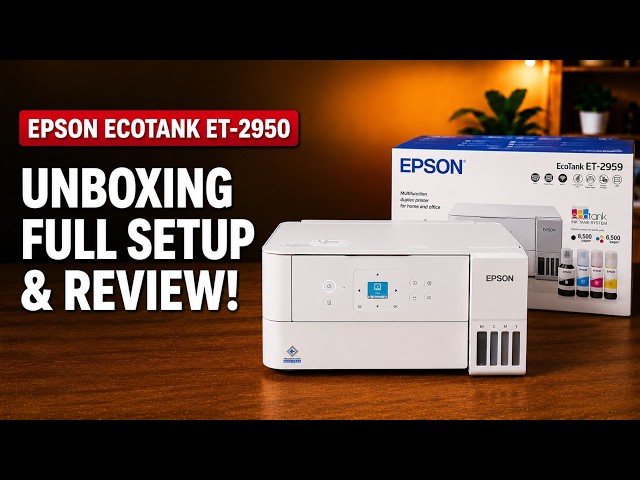
Epson EcoTank ET-2959
Epson EcoTank ET-2959 setup: ink, Wi-Fi and Windows
Set up the ET-2959 with Epson Smart Panel: fill and charge the ink, join Wi-Fi, complete alignment, then check Windows printing and Epson Scan 2.
Getting startedRead & watch
Find a guide for turning a paper document into a digital file.
Set up the ET-2959 with Epson Smart Panel: fill and charge the ink, join Wi-Fi, complete alignment, then check Windows printing and Epson Scan 2.
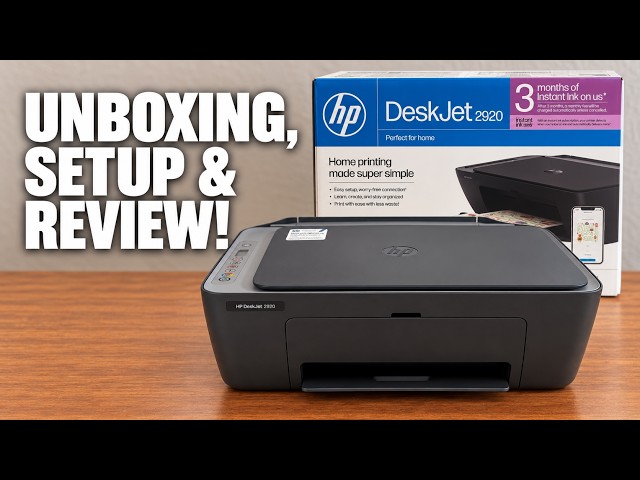
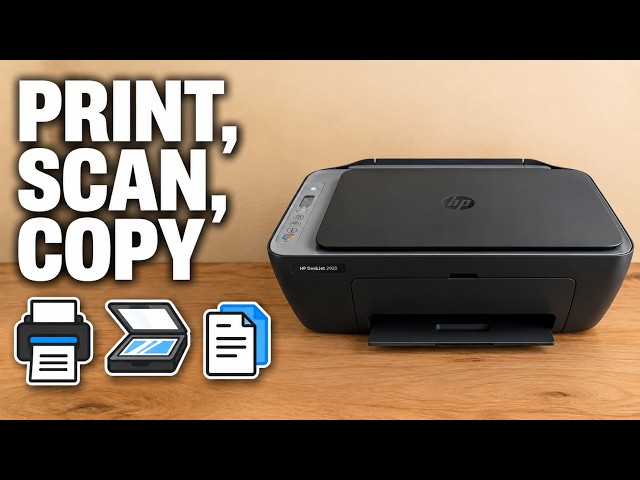
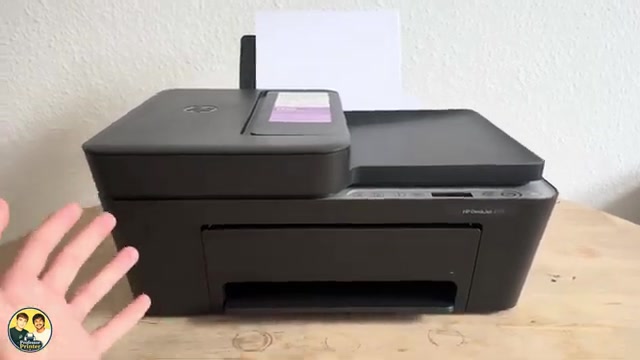
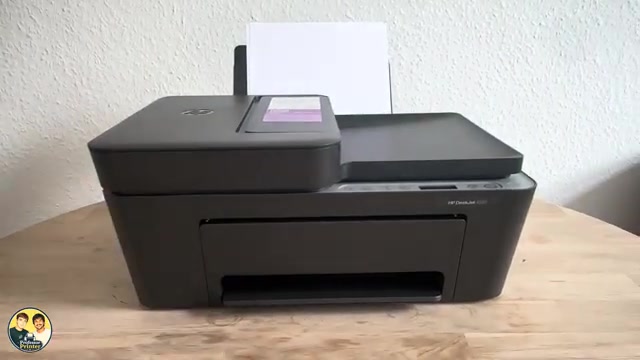
Set up the demonstrated DeskJet 2920 with paper, cartridges, alignment and iPhone Wi-Fi setup, then add it on a Mac and save a scan.
Make a standalone copy, save a scan to iPhone or Windows, or send a document/photo through Canon PRINT. Use the branch for your device and distinguish manually turning originals from automatic two-sided output.
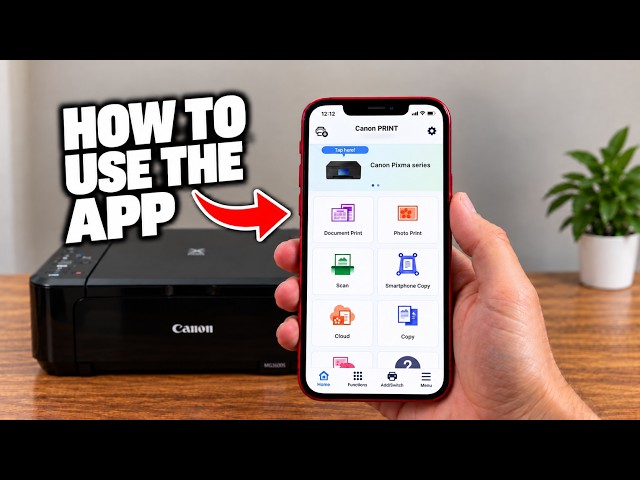
Choose photo printing, scanner capture, phone-camera copying or printer information in Canon PRINT. The app’s available controls depend on the selected model and connection.
Print from a phone or Windows, make panel copies and combine scanned pages into a saved PDF with Canon PRINT or Canon IJ Scan Utility.
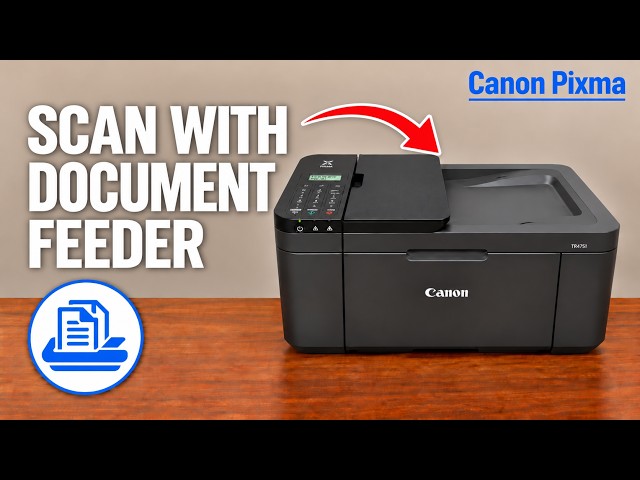
Load suitable originals face up in the document feeder, scan in Canon PRINT for Windows, then save all pages into one PDF and check the saved file. Two-sided originals need a manual second pass.
Scan a document with Canon PRINT, add another side if needed, then export a PDF or JPEG to Files and reopen it. The demonstrated phone workflow uses iPhone sharing options.
Choose the glass for photos or suitable documents, then scan and save with Canon PRINT for Windows. Use the feeder only for suitable plain-paper originals, with a manual second pass for two-sided pages.
Save the printer on the same Wi-Fi network, select it as the print destination and use ChromeOS Scan for a document. Check the saved file separately from the scanner preview.
Use Canon PRINT on Windows to scan each side from the glass, check its orientation and save the result. For one combined PDF, select all pages and the single-file option before saving.
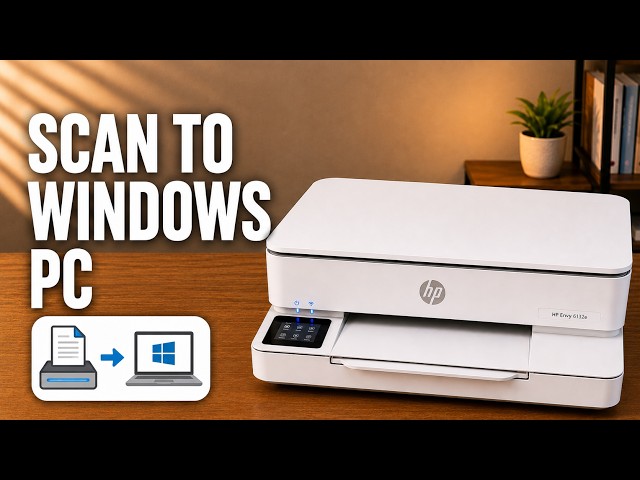
Start the scan in Epson Scan 2, choose the file format and destination, preview the original and save the finished scan. This is a computer-initiated scan, not the printer’s Scan-to-computer button workflow.
Use Epson Smart Panel to scan the glass original, check the preview and save it to a chosen location. You can then select the saved document in the app to print another paper copy.
Use Epson Scan 2 to save a document or photo, choose the destination yourself and combine several glass scans into one PDF. This is a Windows-computer workflow, with each original placed manually.
Separate a printer-screen scanner error from a failed computer or phone scan. Restart normally, check one local copy and then investigate the connection or scanning application when appropriate.
Use a direct USB connection and Epson’s exact-model Windows software, then verify a printed page and saved scan. Keep the cable connected whenever you use this USB setup.
Put the printer and Windows computer on the same network, install the exact-model Epson print driver and Epson Scan 2, then check a print and a saved scan.
Add a supported Epson printer, choose the right task and check the result. Learn the difference between saving a scan, making a paper copy and capturing a document with your phone camera.
Use Epson Scan 2 to save a scan to a chosen Windows folder or combine several flatbed scans into one PDF.
Scan a document from the XP-2205 flatbed, add another page when needed and save a PDF to a destination you can find again.
Use touchscreen copying without a computer, print from the HP app and save a flatbed scan. Select the correct original sides and paper source before starting.
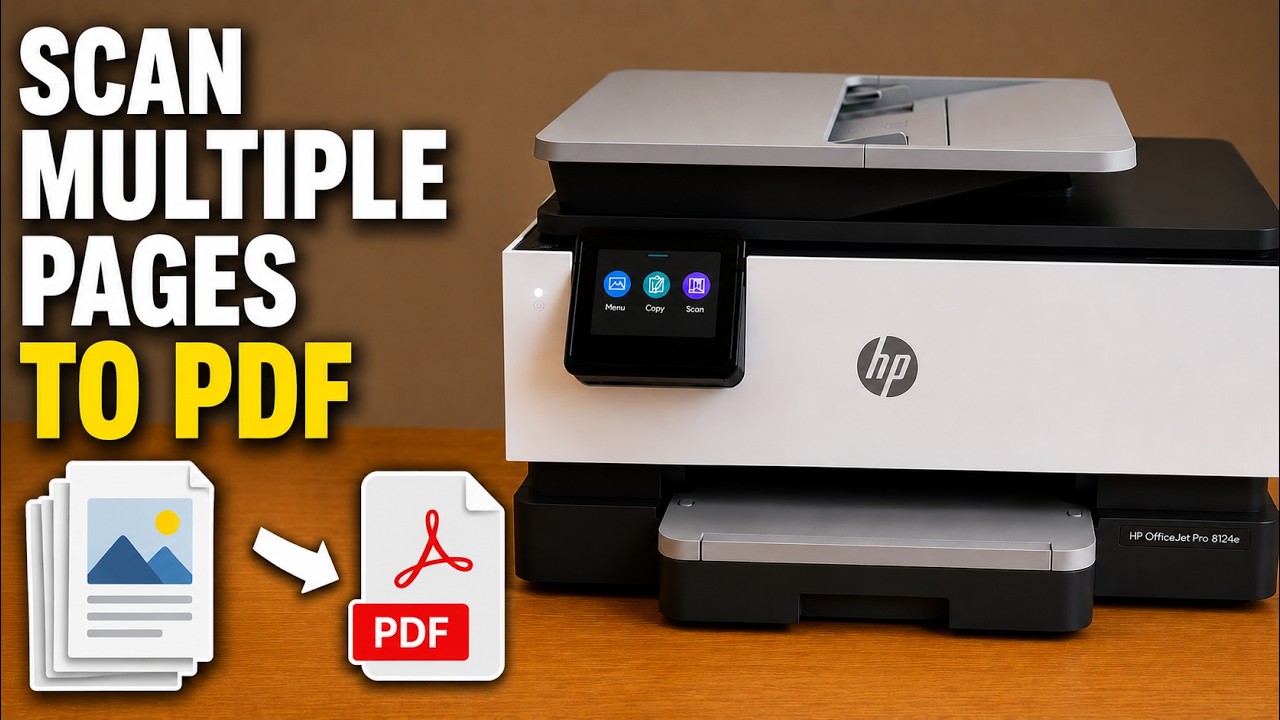
Choose the feeder or flatbed in the Windows HP app, review both sides and save the selected pages together as a PDF.
Use the copy buttons, print from the HP app, and scan one or several flatbed pages into a PDF saved on your iPhone.
Make a copy at the printer, print from an iPhone and save a scanner-glass document as a PDF in Files.
Open the connected DeskJet scanner on your Mac, preview the original, choose a file destination and complete the scan. An overview alone is not a saved file.
Feed one original face up along the scanner’s right edge, scan in the HP app, inspect the preview and complete Save to Files. An app preview alone is not a saved PDF.
Copy from the glass or document feeder, print from the HP app, and save a checked iPhone scan as a PDF. Wi-Fi is needed for this app workflow, not standalone copying.
An attributed look at the DeskJet 4300 models, with a 2955 comparison: a document feeder, manual duplex, shared everyday limits and the costs to check before buying.
Choose the glass or document feeder, then scan with the HP app or macOS scanner controls. Select a destination and confirm the saved file.
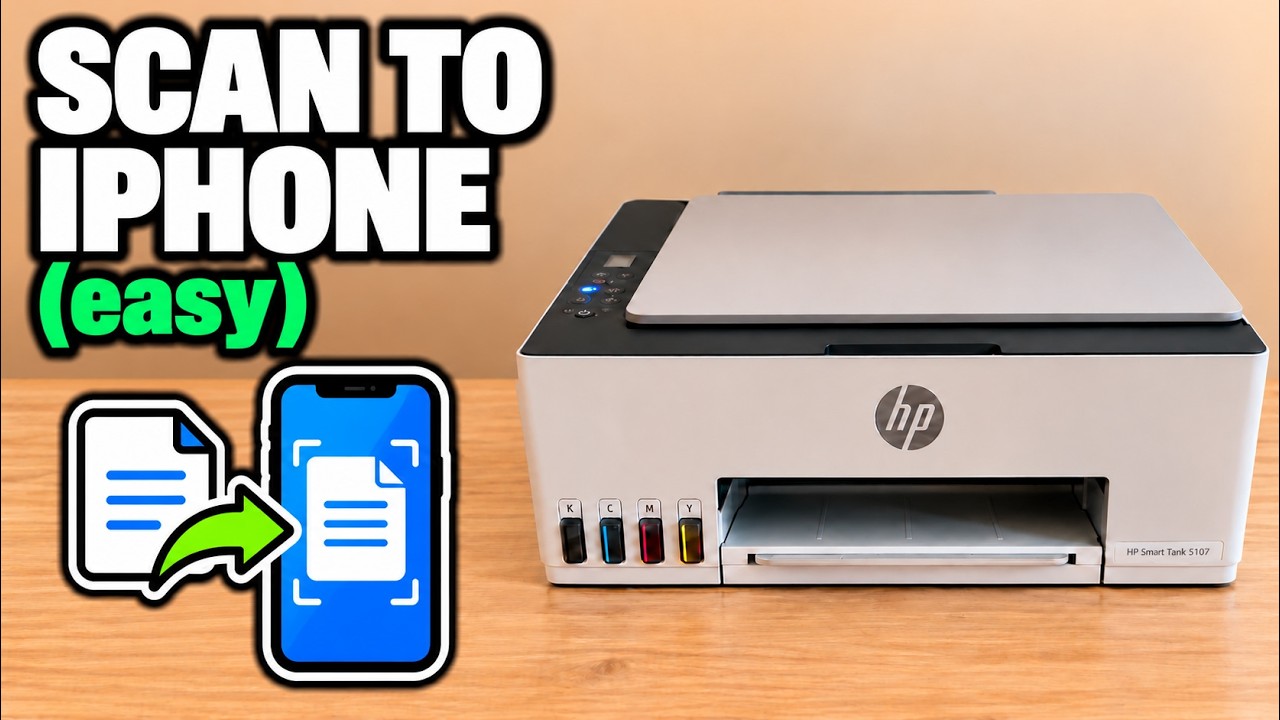
Make a copy at the printer, print a file from your iPhone, or scan a page with the HP app and save it as a PDF in Files.
Add the network printer in macOS, open its scanner and select a save destination before scanning from the flatbed.
Use the HP app to scan from the glass, review the preview and save the document with a deliberate format and destination.
Scan a page from the glass or several originals from the document feeder, check the page order, then save the scan as a PDF in Files.
Find your printer, print a file, distinguish printer scanning from camera scanning, save a PDF and locate settings in the HP app.
Use the printer’s flatbed in the HP app, check the page edges and save the finished PDF to a chosen location on your iPhone.
Open the connected scanner from macOS, check the scan area and save the result to a chosen folder.
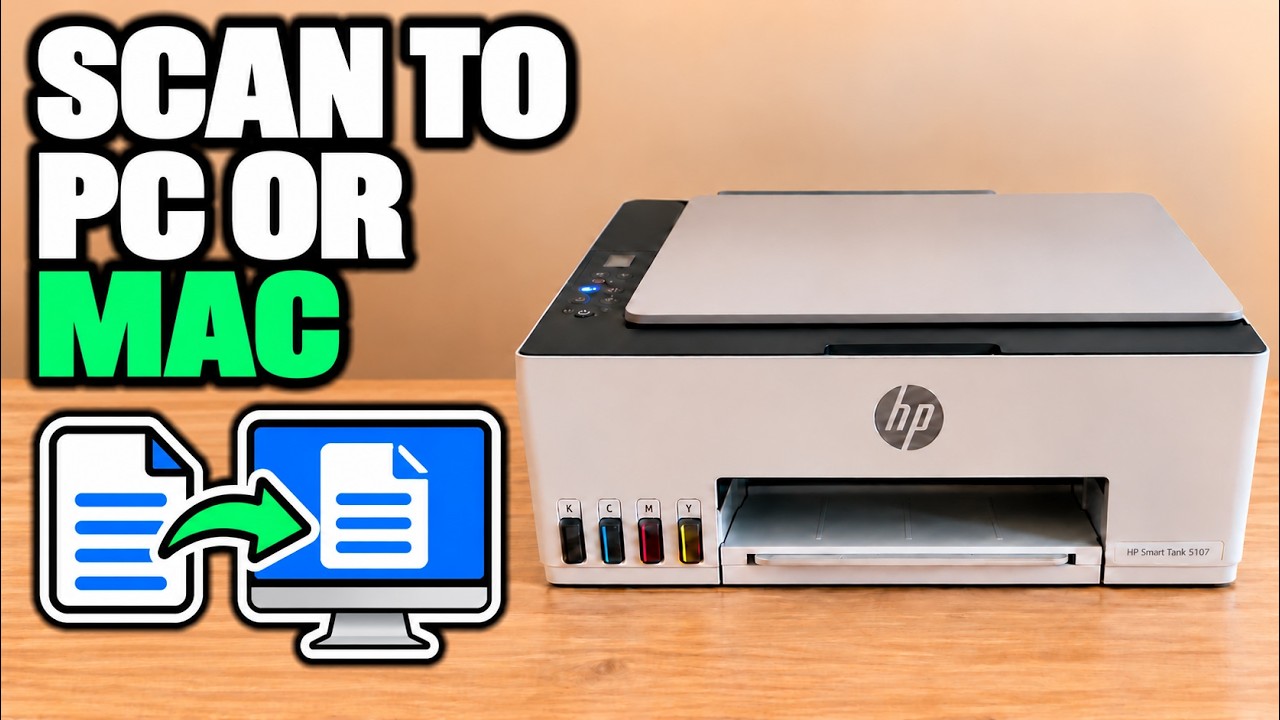
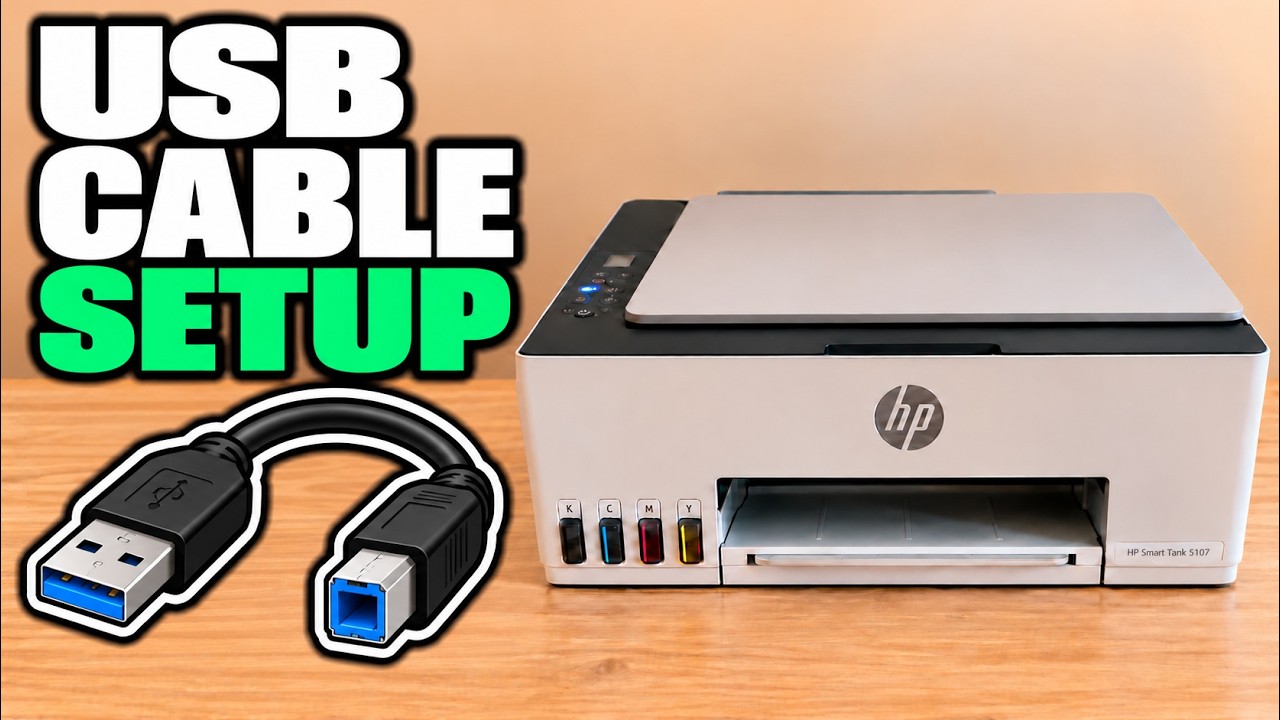
Connect the Smart Tank 5107 by USB, choose it in the Mac print dialog and open its scanner without setting up router Wi-Fi.