Epson ET-2850 sublimation setup: Professor Printer’s method
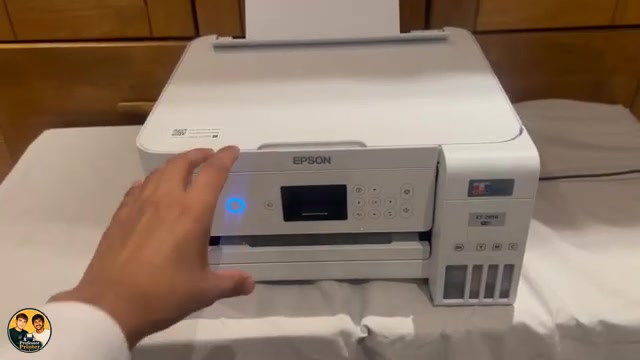
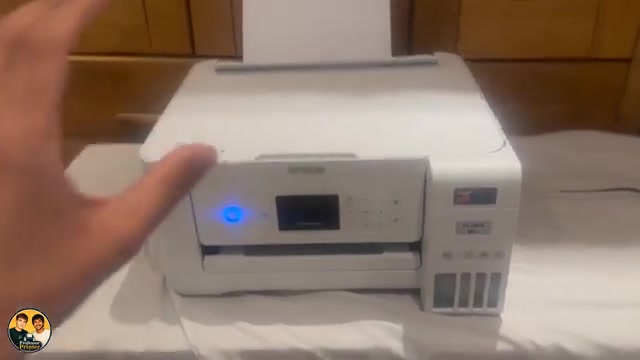
Prepare a new, unfilled EcoTank for sublimation using the ink-first setup sequence explained in the video, followed by charging, nozzle checks and sublimation paper.
Browse a printer family
Find the channel’s ET-2850 and ET-2856 tutorials together, with the source model and procedure shown on each guide.
Watch videos for this printer family20 guides to read and watch. The source printer is shown on every card.
Prepare a new, unfilled EcoTank for sublimation using the ink-first setup sequence explained in the video, followed by charging, nozzle checks and sublimation paper.
Check the selected printer and paper settings, then print a nozzle pattern from the printer itself. Use that result to decide whether the problem needs job settings or ink-system maintenance.
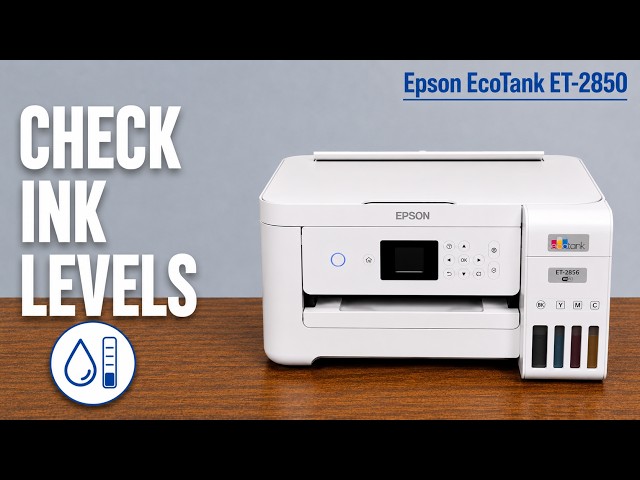
Look at all four tank windows to check the ink actually remaining. Smart Panel shows an estimate; a full-looking app indicator is not proof that a tank is full.
Use the rear feed, removable rear cover and scanner-unit access to remove jammed paper and fragments. Follow Epson’s access method instead of inserting tools into the printer.
Use the printer’s Wi-Fi Setup Wizard with your router’s current password, or add it through Epson Smart Panel. Check the connection before sending a job from your phone or computer.
Select Clear All Data and Settings only when you intend to reset the printer’s stored configuration. Have your connection details ready, then configure the printer again after the reset.
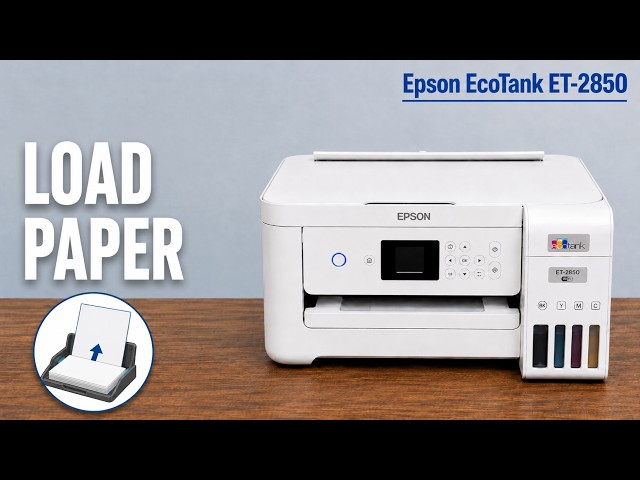
Extend the rear paper support, centre the paper between the edge guides, and match the printer’s size and type settings to what you loaded.
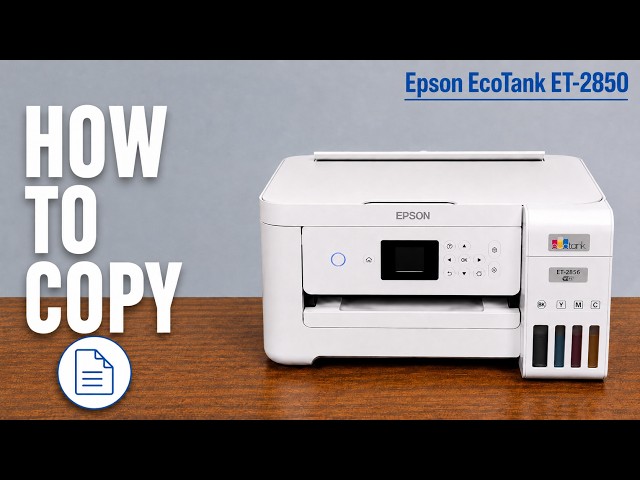
Copy from the printer’s screen, or use Copy in Epson Smart Panel after connecting the app. Place the original face down and check the colour and paper settings before starting.
Use a nozzle pattern to distinguish missing ink from an alignment issue, clean only when needed and observe the ink-level and waiting limits before Power Cleaning.
Use Restore Default Settings → Network Settings to clear the printer’s network configuration, then set up the intended connection again. Keep the broader full-reset option separate.
Print the nozzle pattern from Maintenance and inspect each black and colour line. Choose the next action from missing segments, rather than cleaning a printer whose pattern is already complete.
Match the loaded photo paper’s size and type in both the printer and Windows print settings. Choose an appropriate quality setting, check the preview and judge a small print before a larger job.
Load a supported envelope short edge first in the rear feeder, then match its size and Envelope paper type in the printer and Windows driver. Start with one envelope to check placement.
Use the correct ink for the exact model and region, fill the matching tank to its upper line without squeezing the bottle, then update only the levels you actually refilled.
Start the scan in Epson Scan 2, choose the file format and destination, preview the original and save the finished scan. This is a computer-initiated scan, not the printer’s Scan-to-computer button workflow.
Use Epson Smart Panel to scan the glass original, check the preview and save it to a chosen location. You can then select the saved document in the app to print another paper copy.
Use Settings → Maintenance → Set Ink Level to match the stored estimate to the ink you can actually see. This is different from filling a tank or resetting it to 100%.
Enable PC Connection via USB if needed, install the exact model’s Epson software and choose the USB connection. Keep the data cable connected when printing or scanning through that entry.
Use the network connection report to identify the failed connection, then check the current network name, password, signal and device access. Avoid changing unrelated settings on a guess.
With the printer and Windows computer on the intended network, add the printer and install the exact model’s Epson software if you need its scanning and maintenance controls. Verify the setup with a test page.
Open your printer’s hub to see its guides and related tutorials from this collection.
These are related printers covered in the channel’s tutorial collection. Grouping helps you browse; each article retains its own model and task scope.