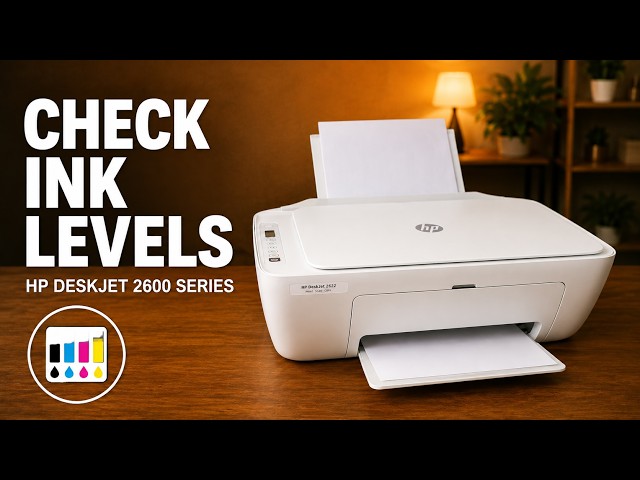
Step 1:Did it start after printing or after changing ink?
Look at the ink indicator on the display and consider when the warning appeared. A cartridge used through many print jobs may genuinely be empty. A light that came on immediately after installing a replacement is a reason to check the cartridge and its seating before buying another one.
Watch this section at 0:36Step 2:Compare the cartridge number with your own label
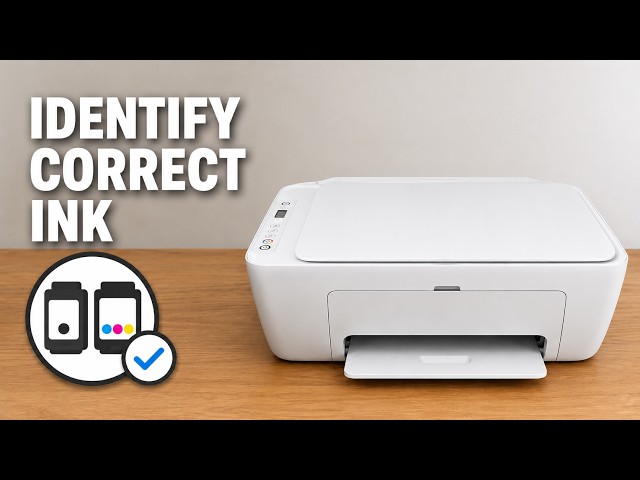
With the printer on, open the front cartridge-access door. Wait for the carriage to stop, then look for the supply label inside. Compare that number with the one printed on the cartridge. Two cartridges can look alike and fit the same space yet carry different supply numbers.
Watch this section at 2:39Step 3:Match the slot and click the cartridge into place
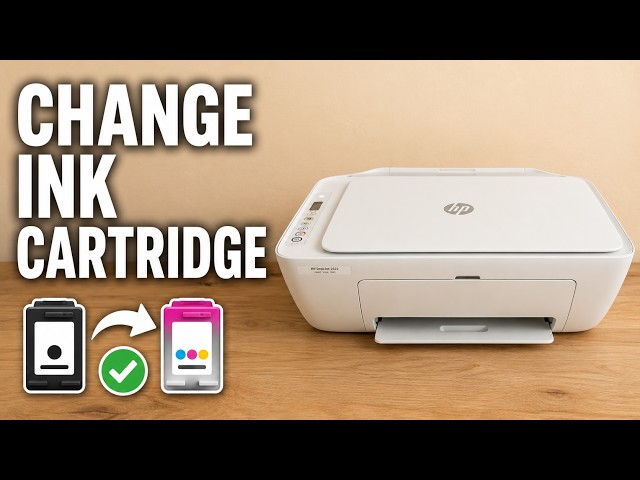
Face the front of the printer. The diagram on the DeskJet shown puts tri-colour on the left and black on the right. Hold the cartridge with its label up and the electrical contacts facing into the printer. Guide it into the matching slot and press until it clicks.
Watch this section at 1:57Step 4:Close the door and look at the ink light
The missing cartridge in this example makes the light blink. It clears after that cartridge is seated and the door is closed. If yours stays on, recheck the number and the ink-level indication. Reseating an empty cartridge cannot replenish its ink.
Watch this section at 3:32