Step 1:Remove the packaging and power up
Take out the printer, supplied power cable and starter cartridges. Remove the transport film and tape, including the tape on the back. Plug the supplied cable into the rear power inlet and a power outlet, then press Power.
Watch this section at 0:16Step 2:Load the front cassette
Pull out the lower front cassette. Open the blue side guides and move the end guide to the paper size you are using. Lay the sheets flat below the fill mark, bring the guides to their edges and push the cassette back in.
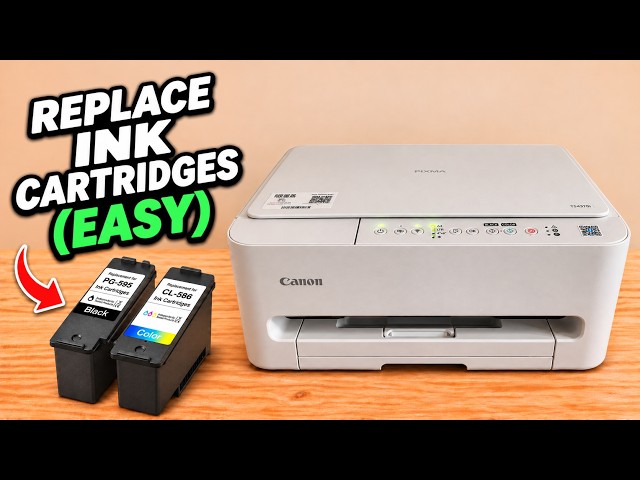
Watch this section at 3:23Step 3:Fit the two starter cartridges
Remove the protective tape from each cartridge without touching the exposed print head. Lift the scanner unit using its side grip and let the carriage stop. Open the locking covers. With the top label facing up, slide each cartridge in at a slight angle, colour on the left and black on the right. Once both sit flat, close their covers. Lift the scanner unit slightly to release the support and guide it down.
Watch this section at 5:09Step 4:Join the printer to your home Wi-Fi
Open Canon PRINT from Canon Inc. on the iPhone. Connect the phone to your home Wi-Fi and turn on Bluetooth. Tap Search and allow local network access. Follow the prompts to join the printer temporarily if asked, then confirm your home router and enter its Wi-Fi password if requested. Leave the app open until the printer is added and the Wi-Fi lamp is steady.
Watch this section at 9:00Step 5:Make the first print
Extend the output tray. In Canon PRINT choose Photo Print and Smartphone for a picture, or Document Print for a saved file. Check the size and media type against the paper in the cassette. Tap Print and check that the sheet reaches the output tray.
Watch this section at 15:31Add the network printer on a Mac
Connect the Mac to the same Wi-Fi. Open Print Center, use the plus button to add a printer and select the Canon printer from the list. After you choose Add, it should be available in the Mac print dialog.
Watch this section at 20:03