Step 1:Check which parts of the print are missing
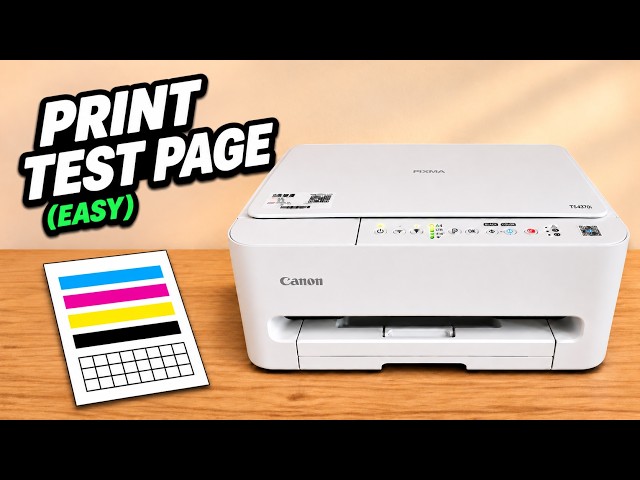
With ink installed and plain paper loaded, print a nozzle check. Look for breaks in the black grid or gaps in the coloured bands. Keep this sheet for comparison.
Step 2:Run the ordinary cleaning cycle
Hold the Stop button, marked with a triangle in a circle. Release it as soon as the Alarm lamp flashes twice. The power lamp flashes while the printer works. Wait for it to settle before sending another job.
Watch this section at 1:05Step 3:Compare a fresh nozzle check
Print another nozzle check and compare the same grid lines and colour bands. If the gaps are gone, finish here. Deep cleaning uses more ink, so reserve it for a pattern that still shows gaps after ordinary cleaning.
Run deep cleaning if needed
Hold Stop again. This time, release on the third Alarm flash, then press Black or Color to start. Wait for the power lamp to become steady again before printing a new nozzle check. Use that sheet to judge the result.