Before you start
- Windows computer connected to the intended Wi-Fi network.
- Internet access to install Canon PRINT and its setup files.
Step 1:Start Easy wireless connect if the printer is not connected
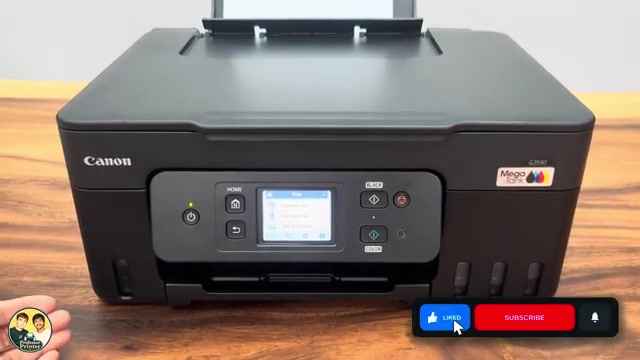
Connect your Windows computer to the Wi-Fi network you want the printer to use. On the printer home screen, tap the linked-chain Wireless connect icon and choose Start. This puts the printer into the connection state used by the setup app.
If the printer already uses the intended Wi-Fi network, you can proceed to adding it in the app without starting that setup state again.
Step 2:Install and open Canon PRINT
Open Microsoft Store on Windows and search for Canon PRINT. Install and open it. Read the initial terms and consent choices, then continue. Choose Add printer; its position can differ between a first setup and an app that already has another printer.
Step 3:Find the printer
Let setup download its latest information. Allow the Canon installer to make changes when Windows asks. The demonstrated setup also requests location access during wireless discovery. Continue with Next and select the discovered Canon printer.
Step 4:Connect it to the network
Choose Connect and continue through the network-connection prompt. The setup shown transfers the network used by the Windows computer. Wait for the connected confirmation and tick before proceeding.
Complete the remaining setup screens
If print-head alignment is recommended, you can run it when needed or continue with Next as shown here. Finish setup to reach the Canon PRINT dashboard.
The printer’s utilities are available by opening the printer and choosing Utilities. Setup confirmation establishes the connection; use your first print or scan to check the particular task you need.