Before you start
- A4 or Letter paper and ink in the tanks.
- Access to the scanner glass.
Step 1:Print the alignment pattern
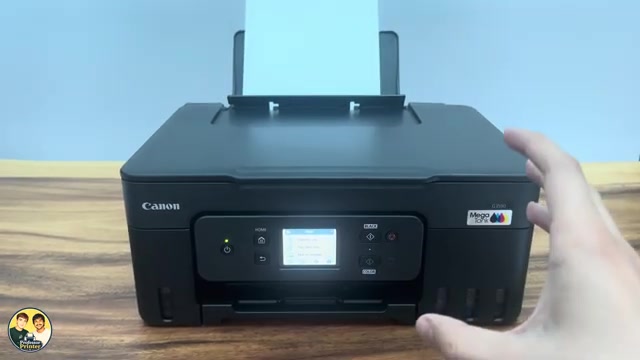
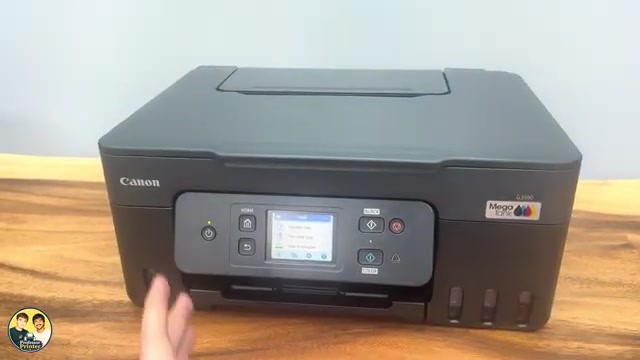
Turn the printer on and load A4 or Letter paper in the rear feeder. Make sure there is ink available, including black. Open Settings → Maintenance → Print head alignment – Auto, then confirm Yes to print the pattern.
Step 2:Place the printed pattern on the glass
Lift the scanner lid and remove any original already on the glass. Place the alignment sheet printed-side down. Align the black marked corner on the sheet with the scanner’s marked top-left corner, following the arrows on the printout.
Step 3:Close the lid and select OK
Close the scanner lid and press OK on the printer. It reads the pattern and carries out the alignment. Wait for the completion screen before removing the sheet.
Check the remaining print-quality problem
Alignment is useful for positioning problems such as uneven lines. If sections of ink are missing or colours are fading, use a nozzle check and head cleaning to assess that separate issue.